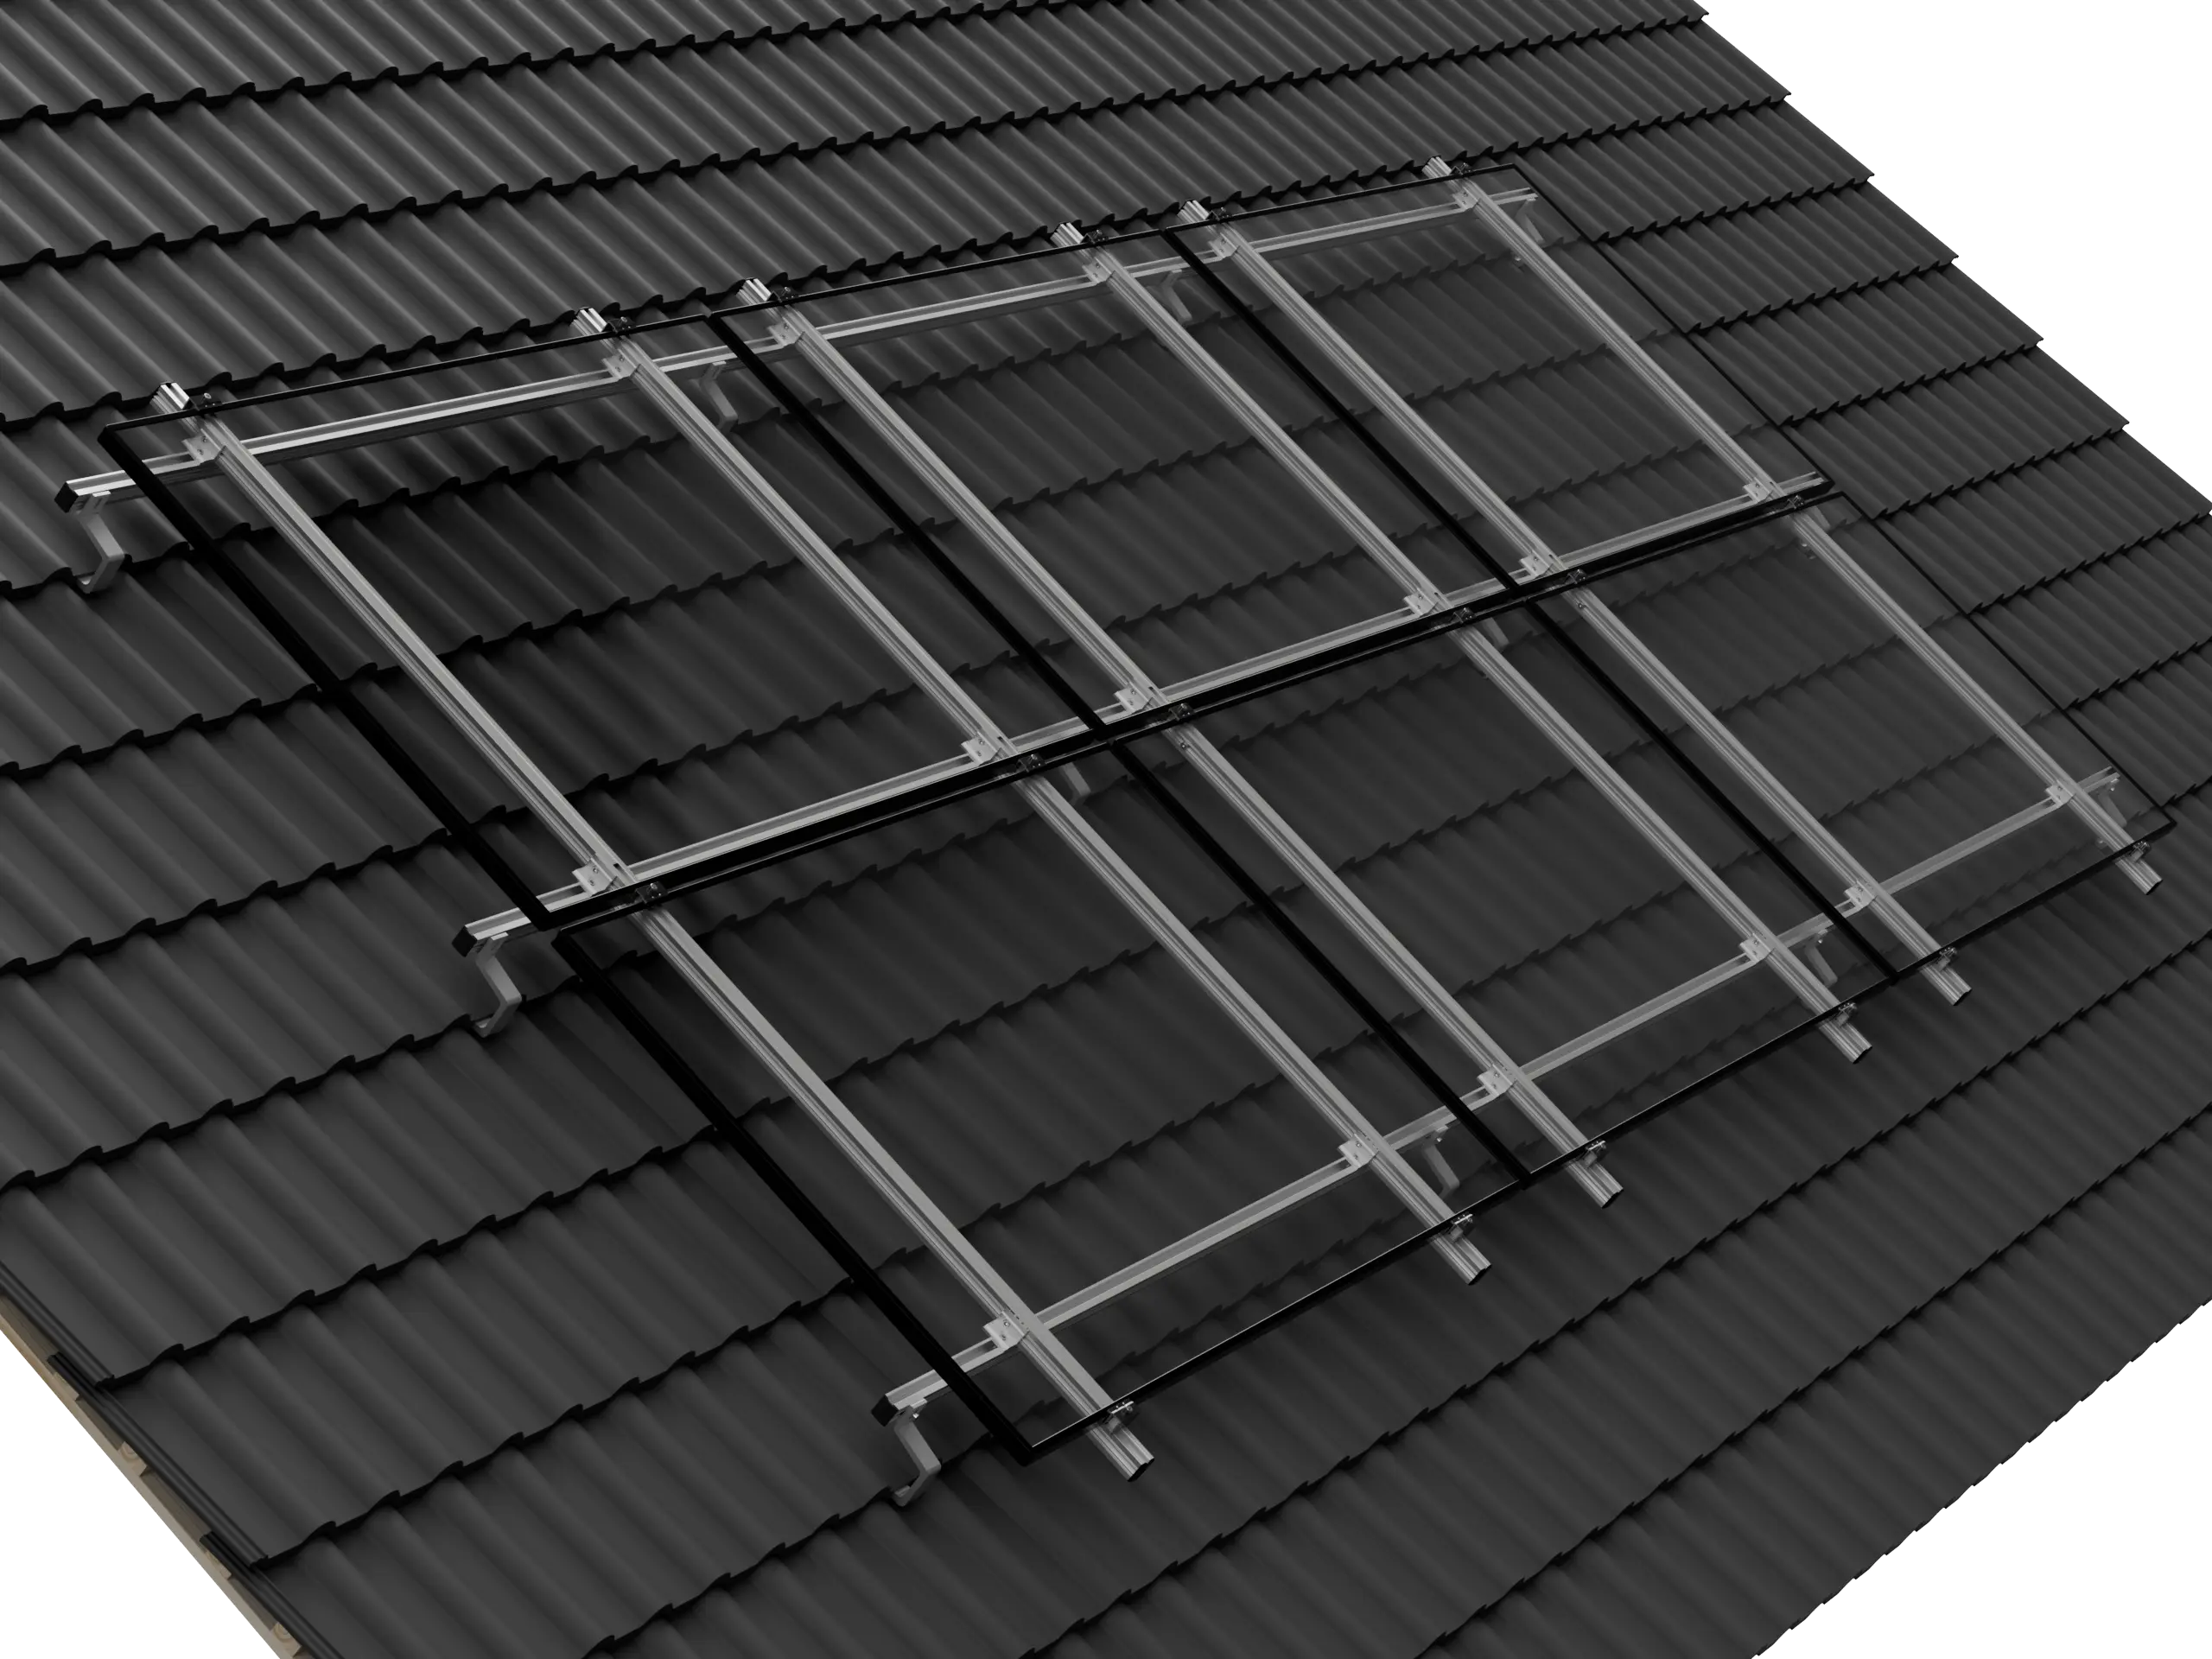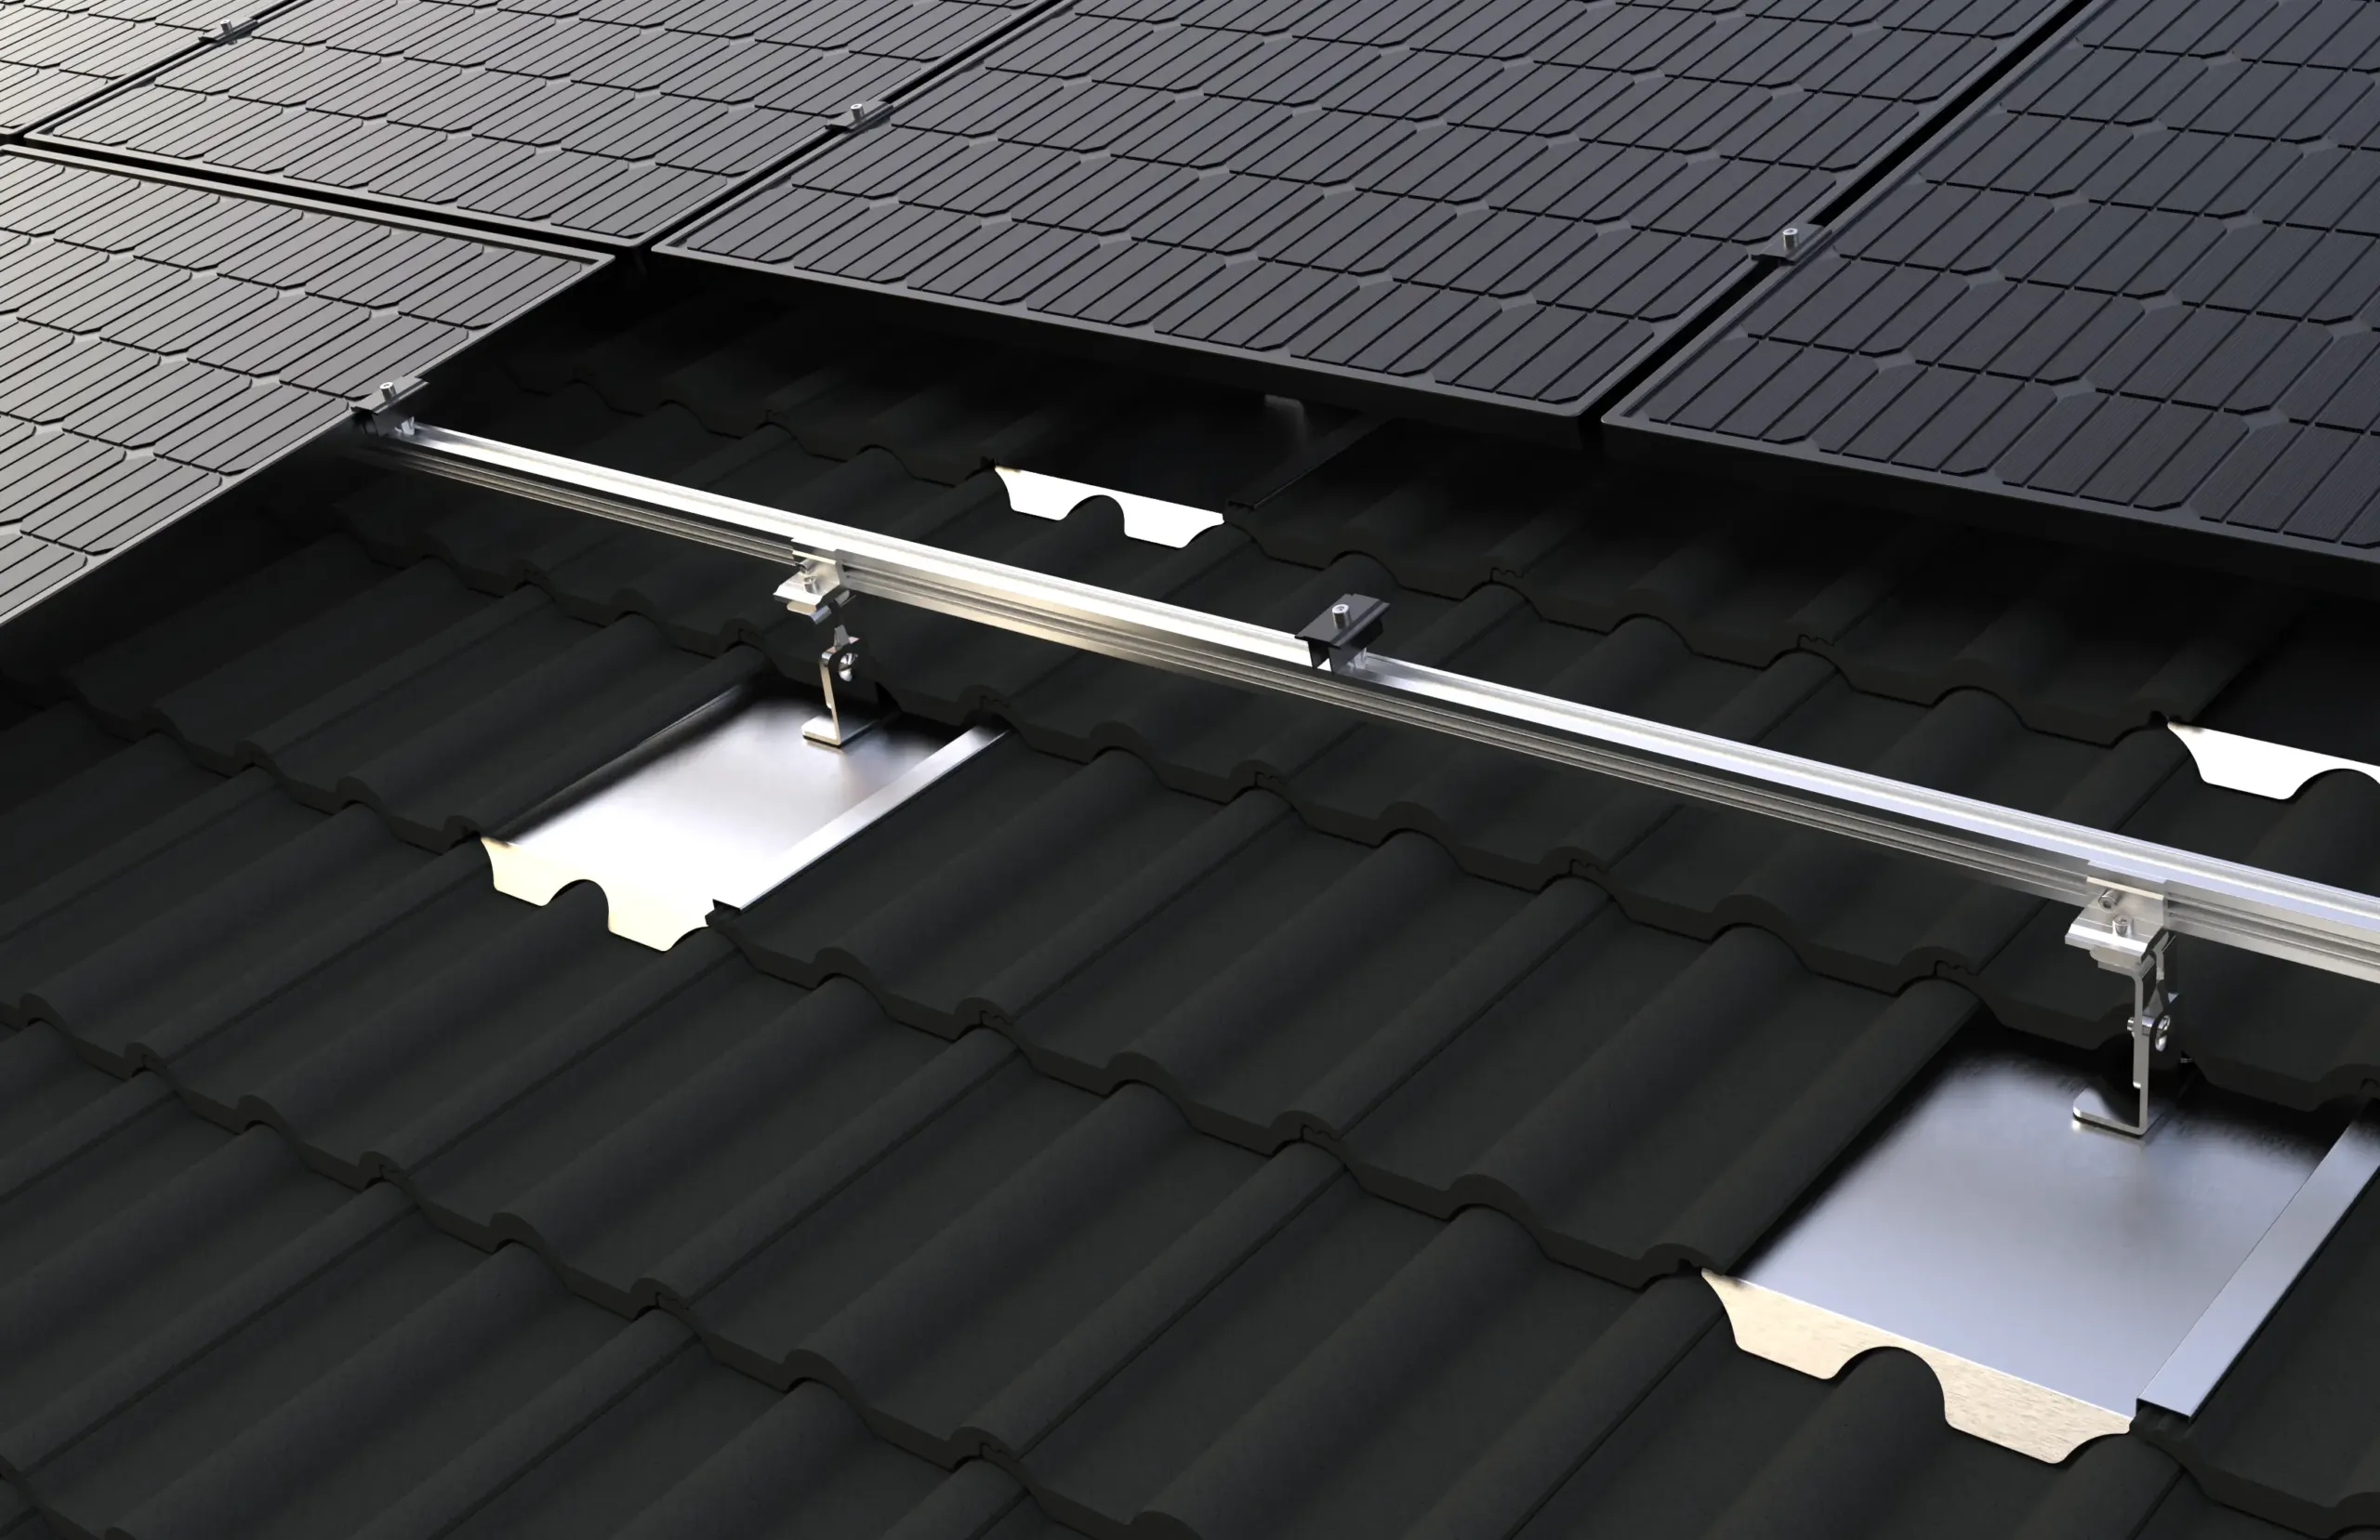
No more broken tiles with PTS-IR
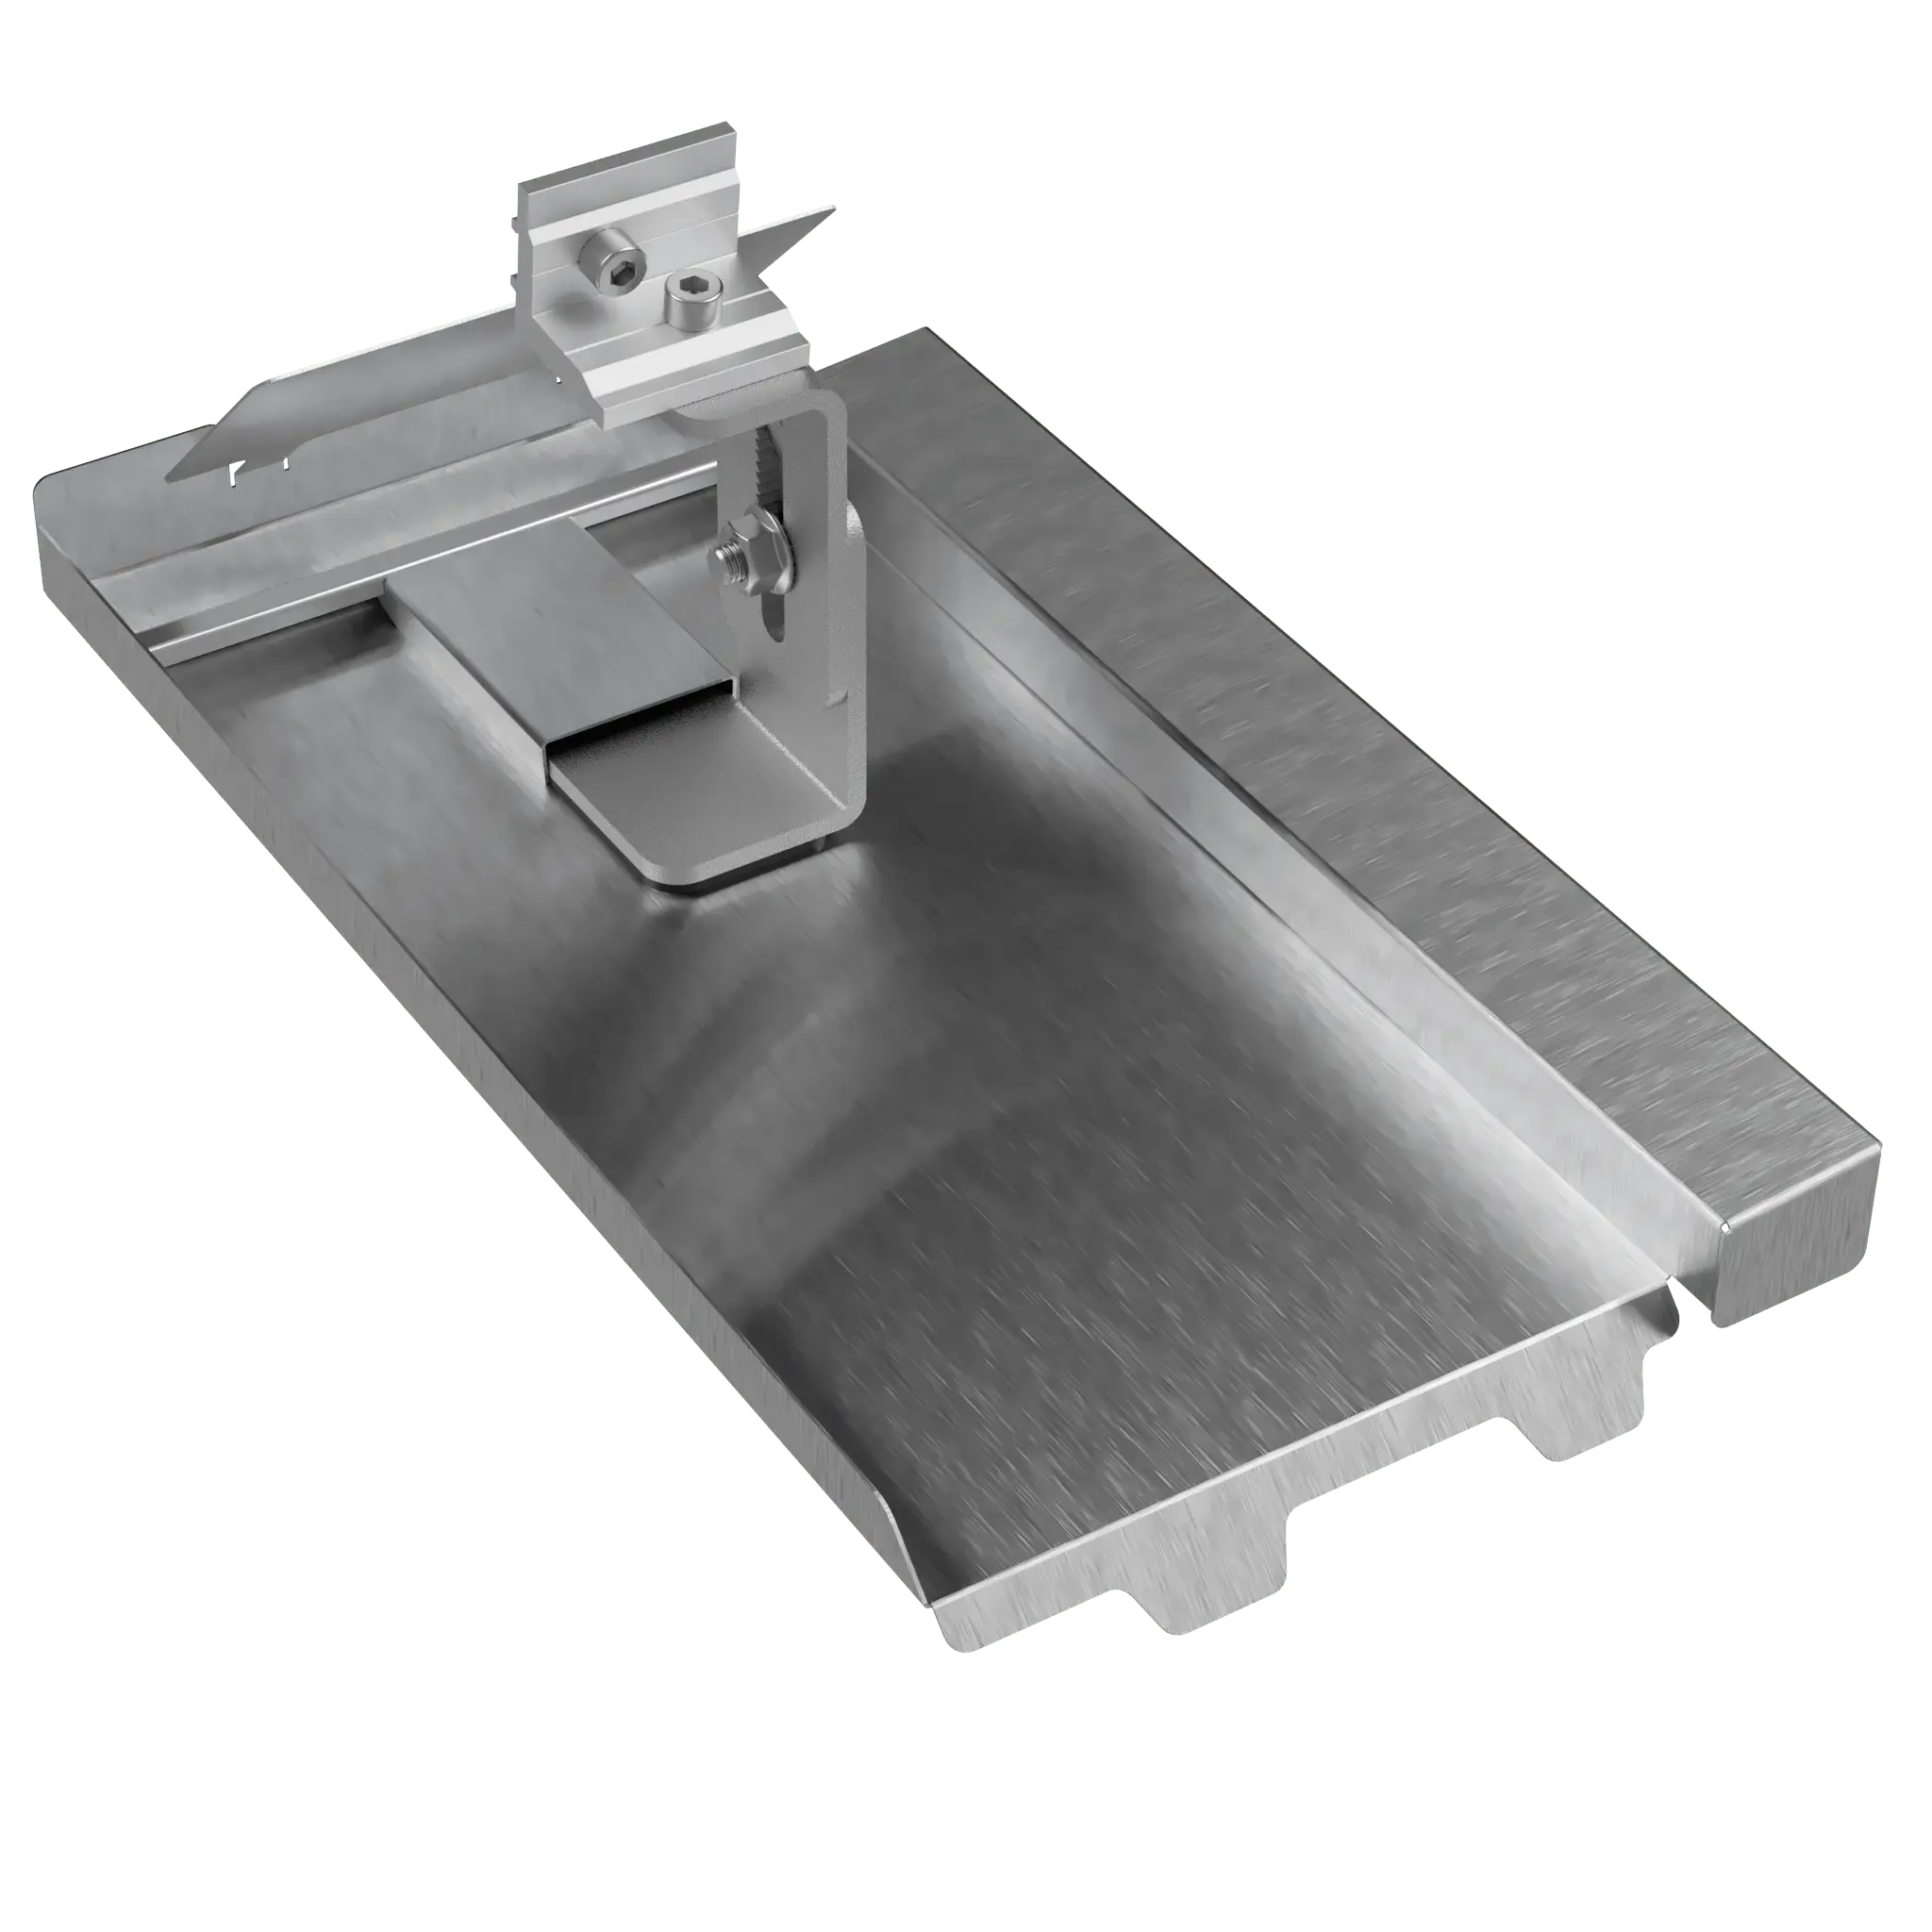
The integrated PTS-IR system combines precisely fitting replacement tiles and roof hooks in a closed system.
Time-saving installation
The precisely fitting replacement tiles replace an existing roof tile on the roof.
The time savings from replacing a roof tile is significant compared to the time-consuming and error-prone process of adjusting or cutting.


No more tiles breaking
This eliminates costly follow-on damage and time-consuming repair work.
The replacement plates prevent tile breakage caused by improper installation of roof hooks or by high loads from wind or snow.
Planning and Structural Analysis
Of course, the structural load of your photovoltaic system can also be planned in our calculator for the PTS-IR system! Generally, fewer roof hooks are required with the PTS-IR system than is the case with conventional mounting systems. This leads to additional time savings.
High load bearing capacity
The integrated stainless steel roof hook is designed for highest load capacities, the force is directly transferred to the roof rafters.
Compatibility & Availability
PTS-IR is available for and compatible with nearly all common roof tiles and concrete roof slates, including the Frankfurter Pfanne, Donauwelle, Markant, Tegalit, Alpendachstein, Classic, Heidelberger, Großfalzziegel, and many more. The system offers a solution for many large-format concrete roof slates, special design tiles, as well as numerous historical roof tiles.

List of all available PTS-IR photovoltaic replacement roof tiles
Questions & Answers
How many roof hooks are actually needed? How much load can the PTS-IR system bear?
The number of integrated roof hooks required varies from system to system and depends, among other things, on the snow and wind load zone, roof pitch, rafter spacing, etc.
We are happy to plan the PV mounting system for your installation – please send us a completed project report!
Are the PTS-IR roof hooks and replacement tiles compatible with other mounting systems?
The PTS-IR roof hooks and replacement tiles are in principle compatible with all common mounting systems. A simple, cost-efficient, and structurally correctly designed installation can best be achieved with our ATP Solar Mountings mounting system.
For which roof pitch is the PTS-IR system suitable?
As a general rule, the system can be installed on roofs with a pitch of 22° or greater. However, the minimum required roof pitch depends on the type of roof tiles used; in many cases, the system can be installed on roofs with a pitch as low as 15°.
How does ATP Solar ensure that the PTS-IR replacement plate matches the roof tile?
We have extensive reference images for every roof tile. These serve as a reference for each PTS-IR replacement tile.
For the vast majority of available tiles, we can be absolutely certain that the replacement tiles will fit!
Is my roof tile available? My roof tile is not listed in the availability list.
We are happy to check availability! Please send us a name/designation along with a few photos.
Is it possible to obtain a sample tile?
Samples may be acquired at the list price.
Installation of PTS-IR replacement tiles

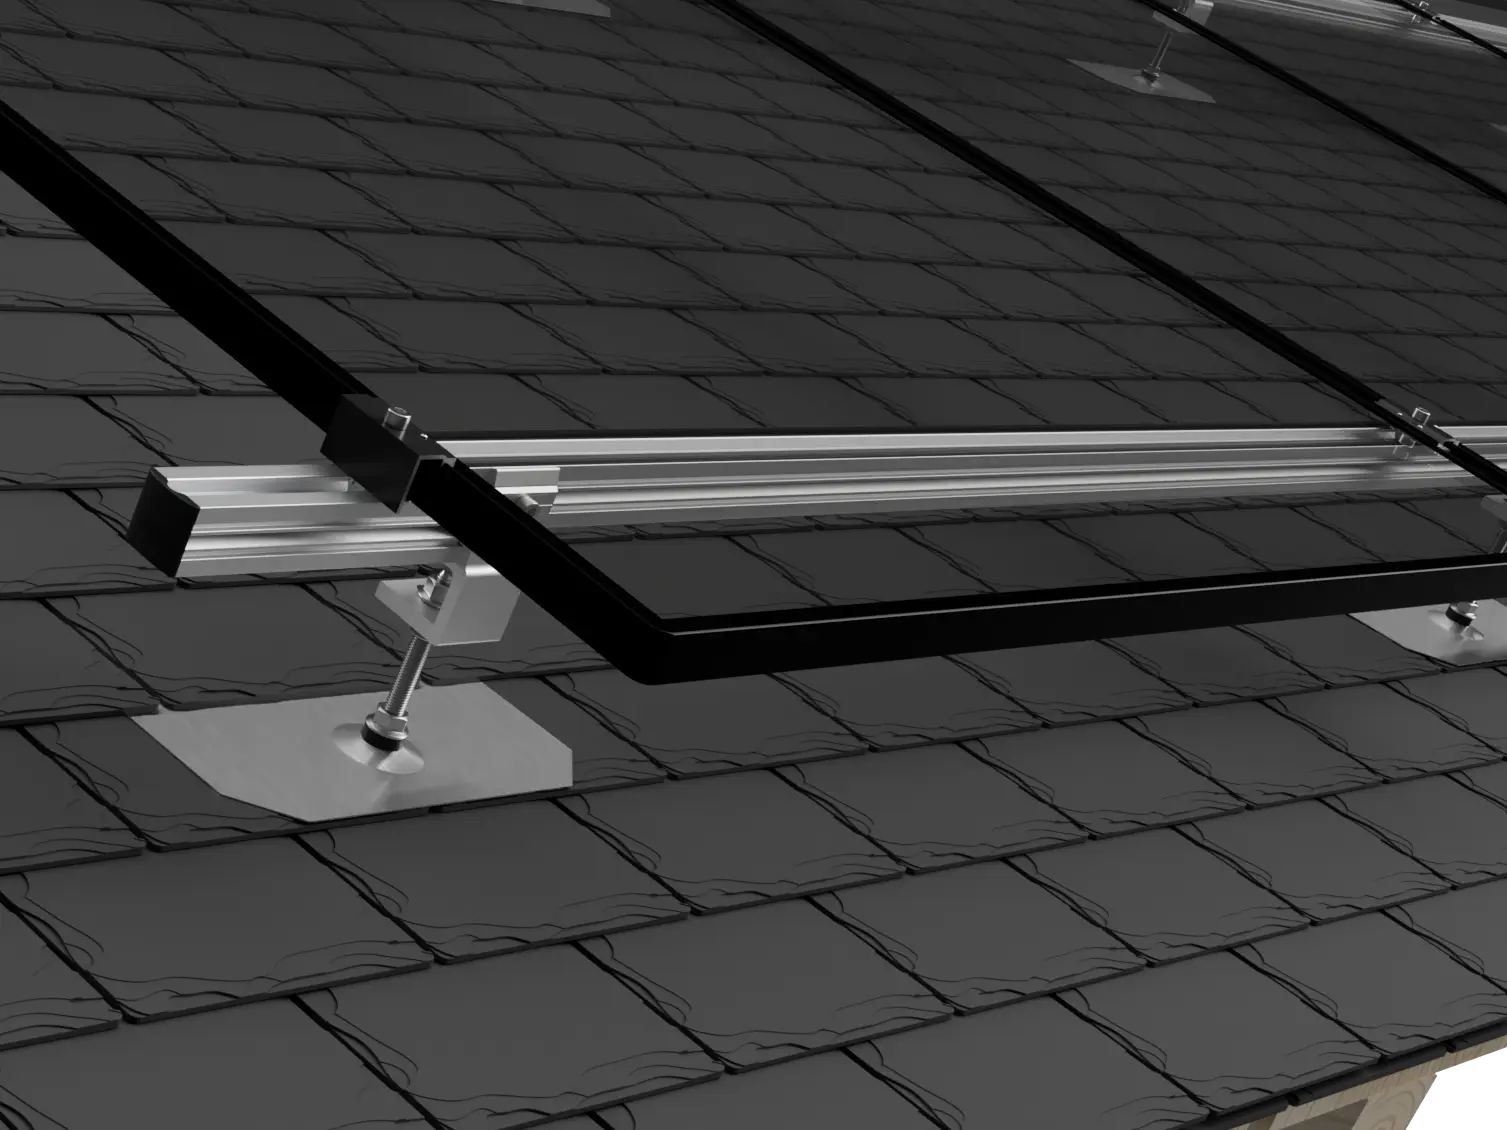
Remove the roof tile to be replaced and slide the tile above it slightly upward to expose the mounting position above the roof rafter.

Position the support and the replacement tile.

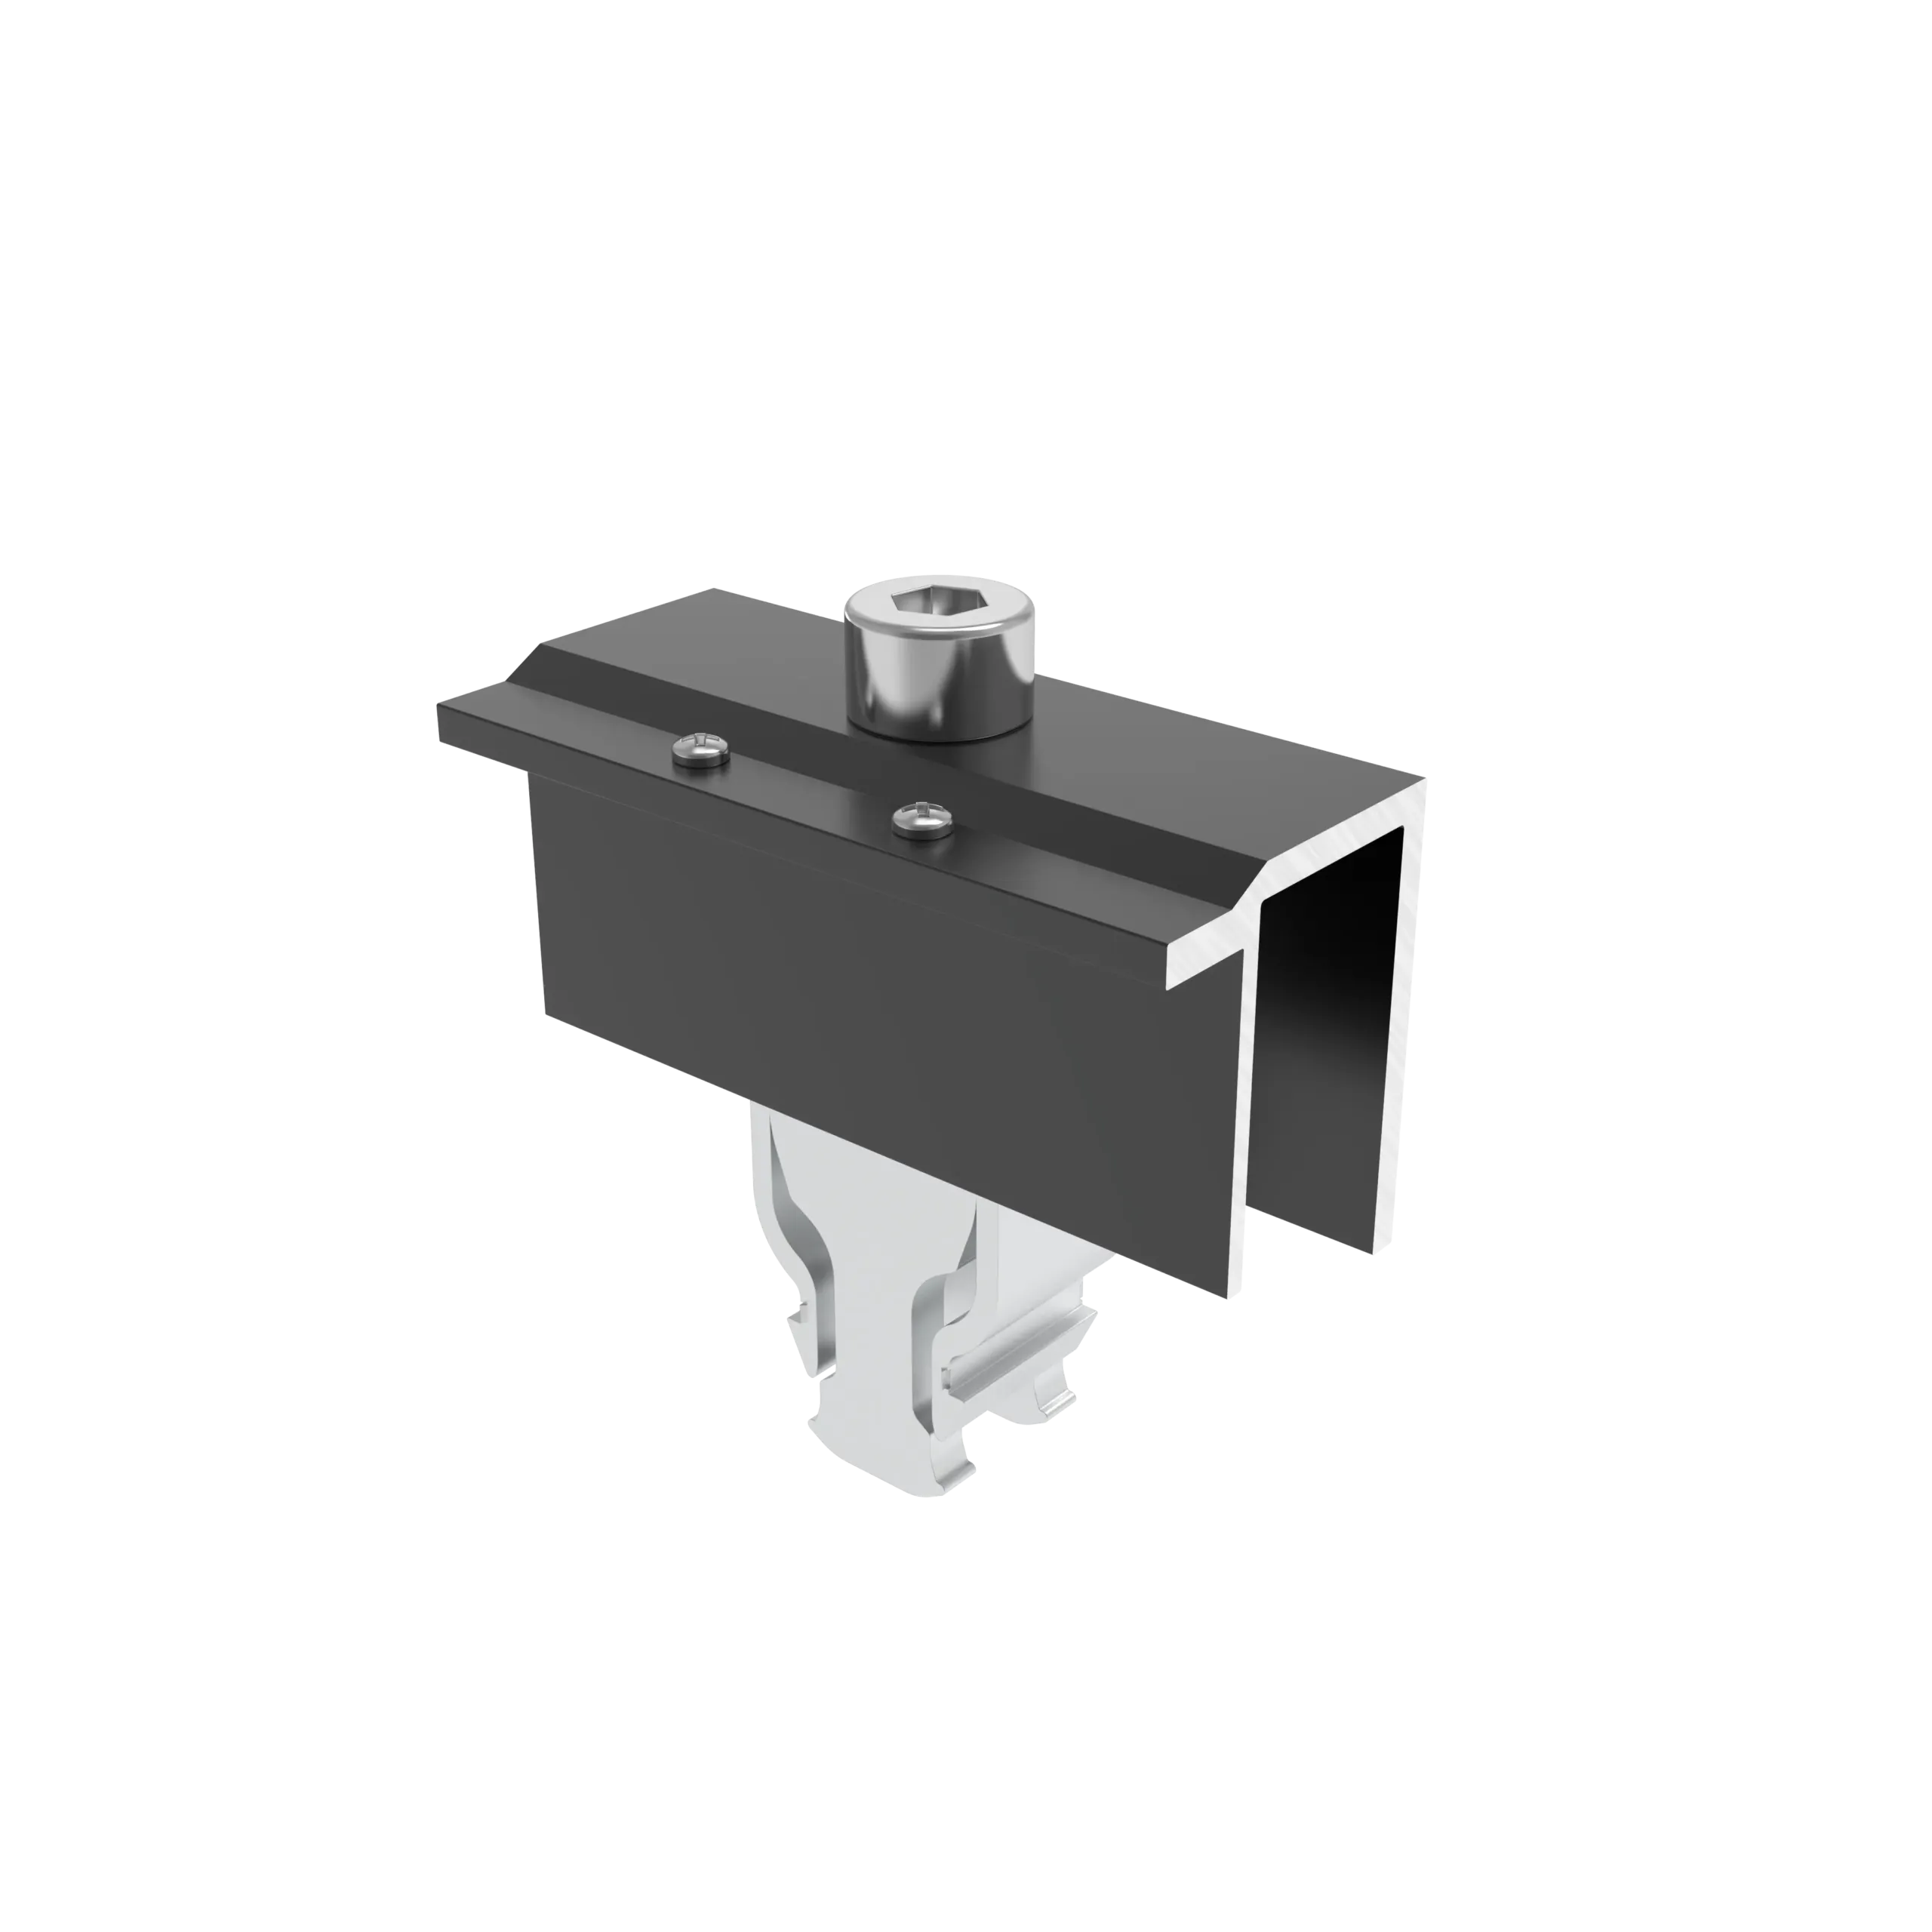
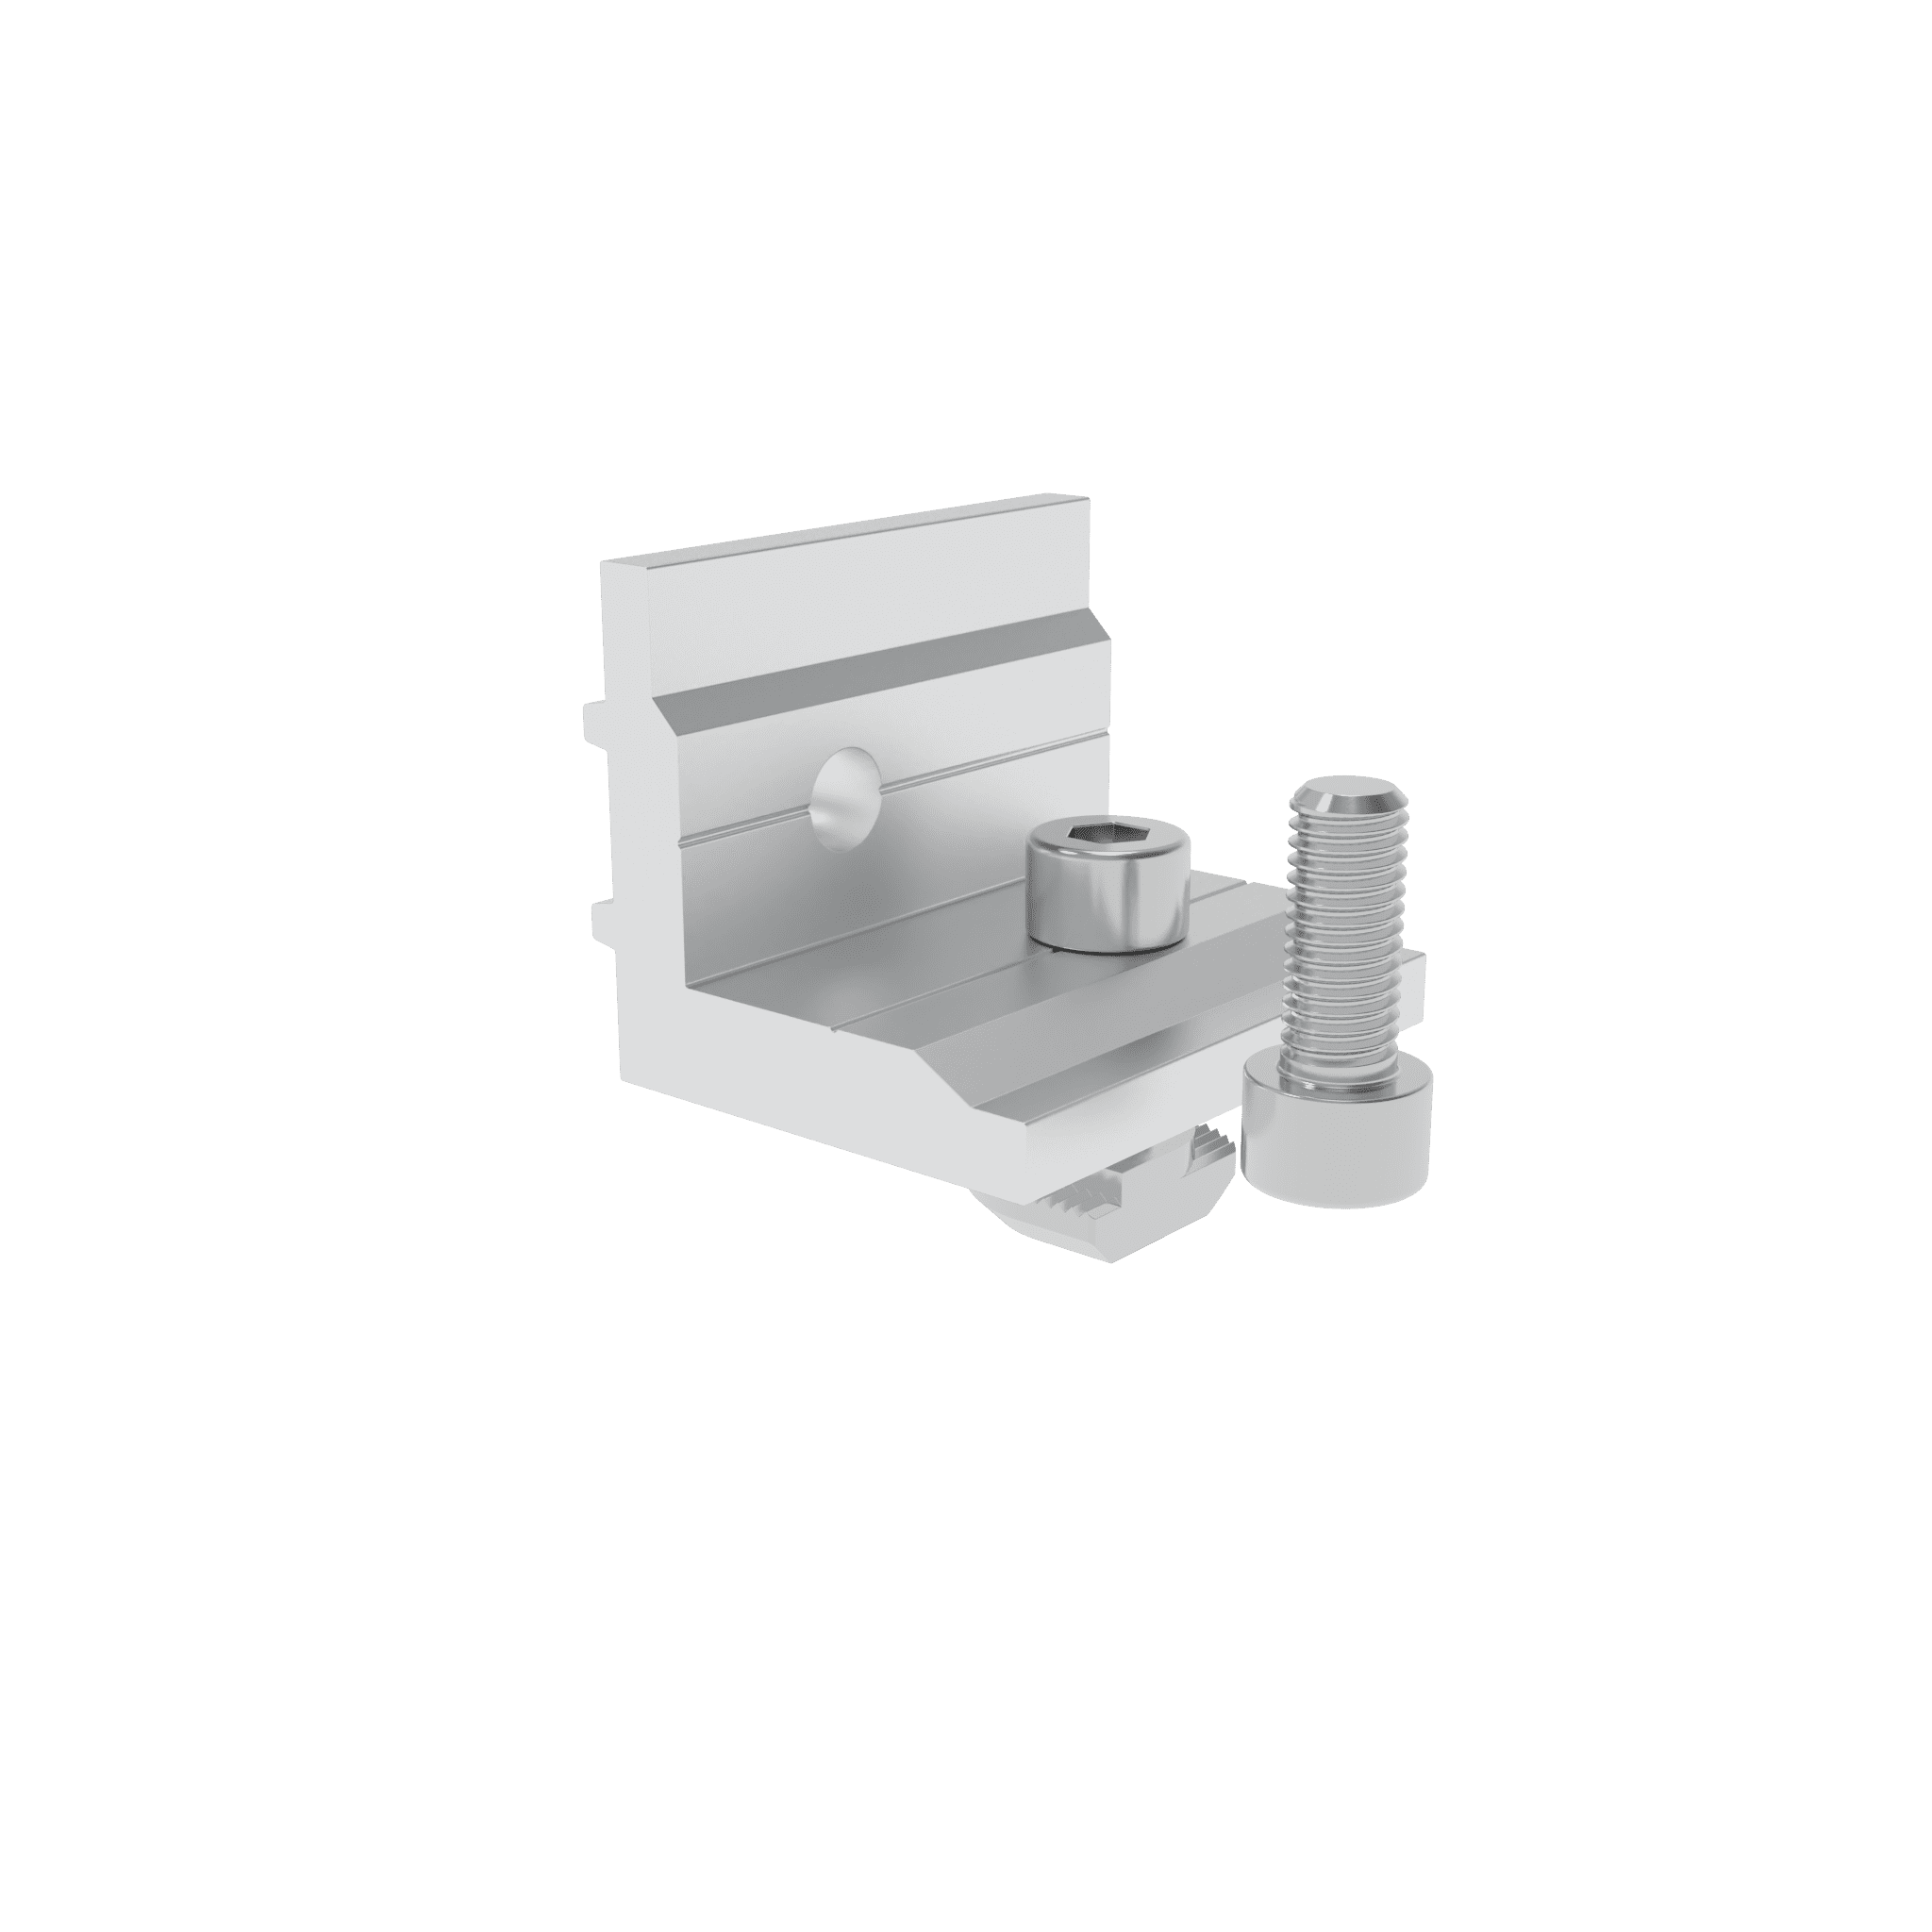
Position the roof hook precisely above the support clamp.

Screw the roof hook into the designated drill holes using stainless steel wood screws (8×140).

Adjust the roof hooks to the correct height. The height adjustment screw must be tightened to 30 Nm.

Slide the displaced roof tiles back into their original position.

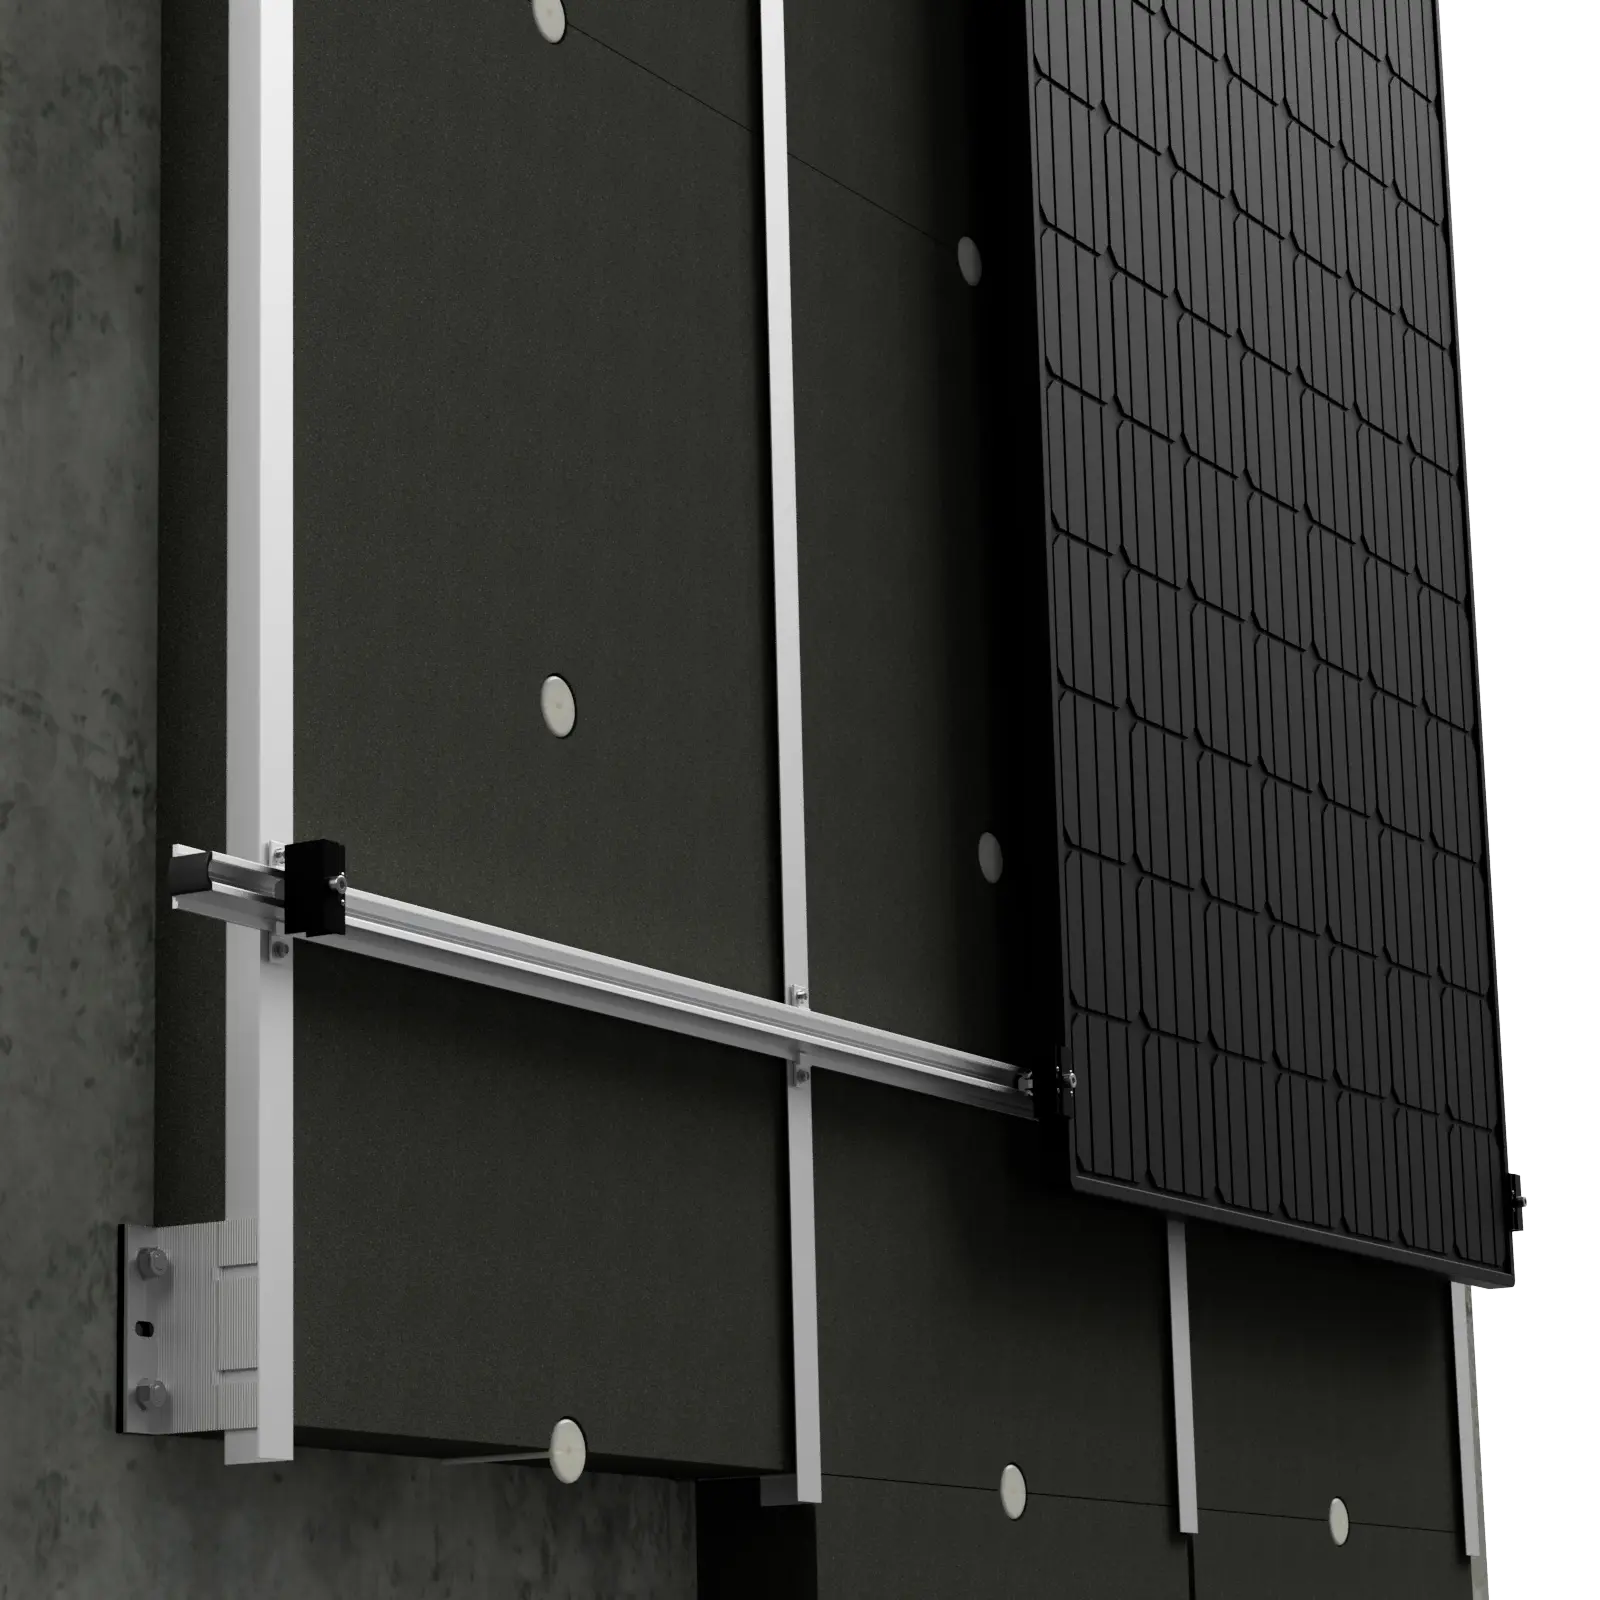
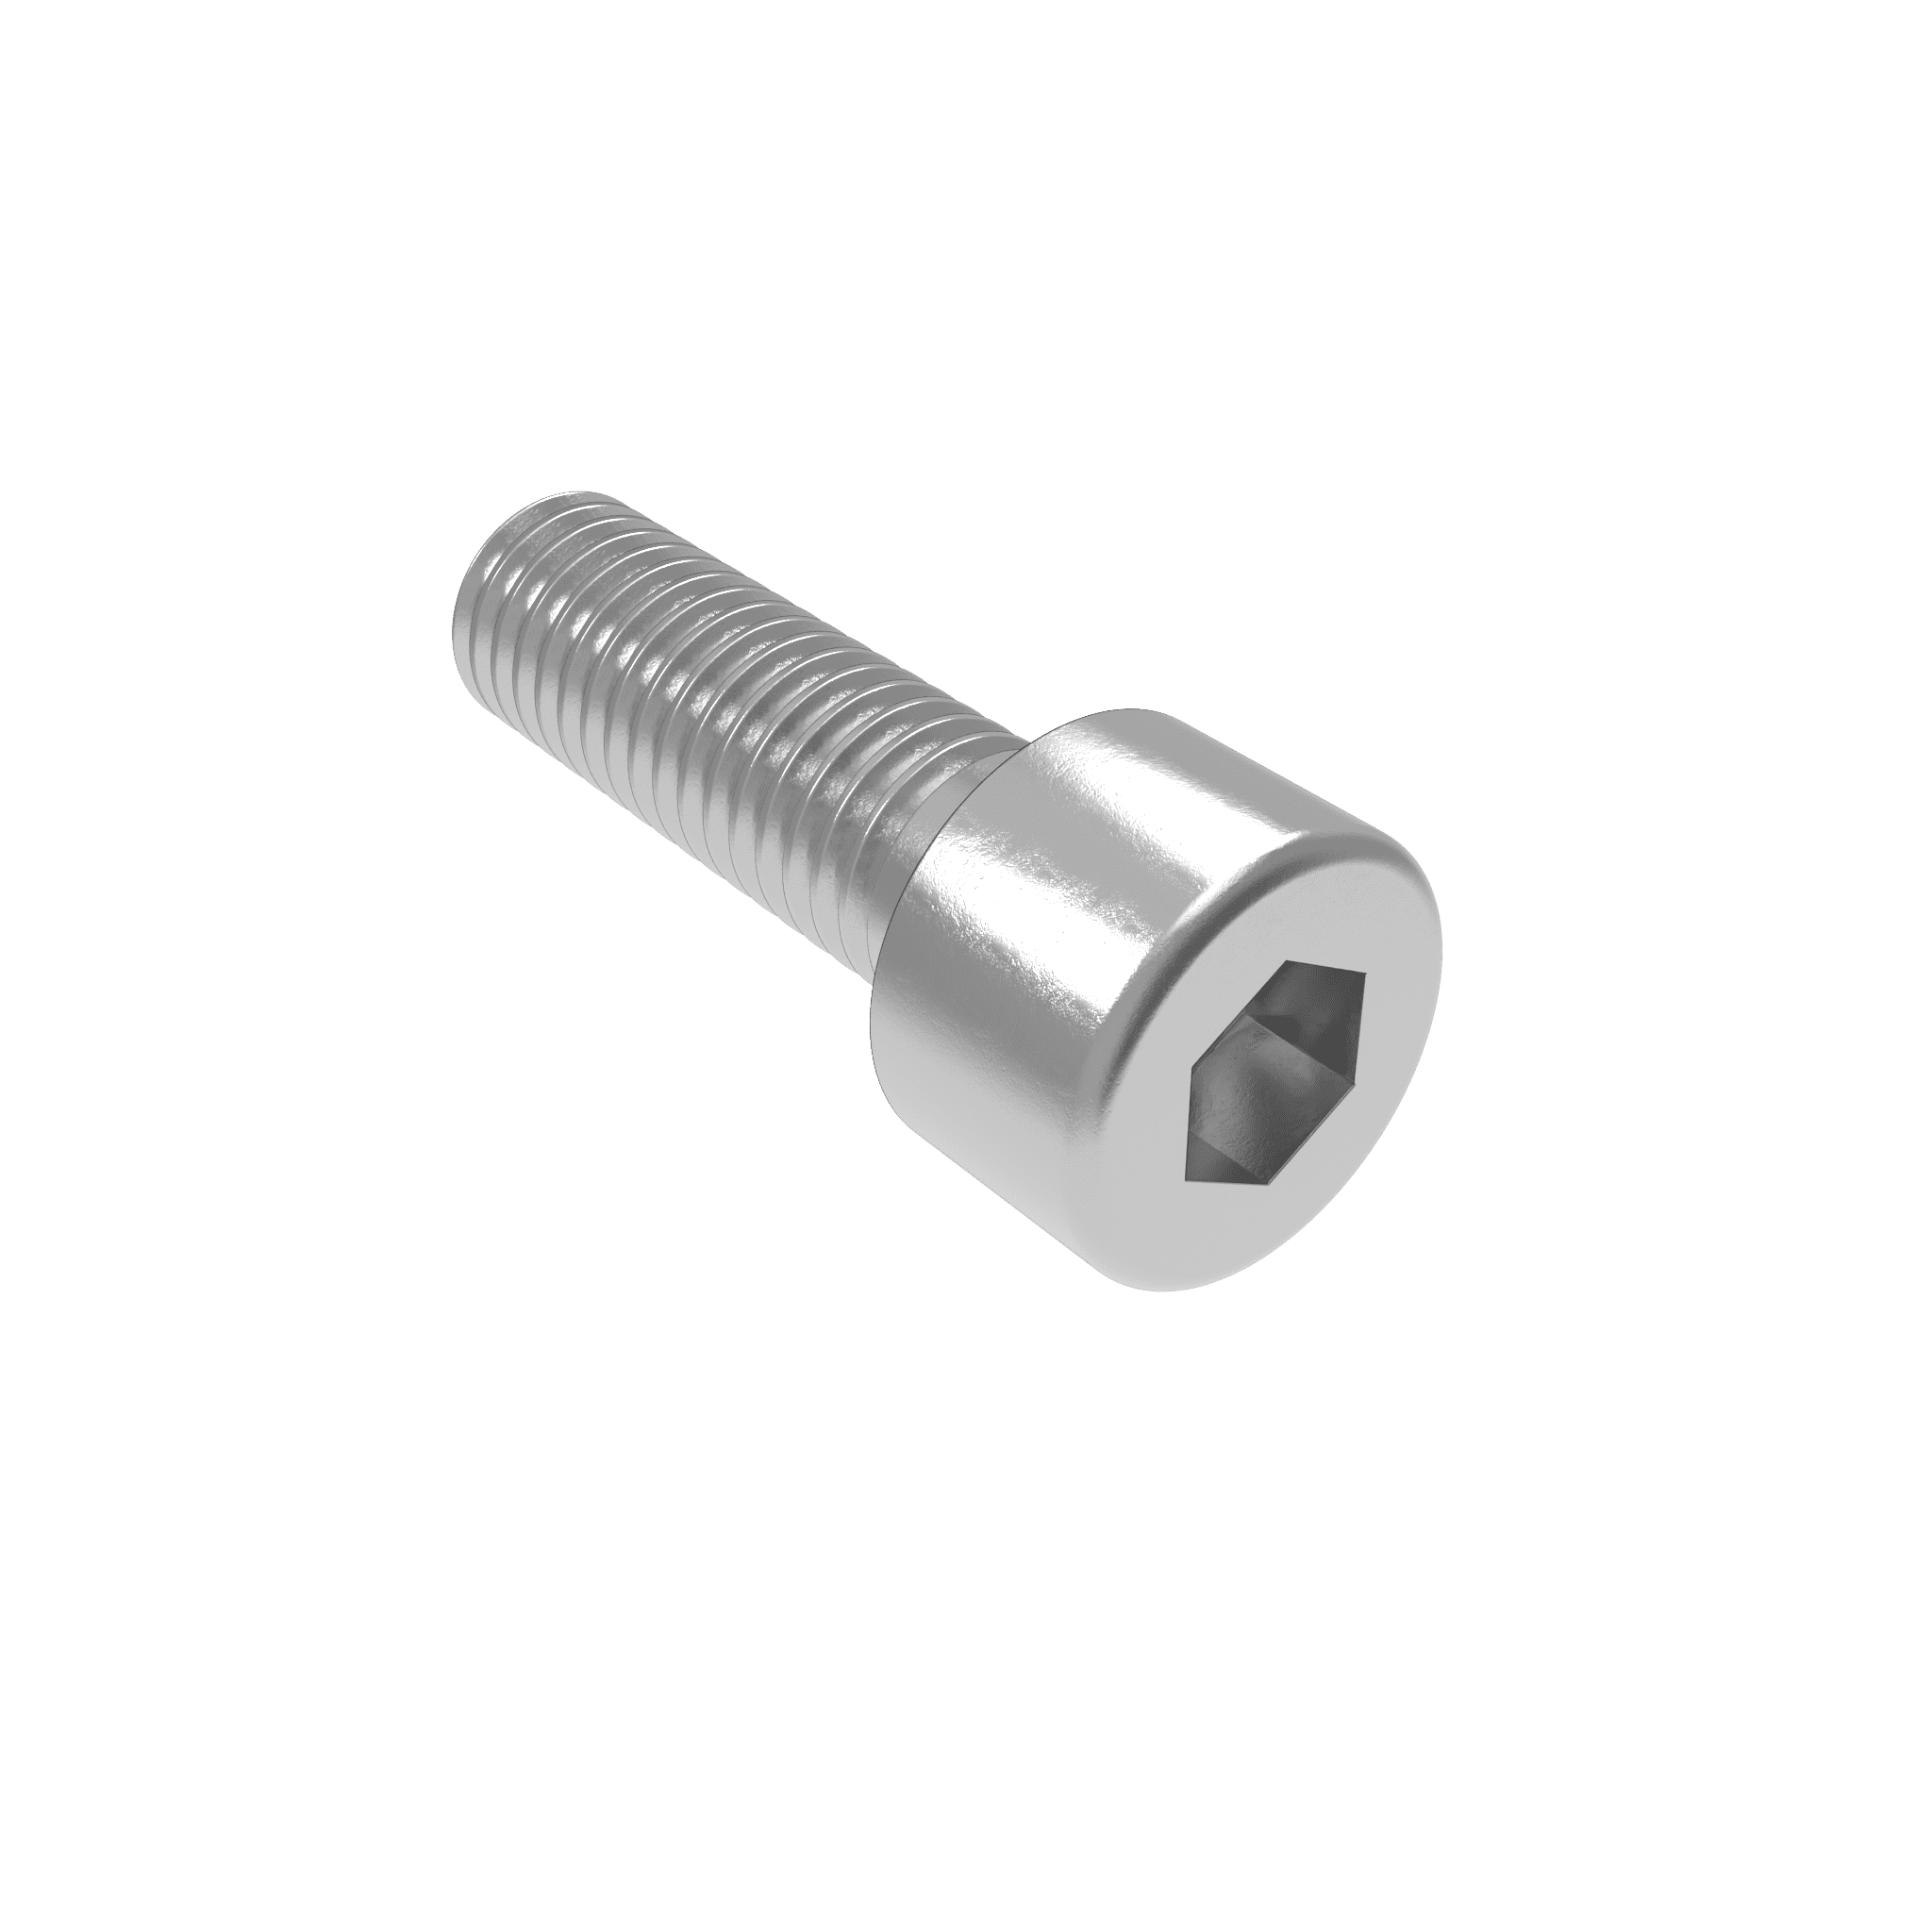
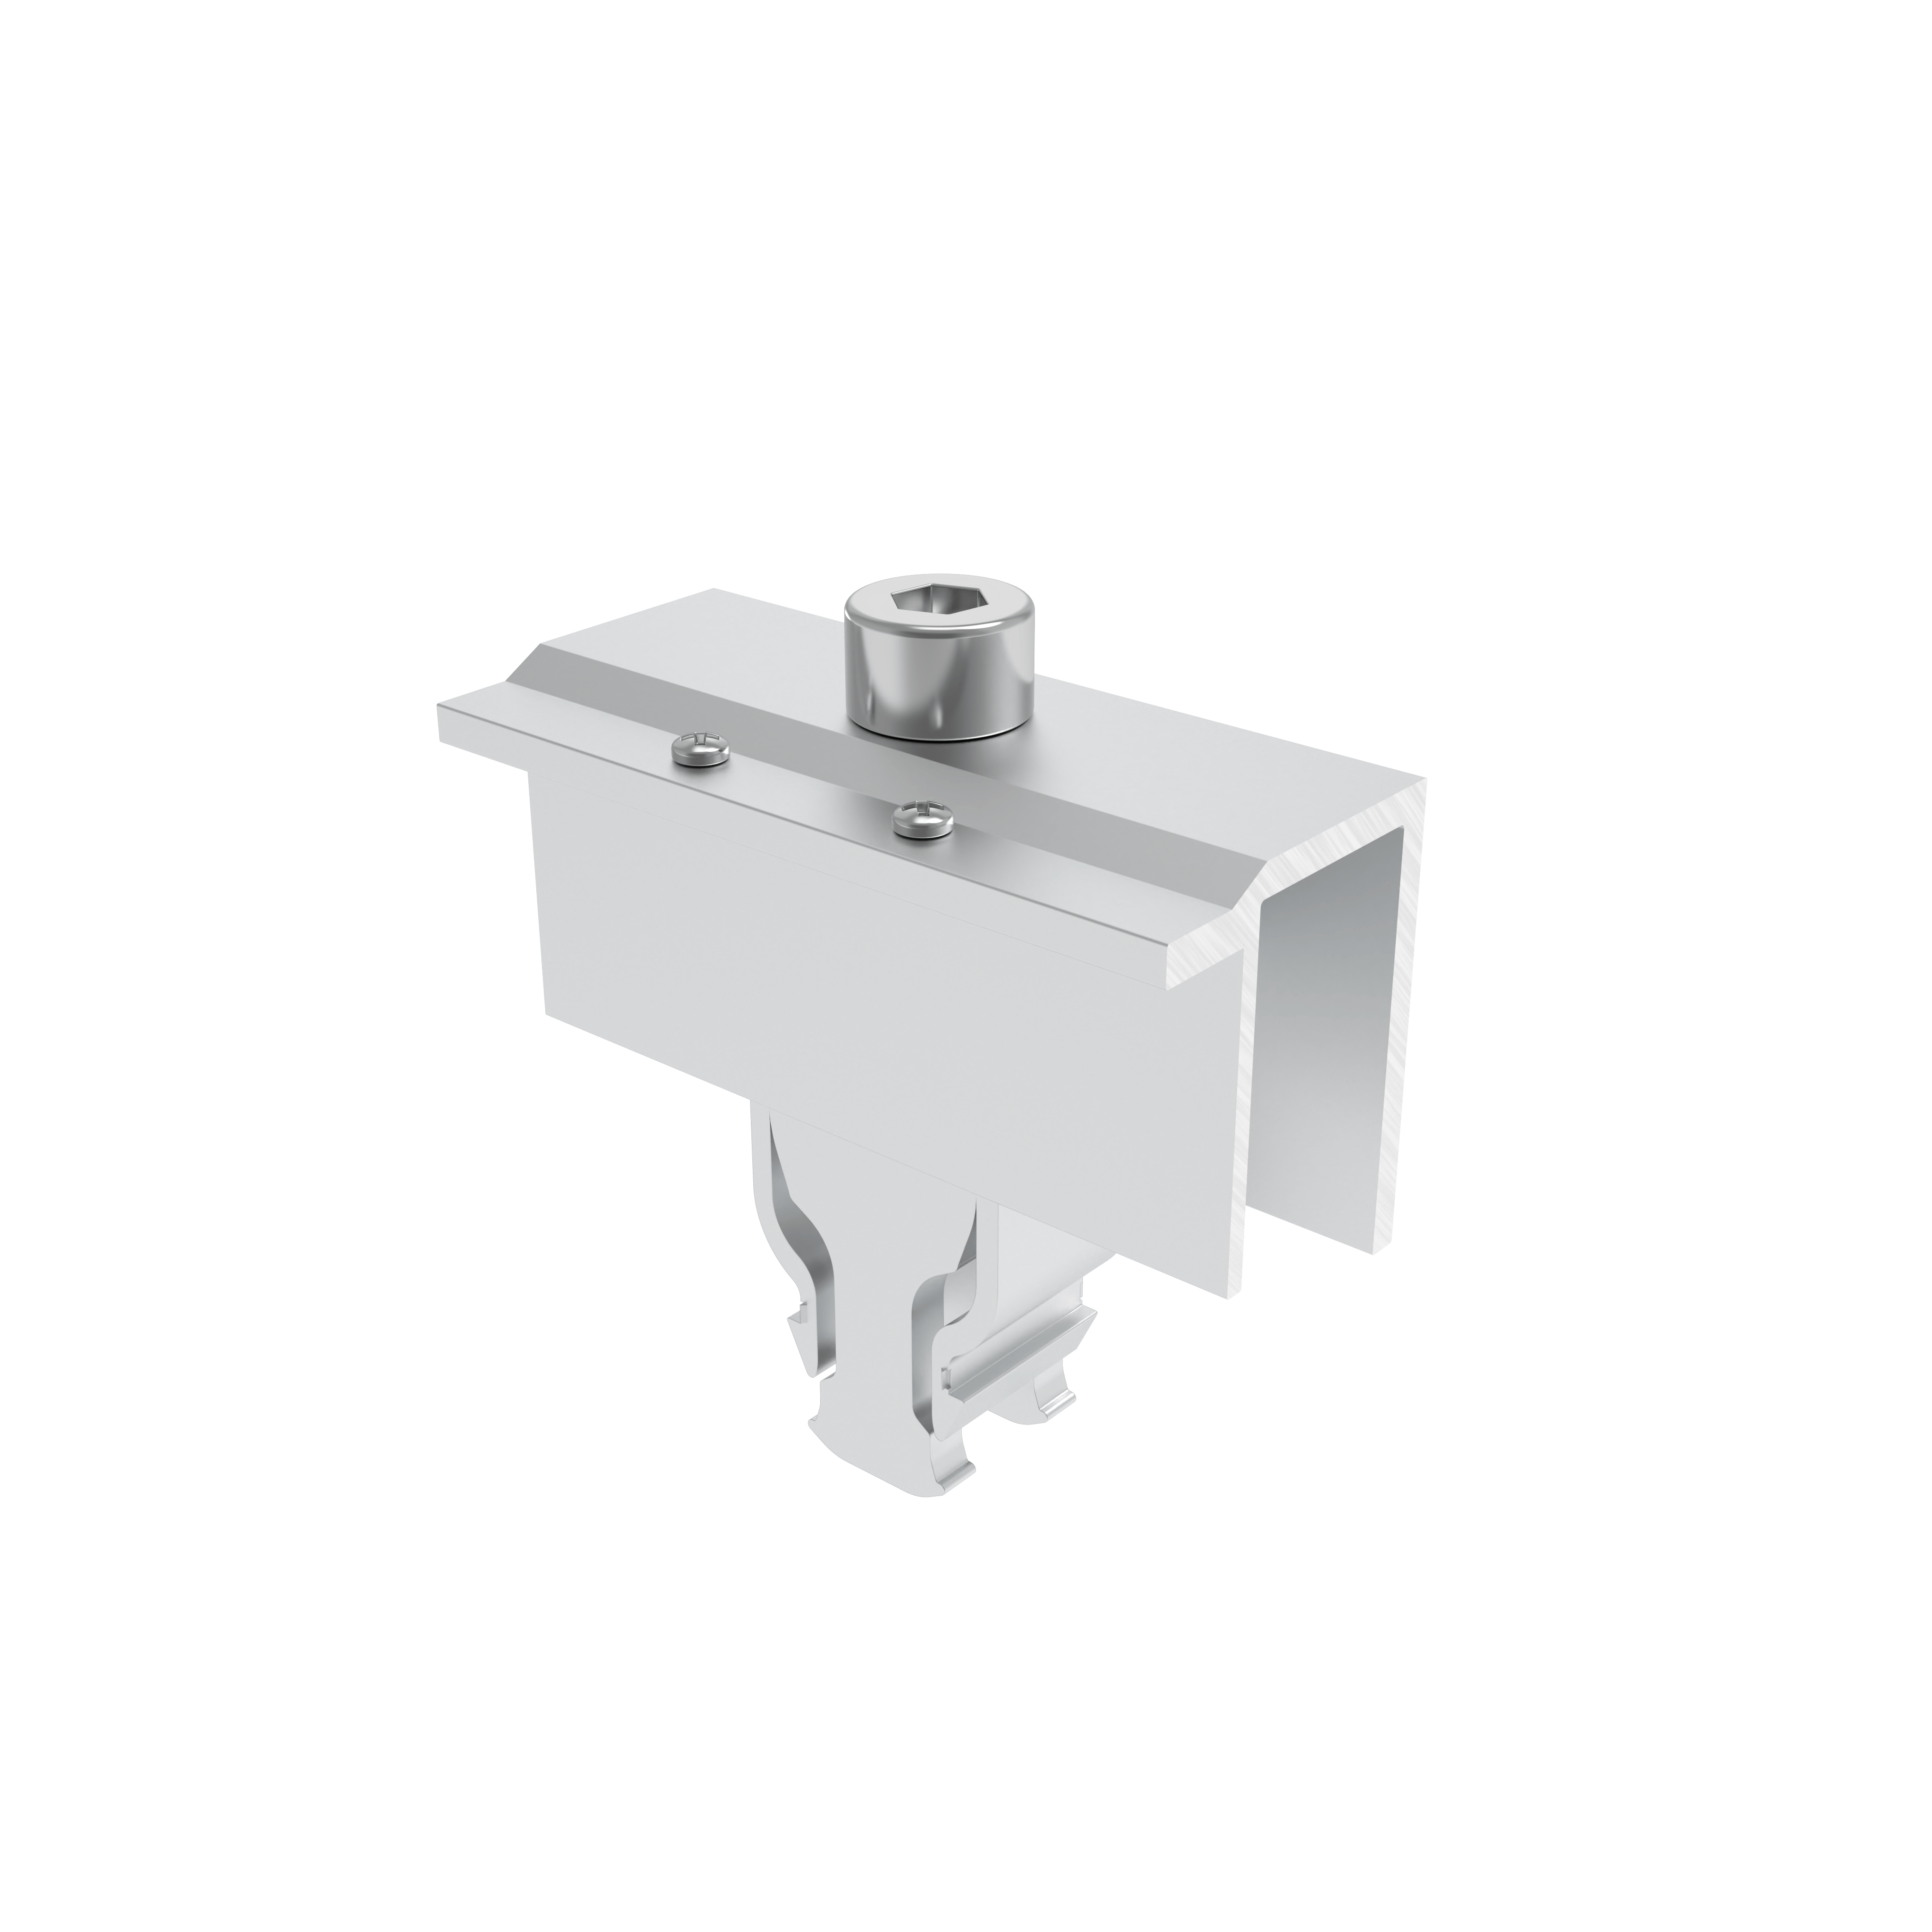
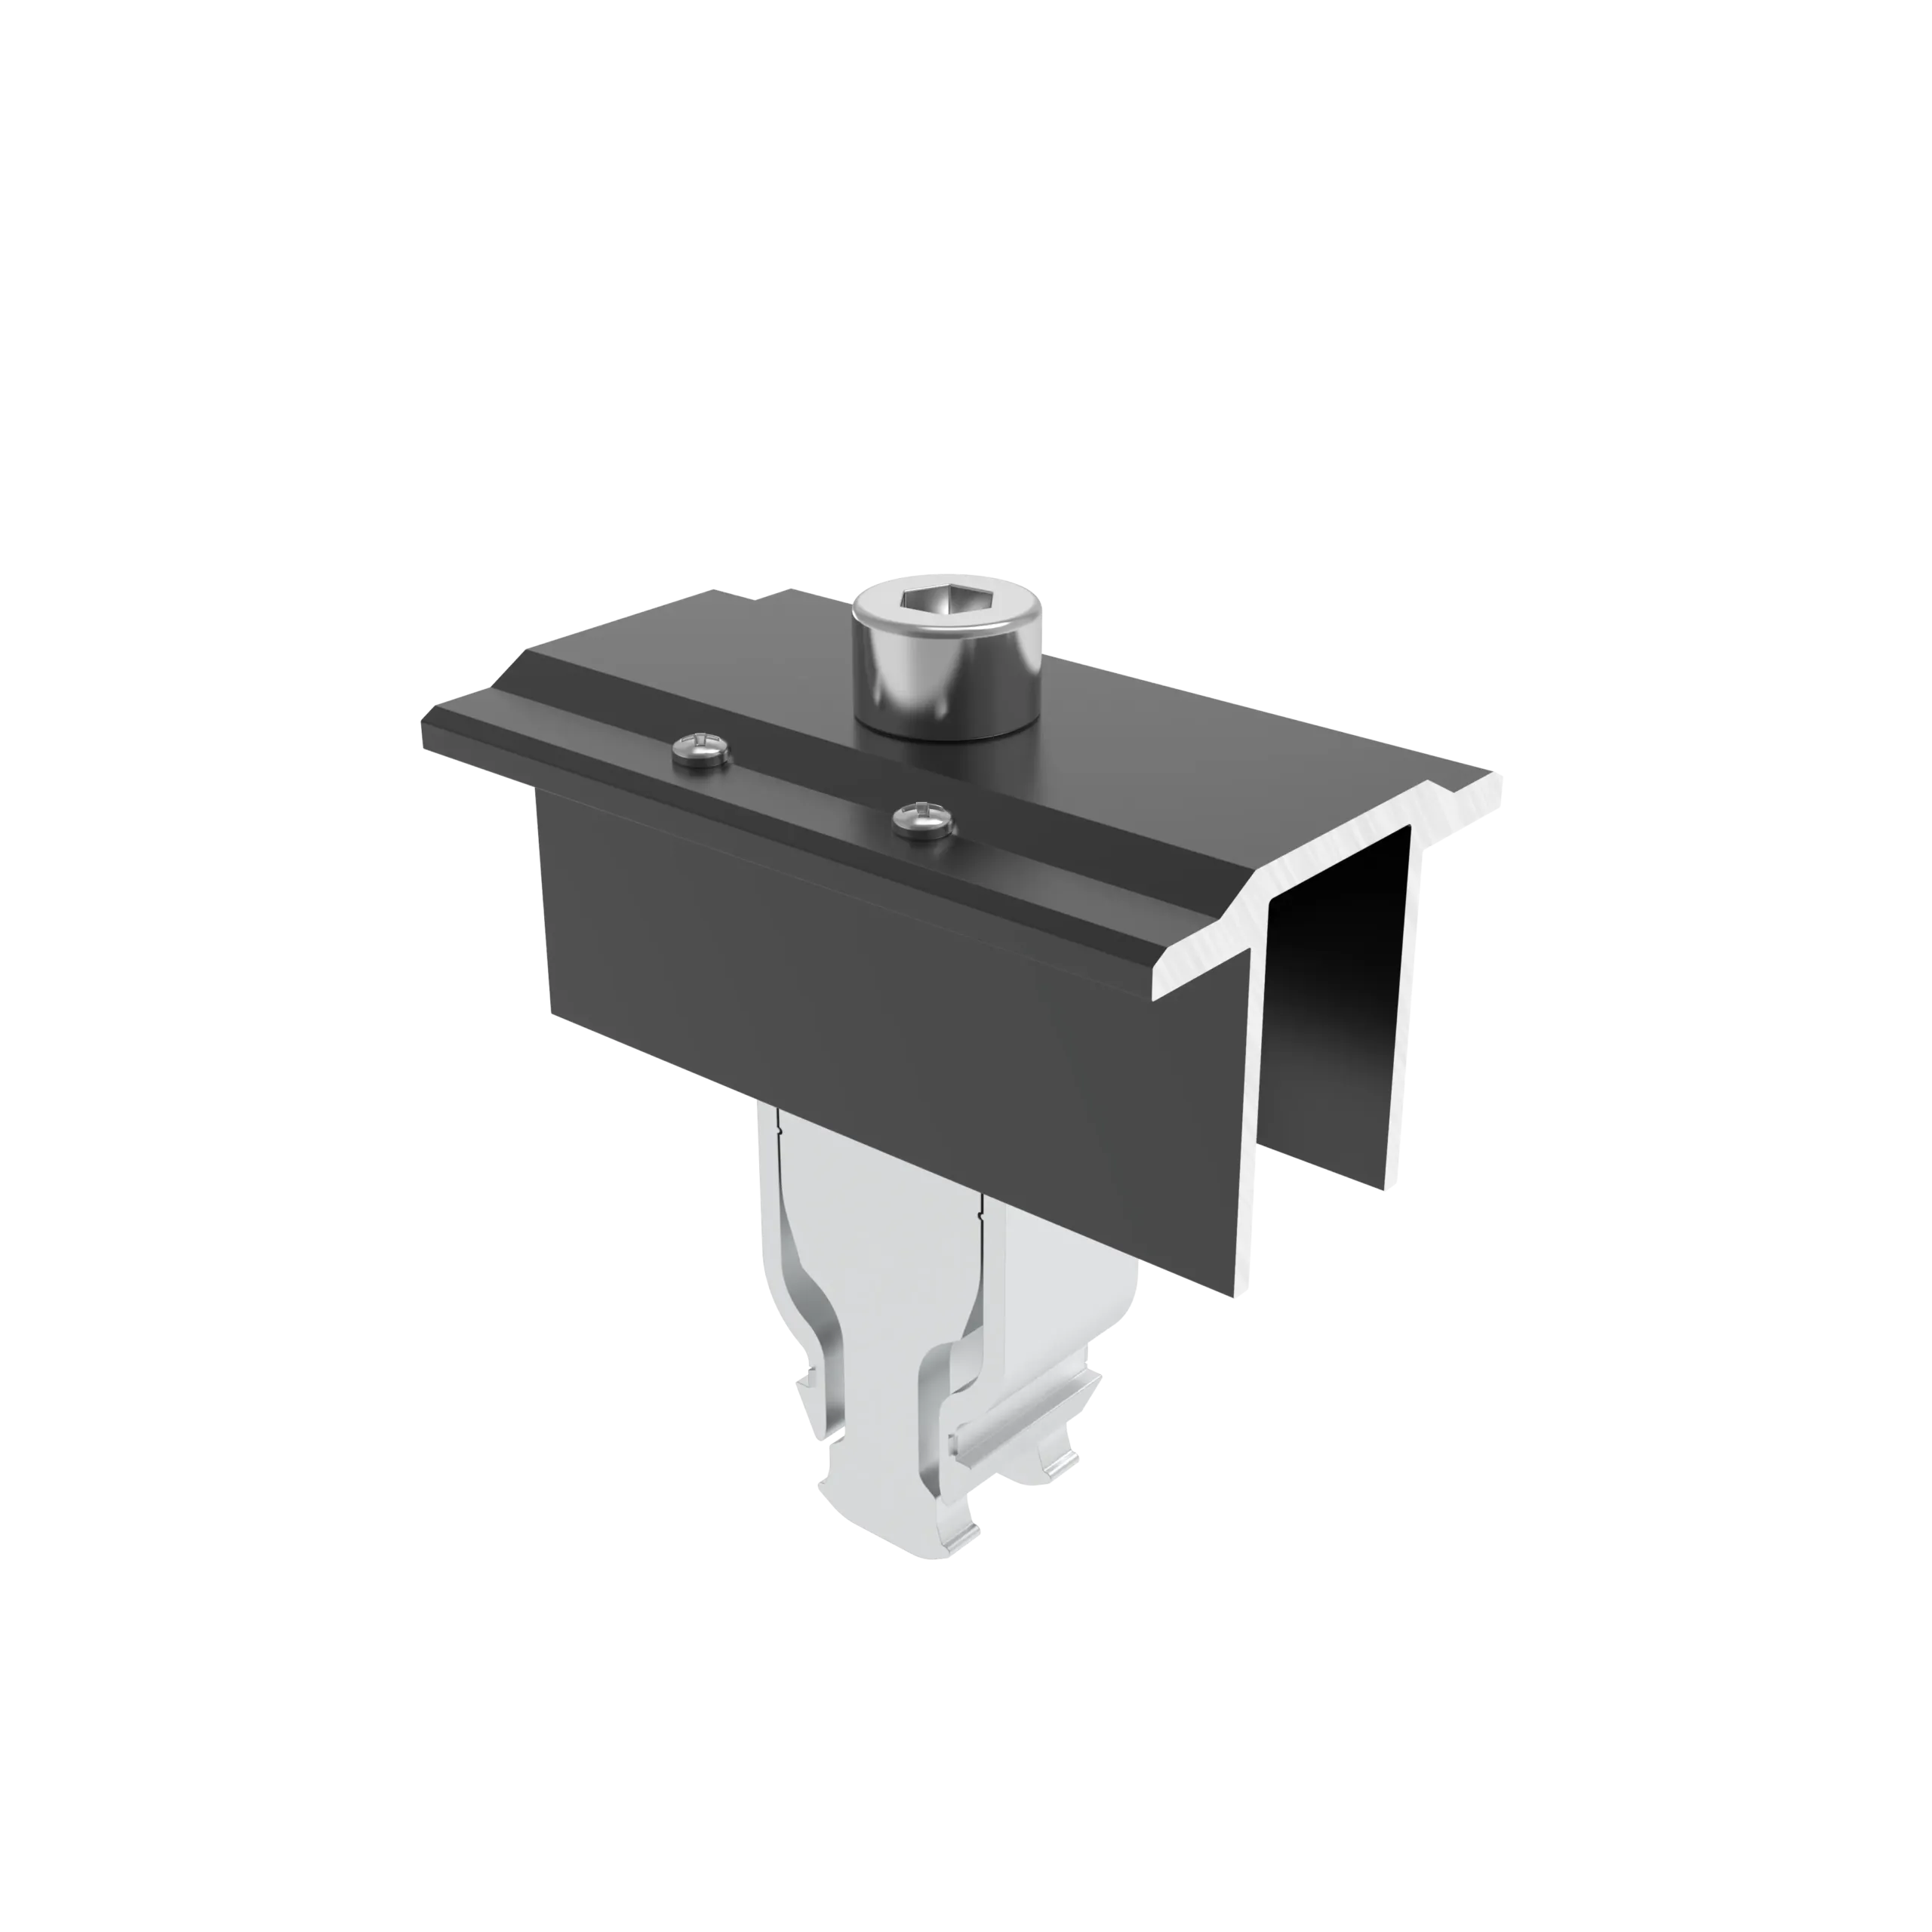
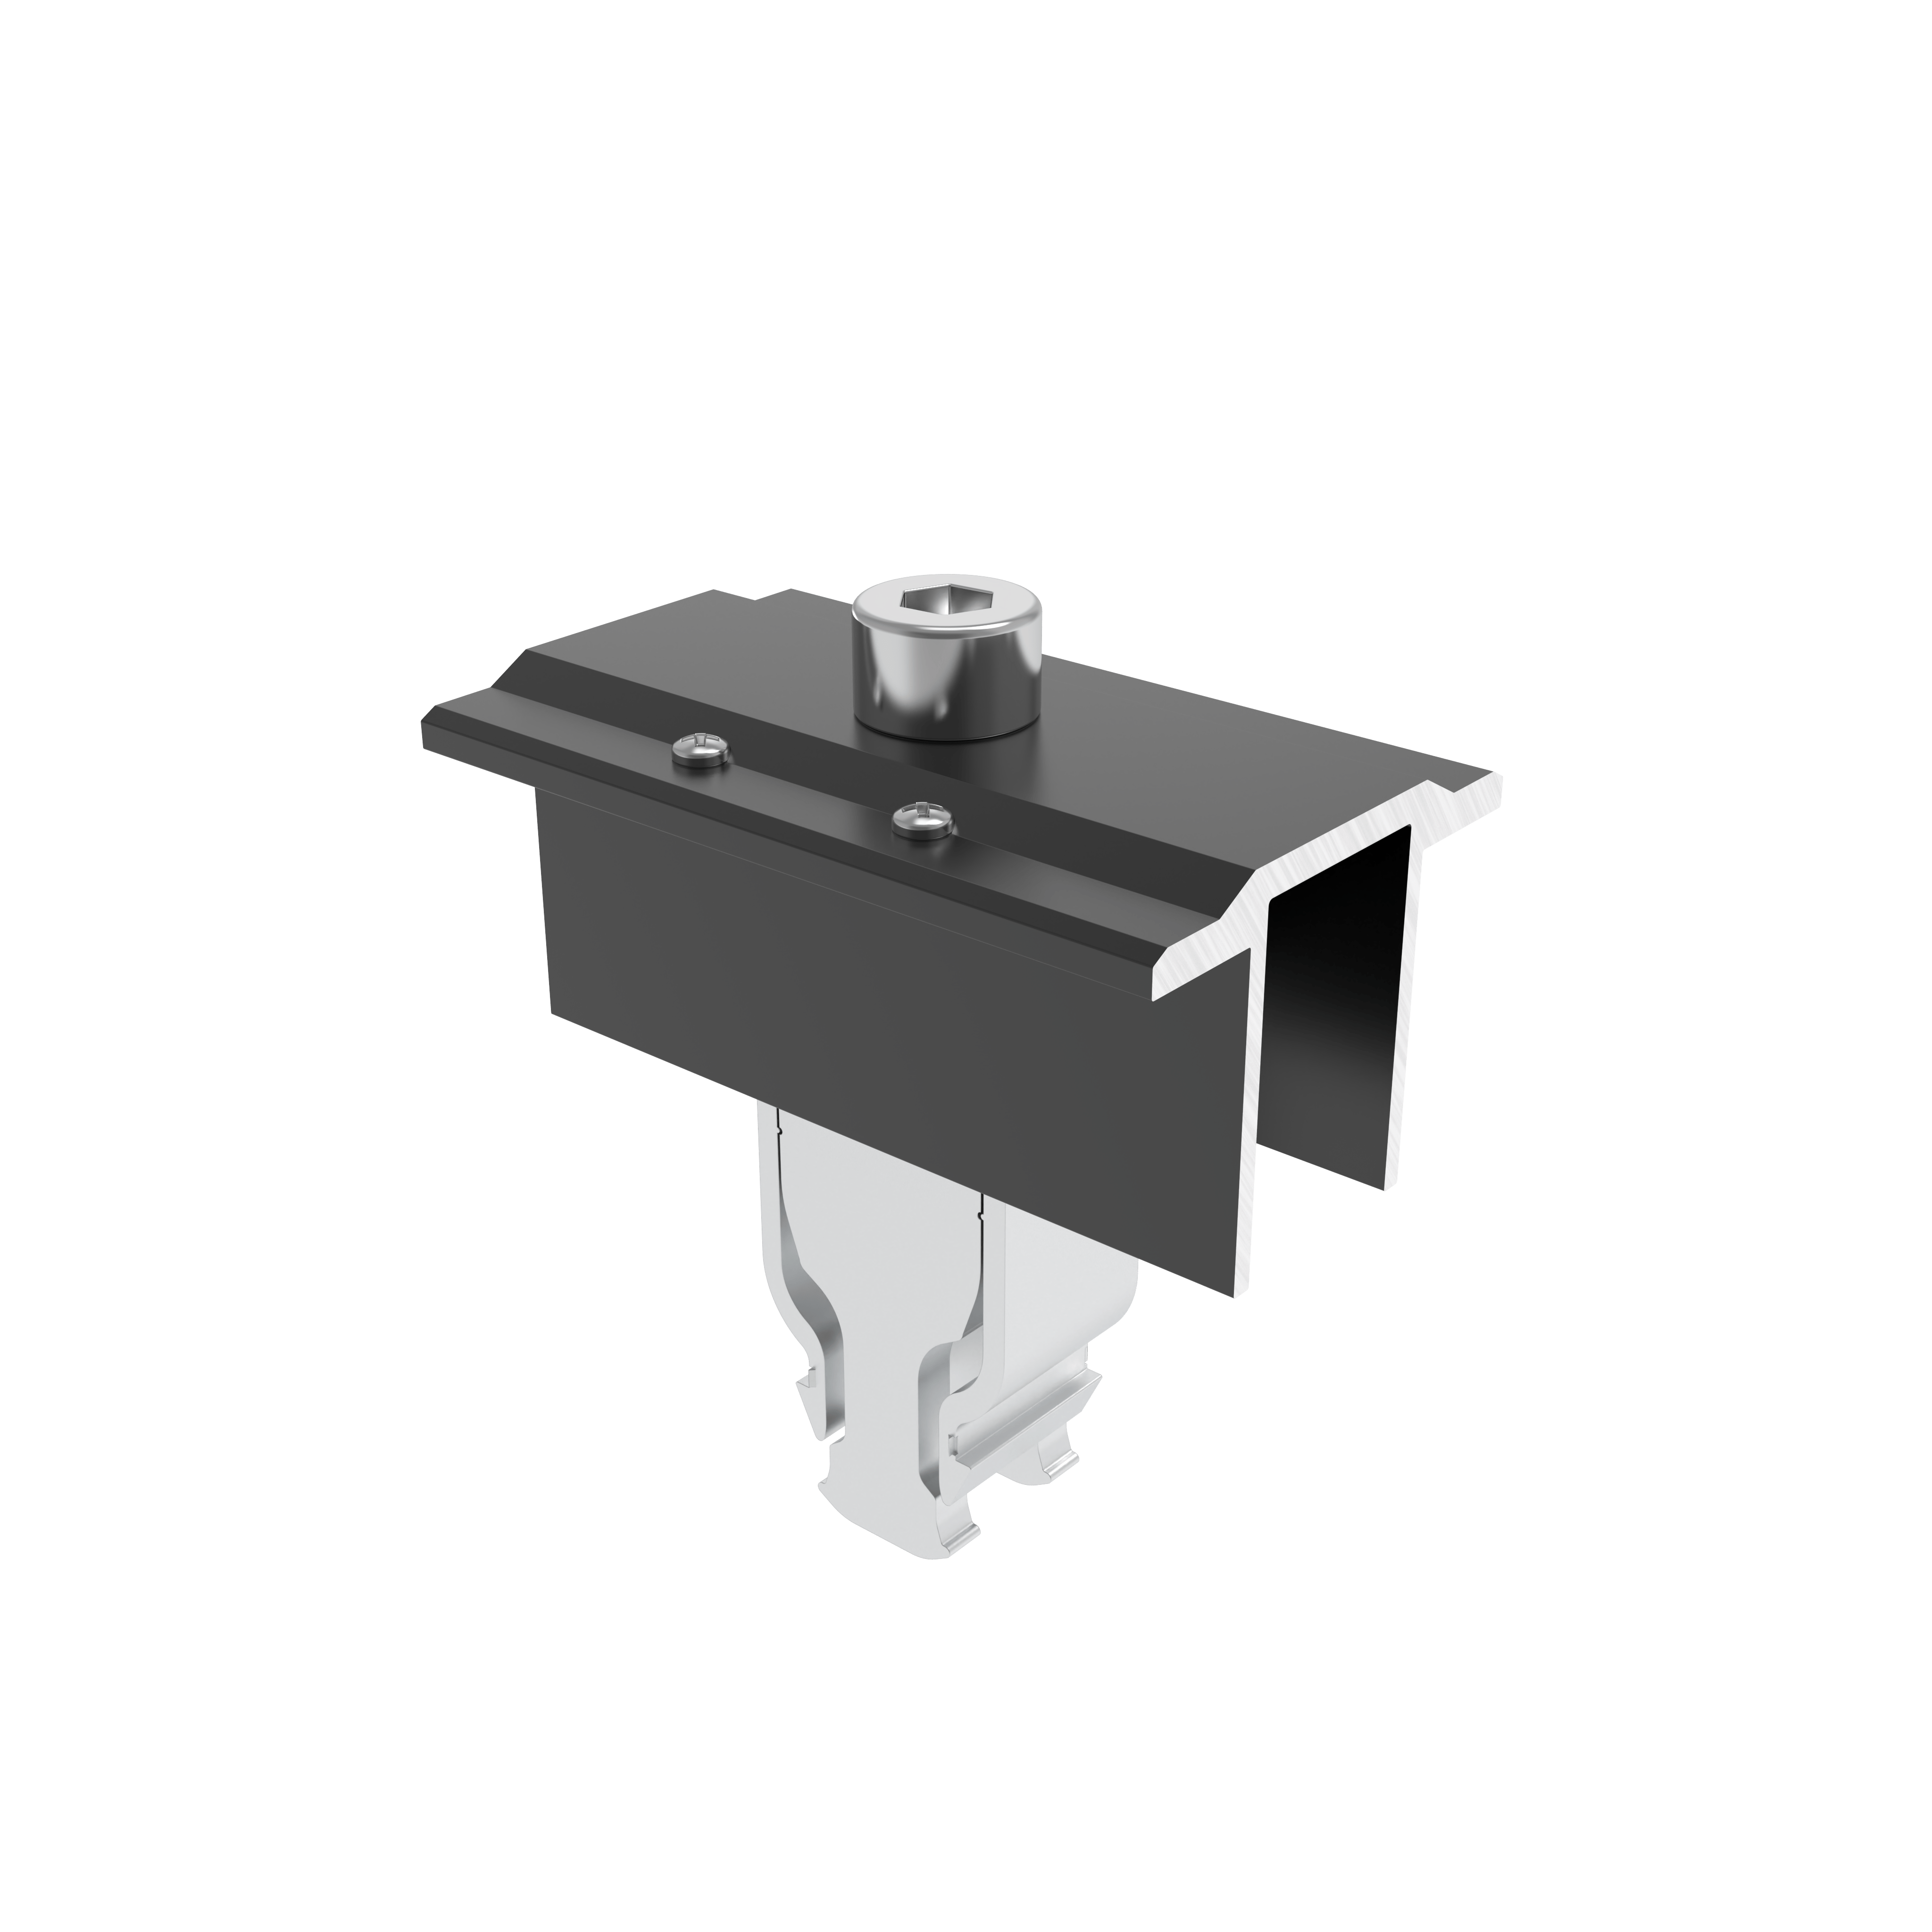
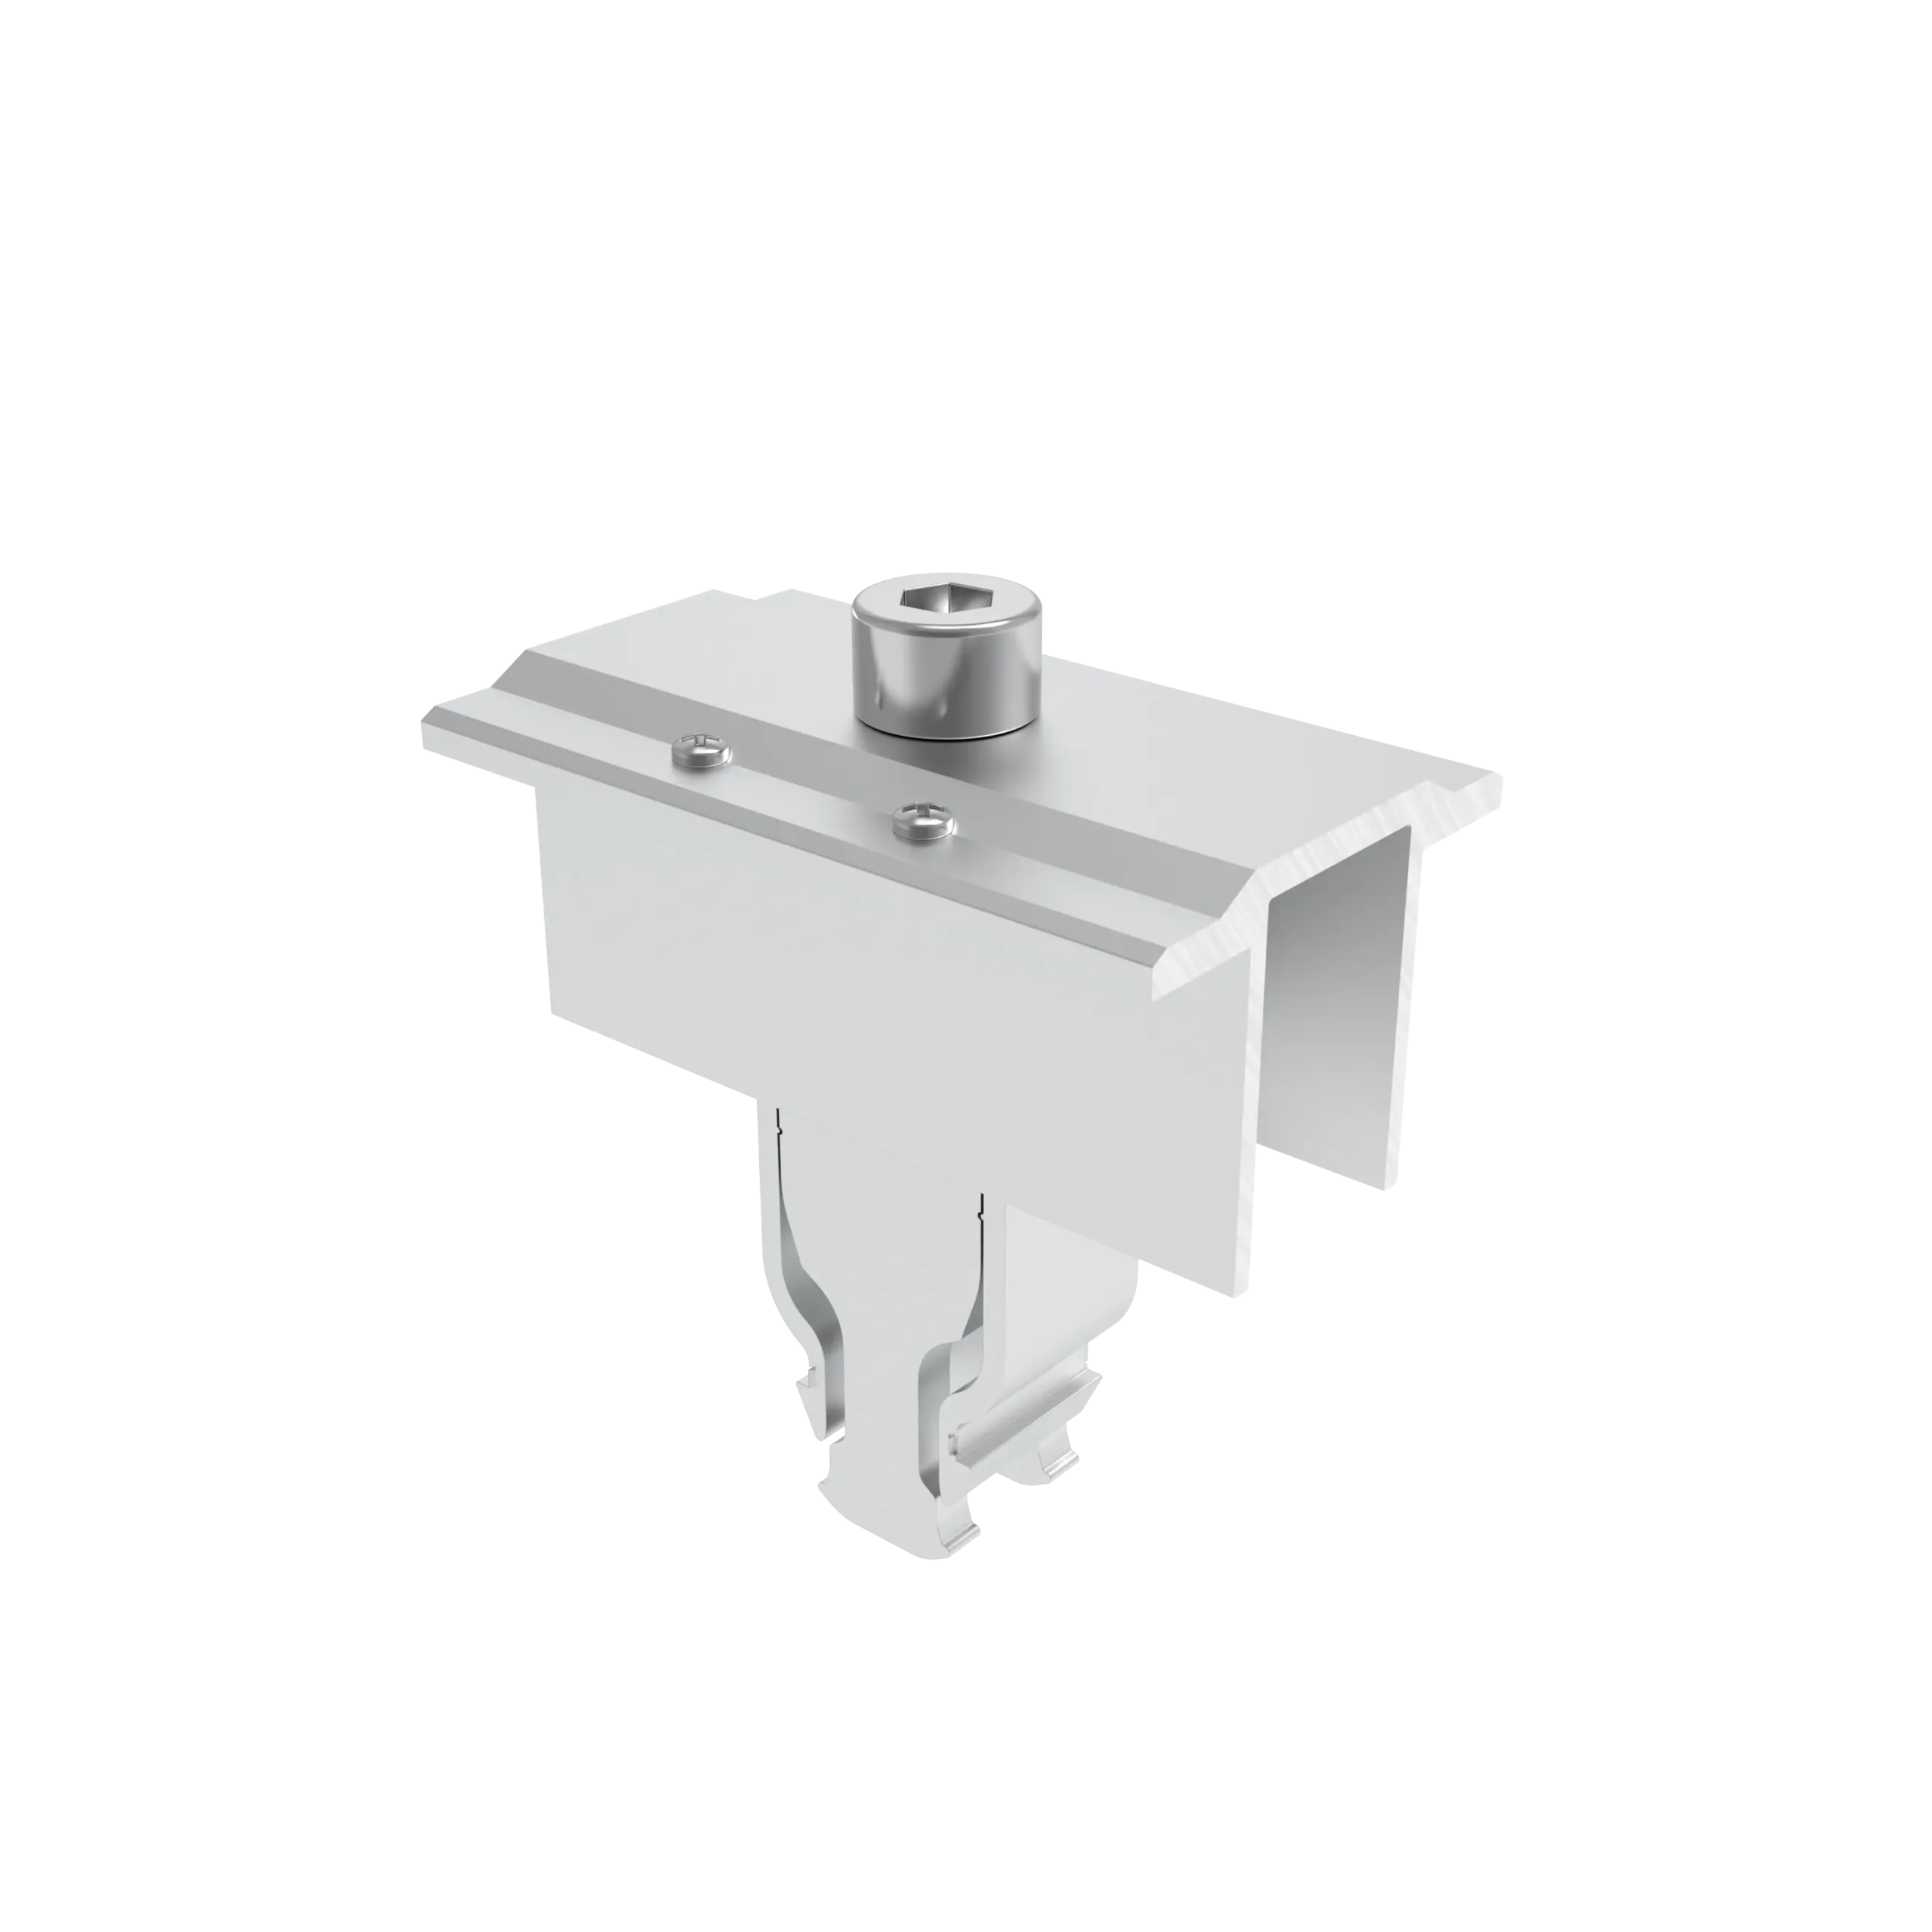
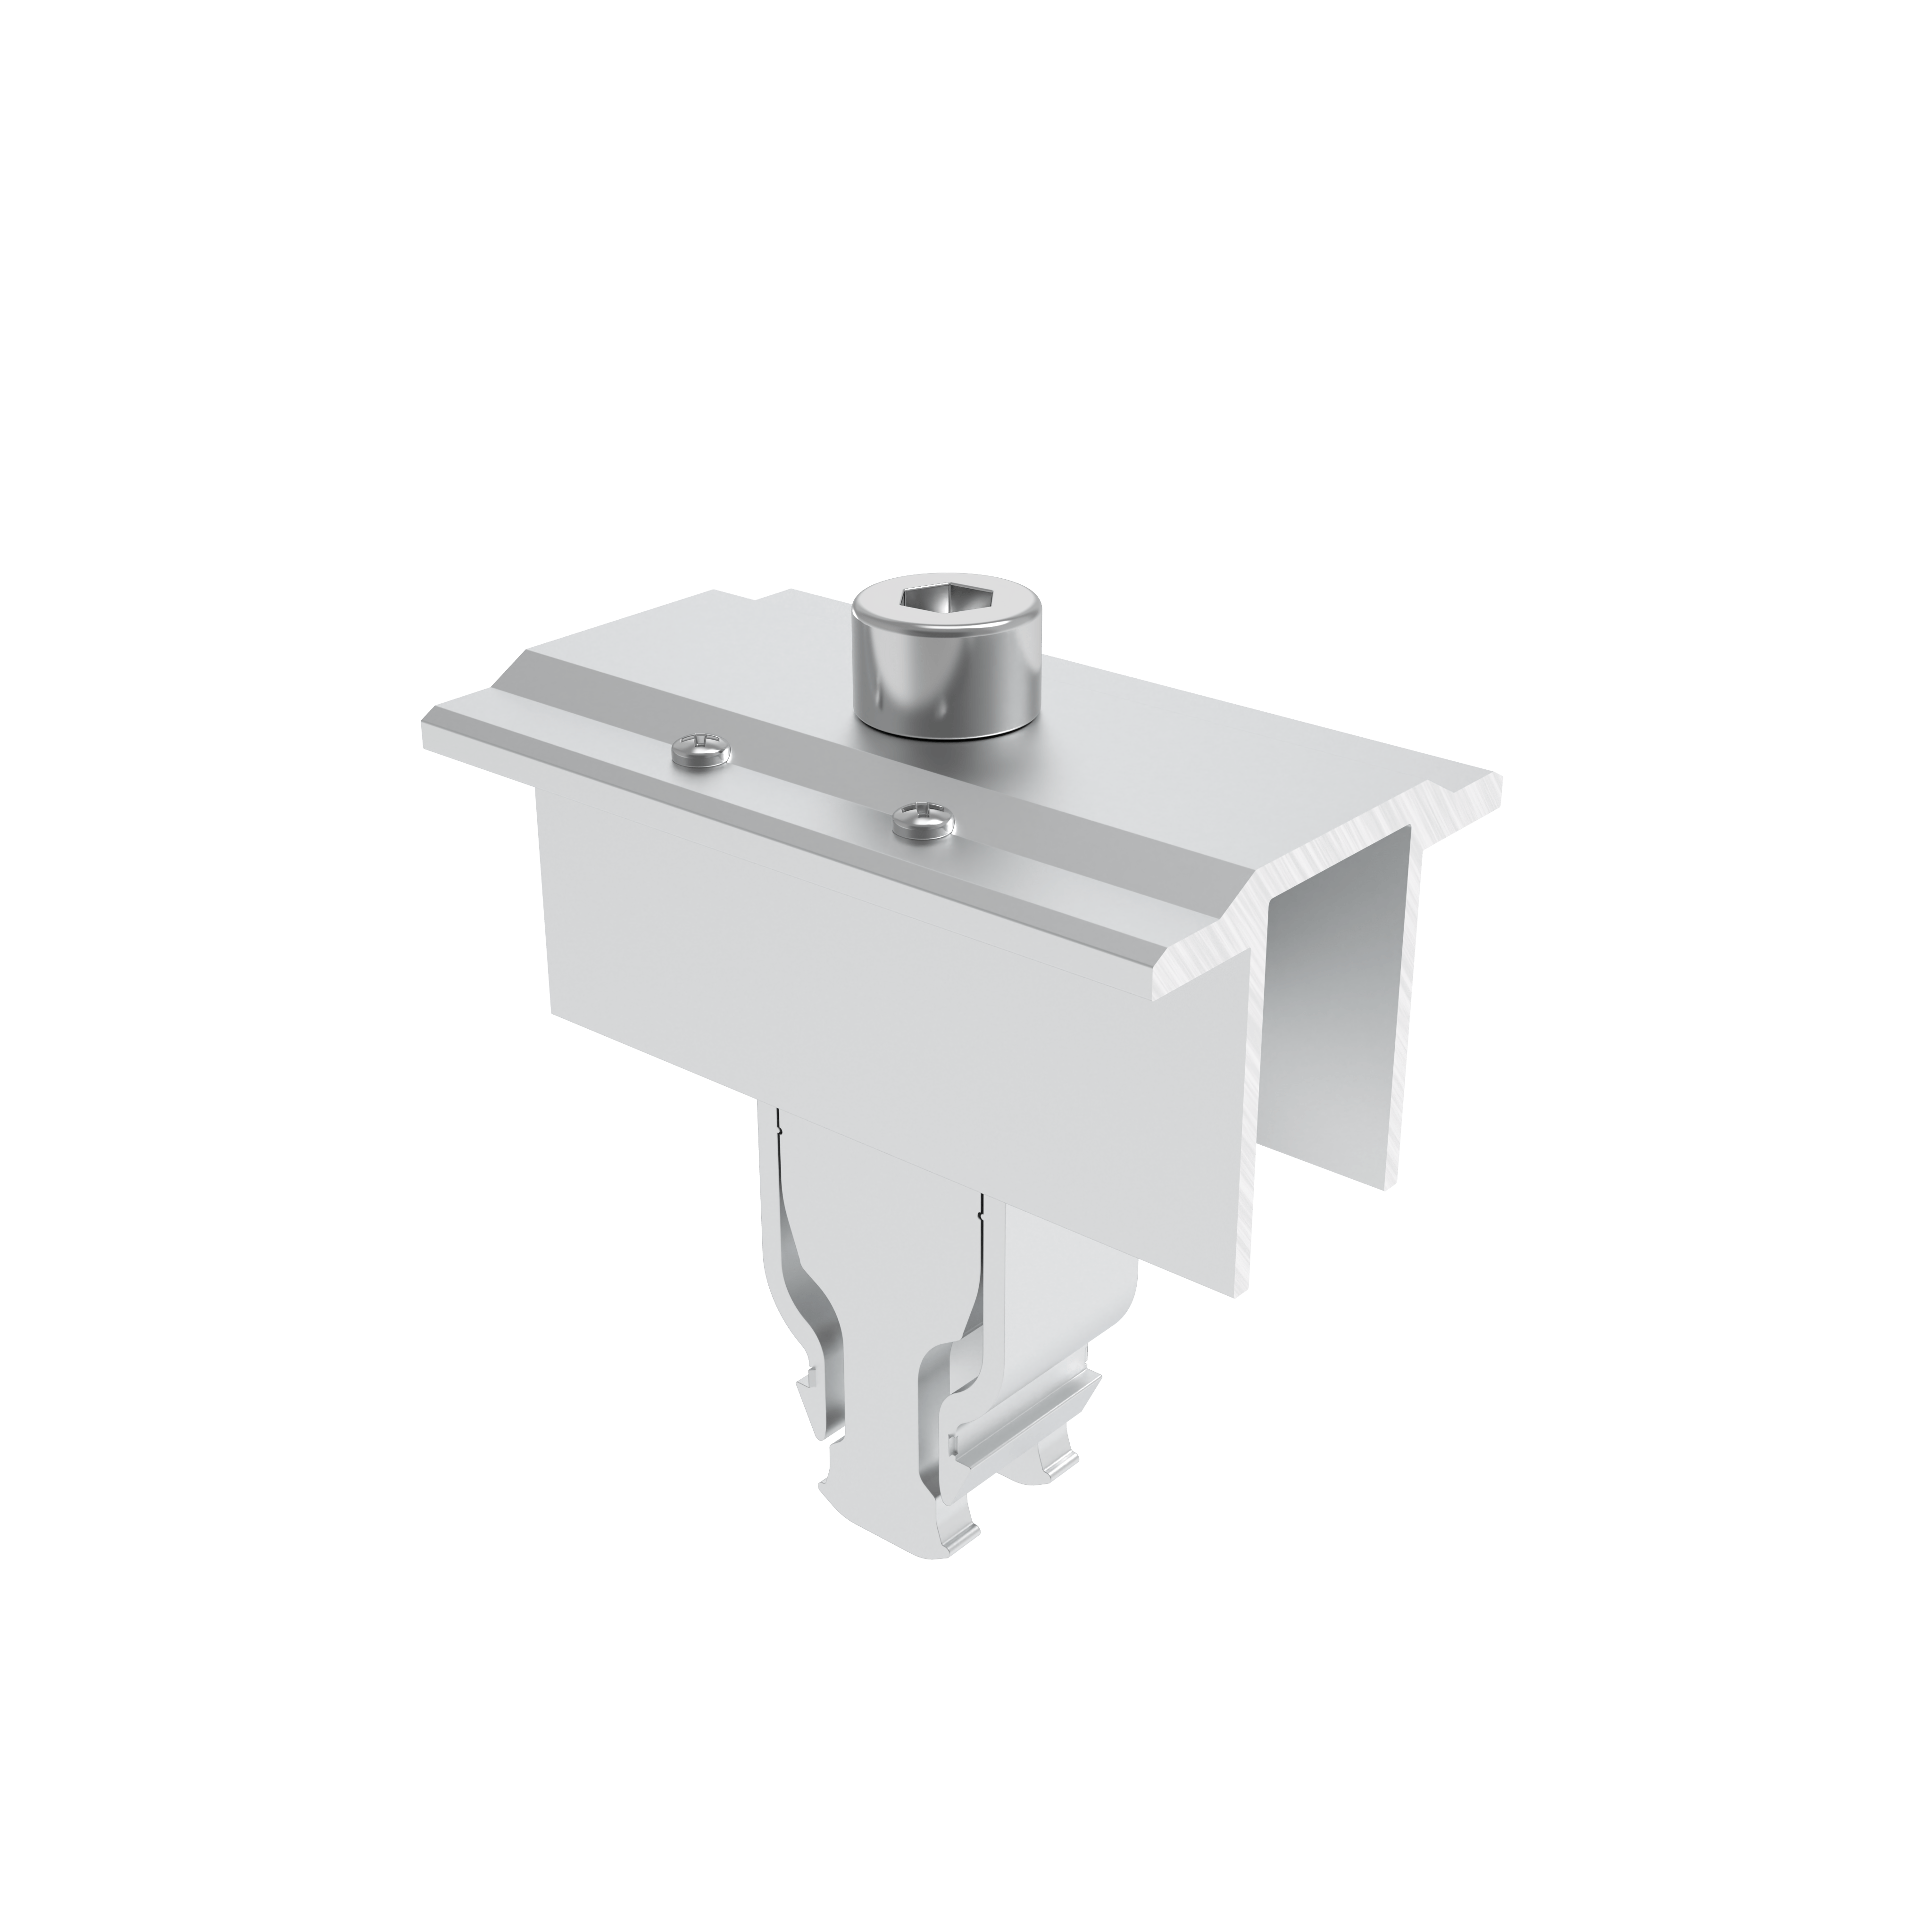
Position the mounting rail and fasten the roof hook and mounting rail together using a cylinder head screw M8x20.
The tightening torque must be 15 Nm.

Installation of the PTS-IR Replacement Tile

Position the module clamps and the pv modules on the mounting rails.
The module middle clamps and module end clamps can be clicked into the mounting rail. They are then tightened with a torque of 15 Nm.

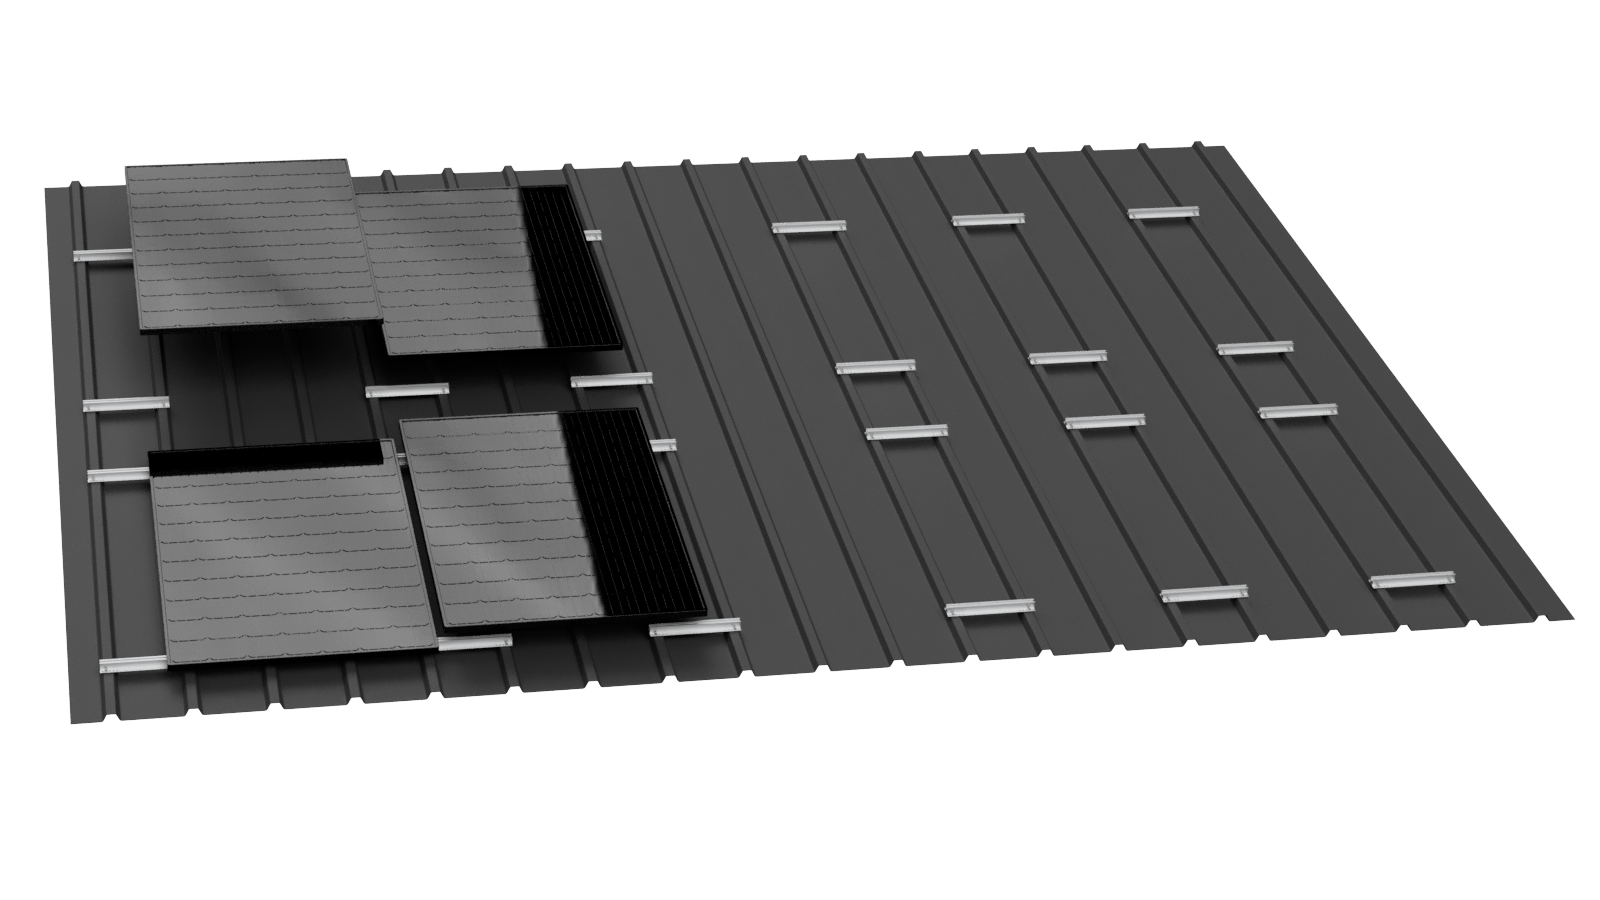
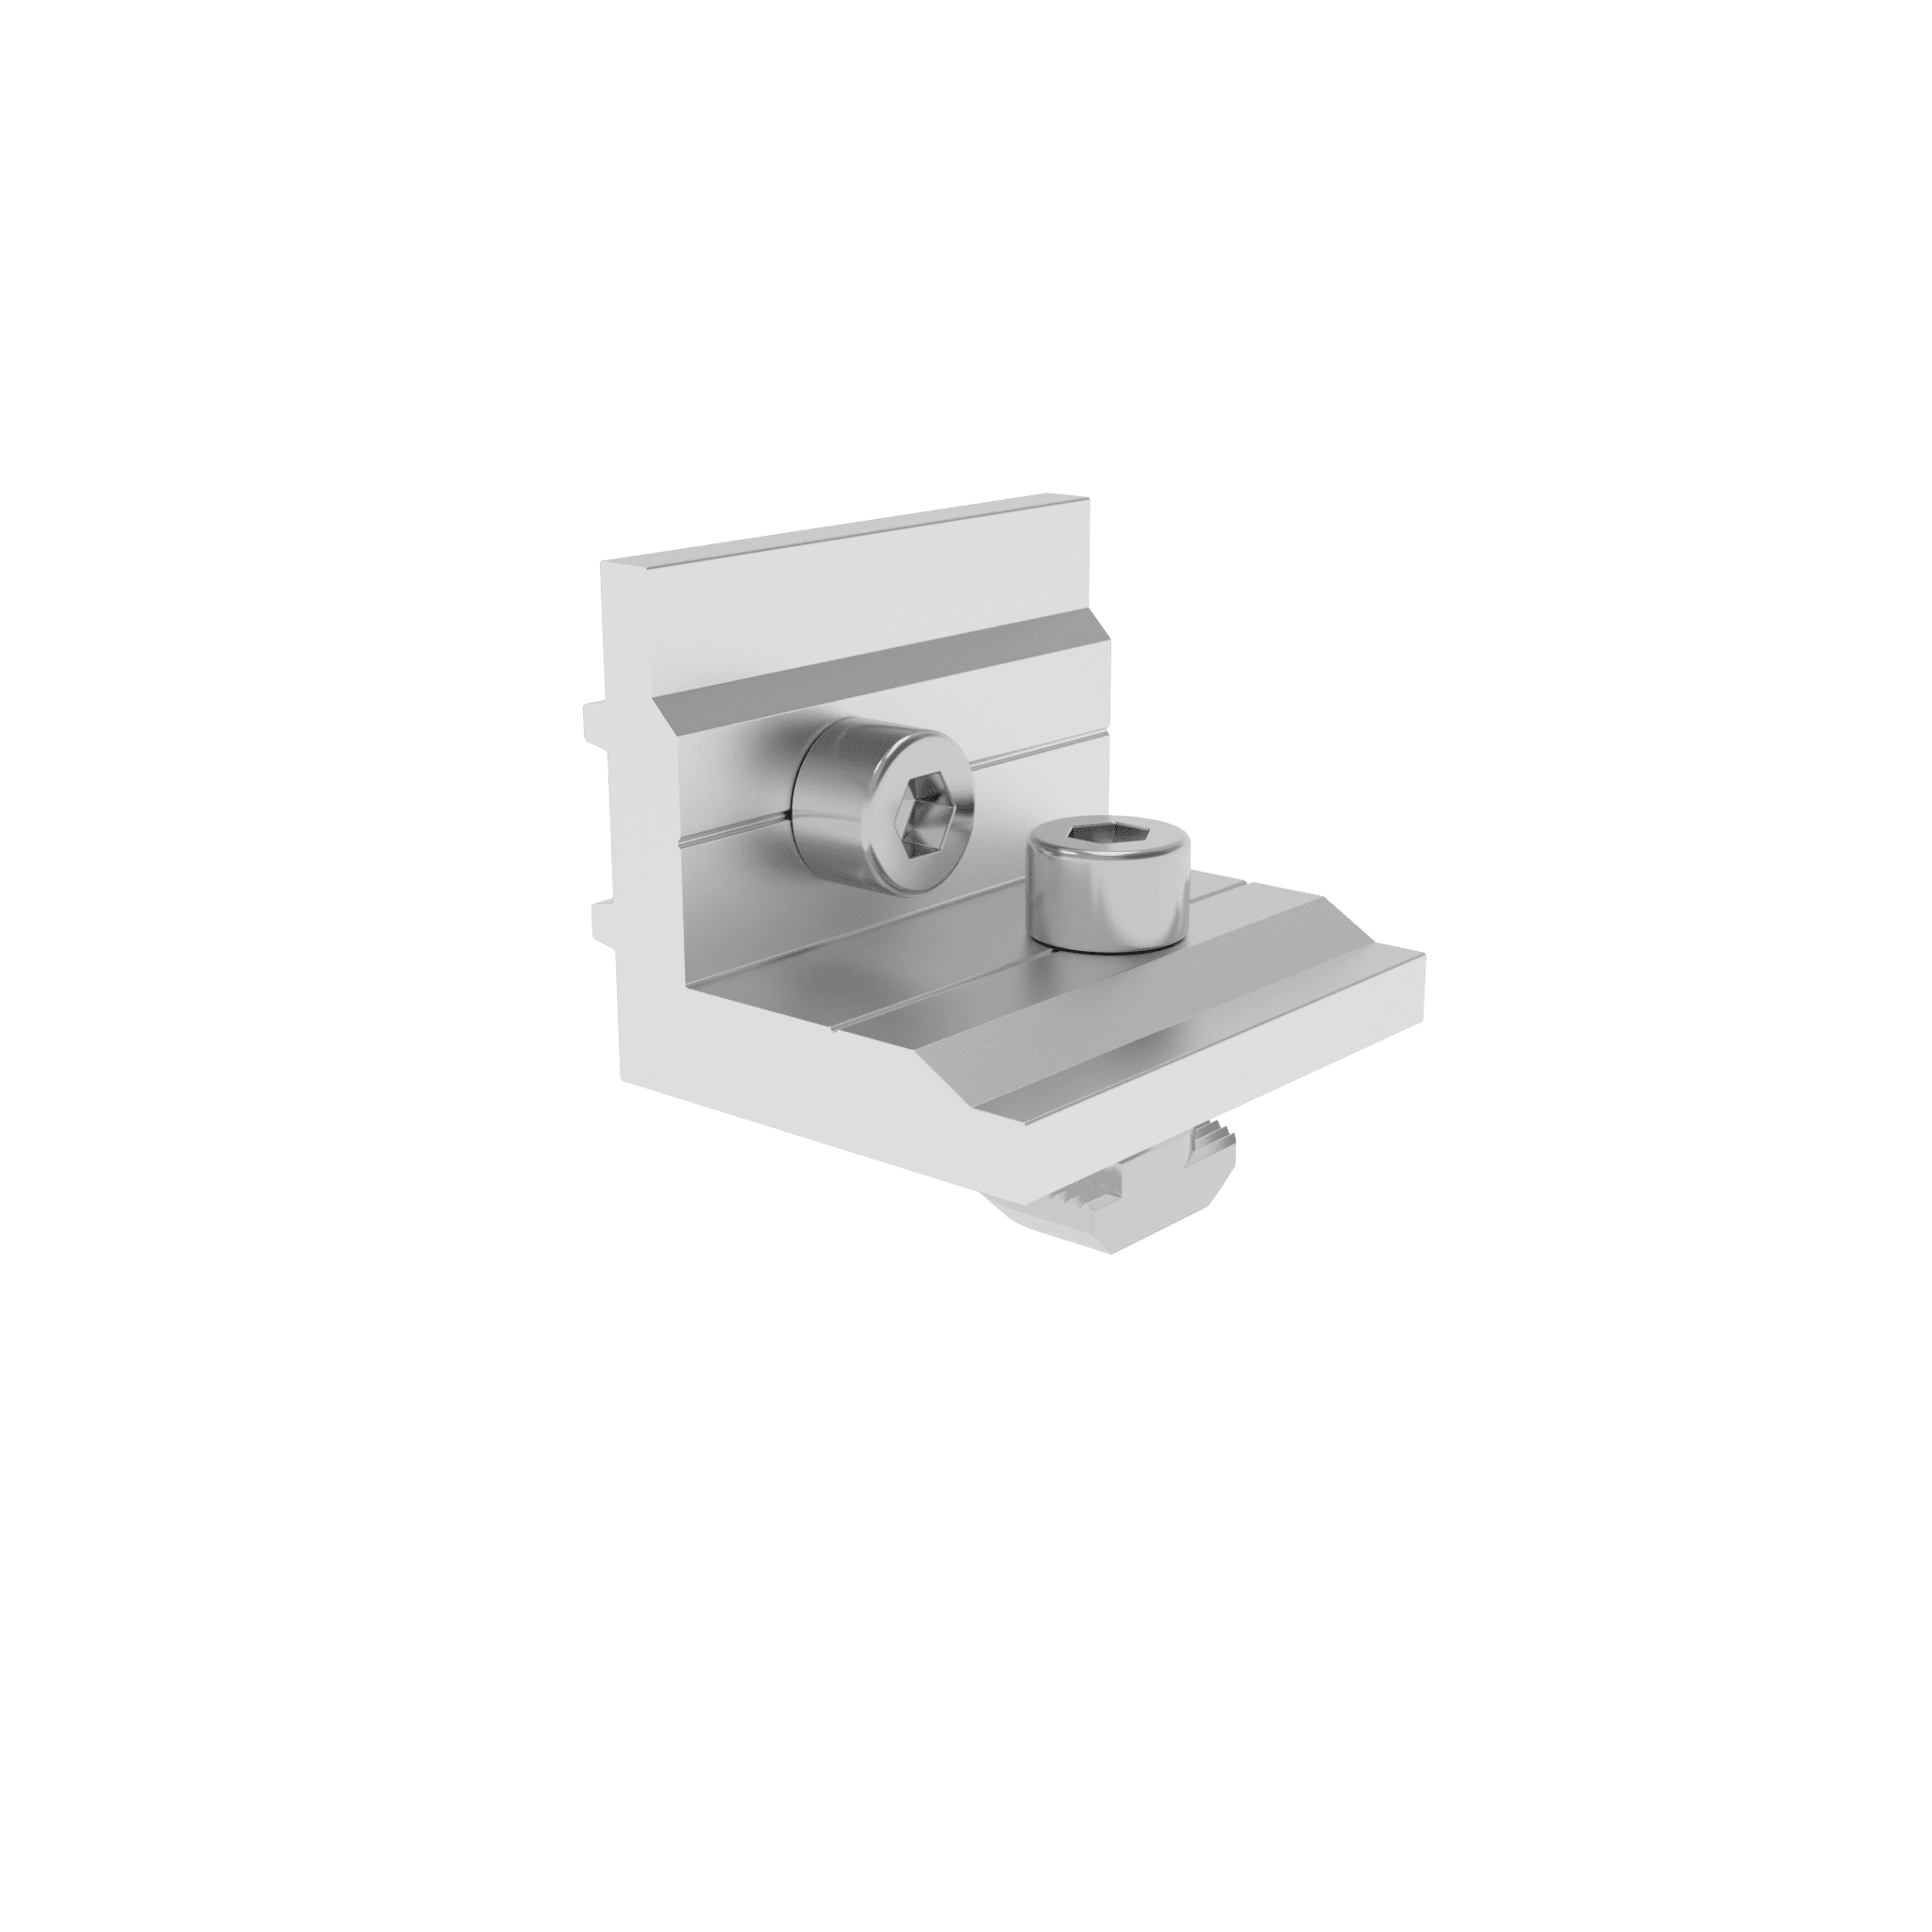
System Components
The PTS-IR system consists of only a few components, simplifying your inventory management and logistics.
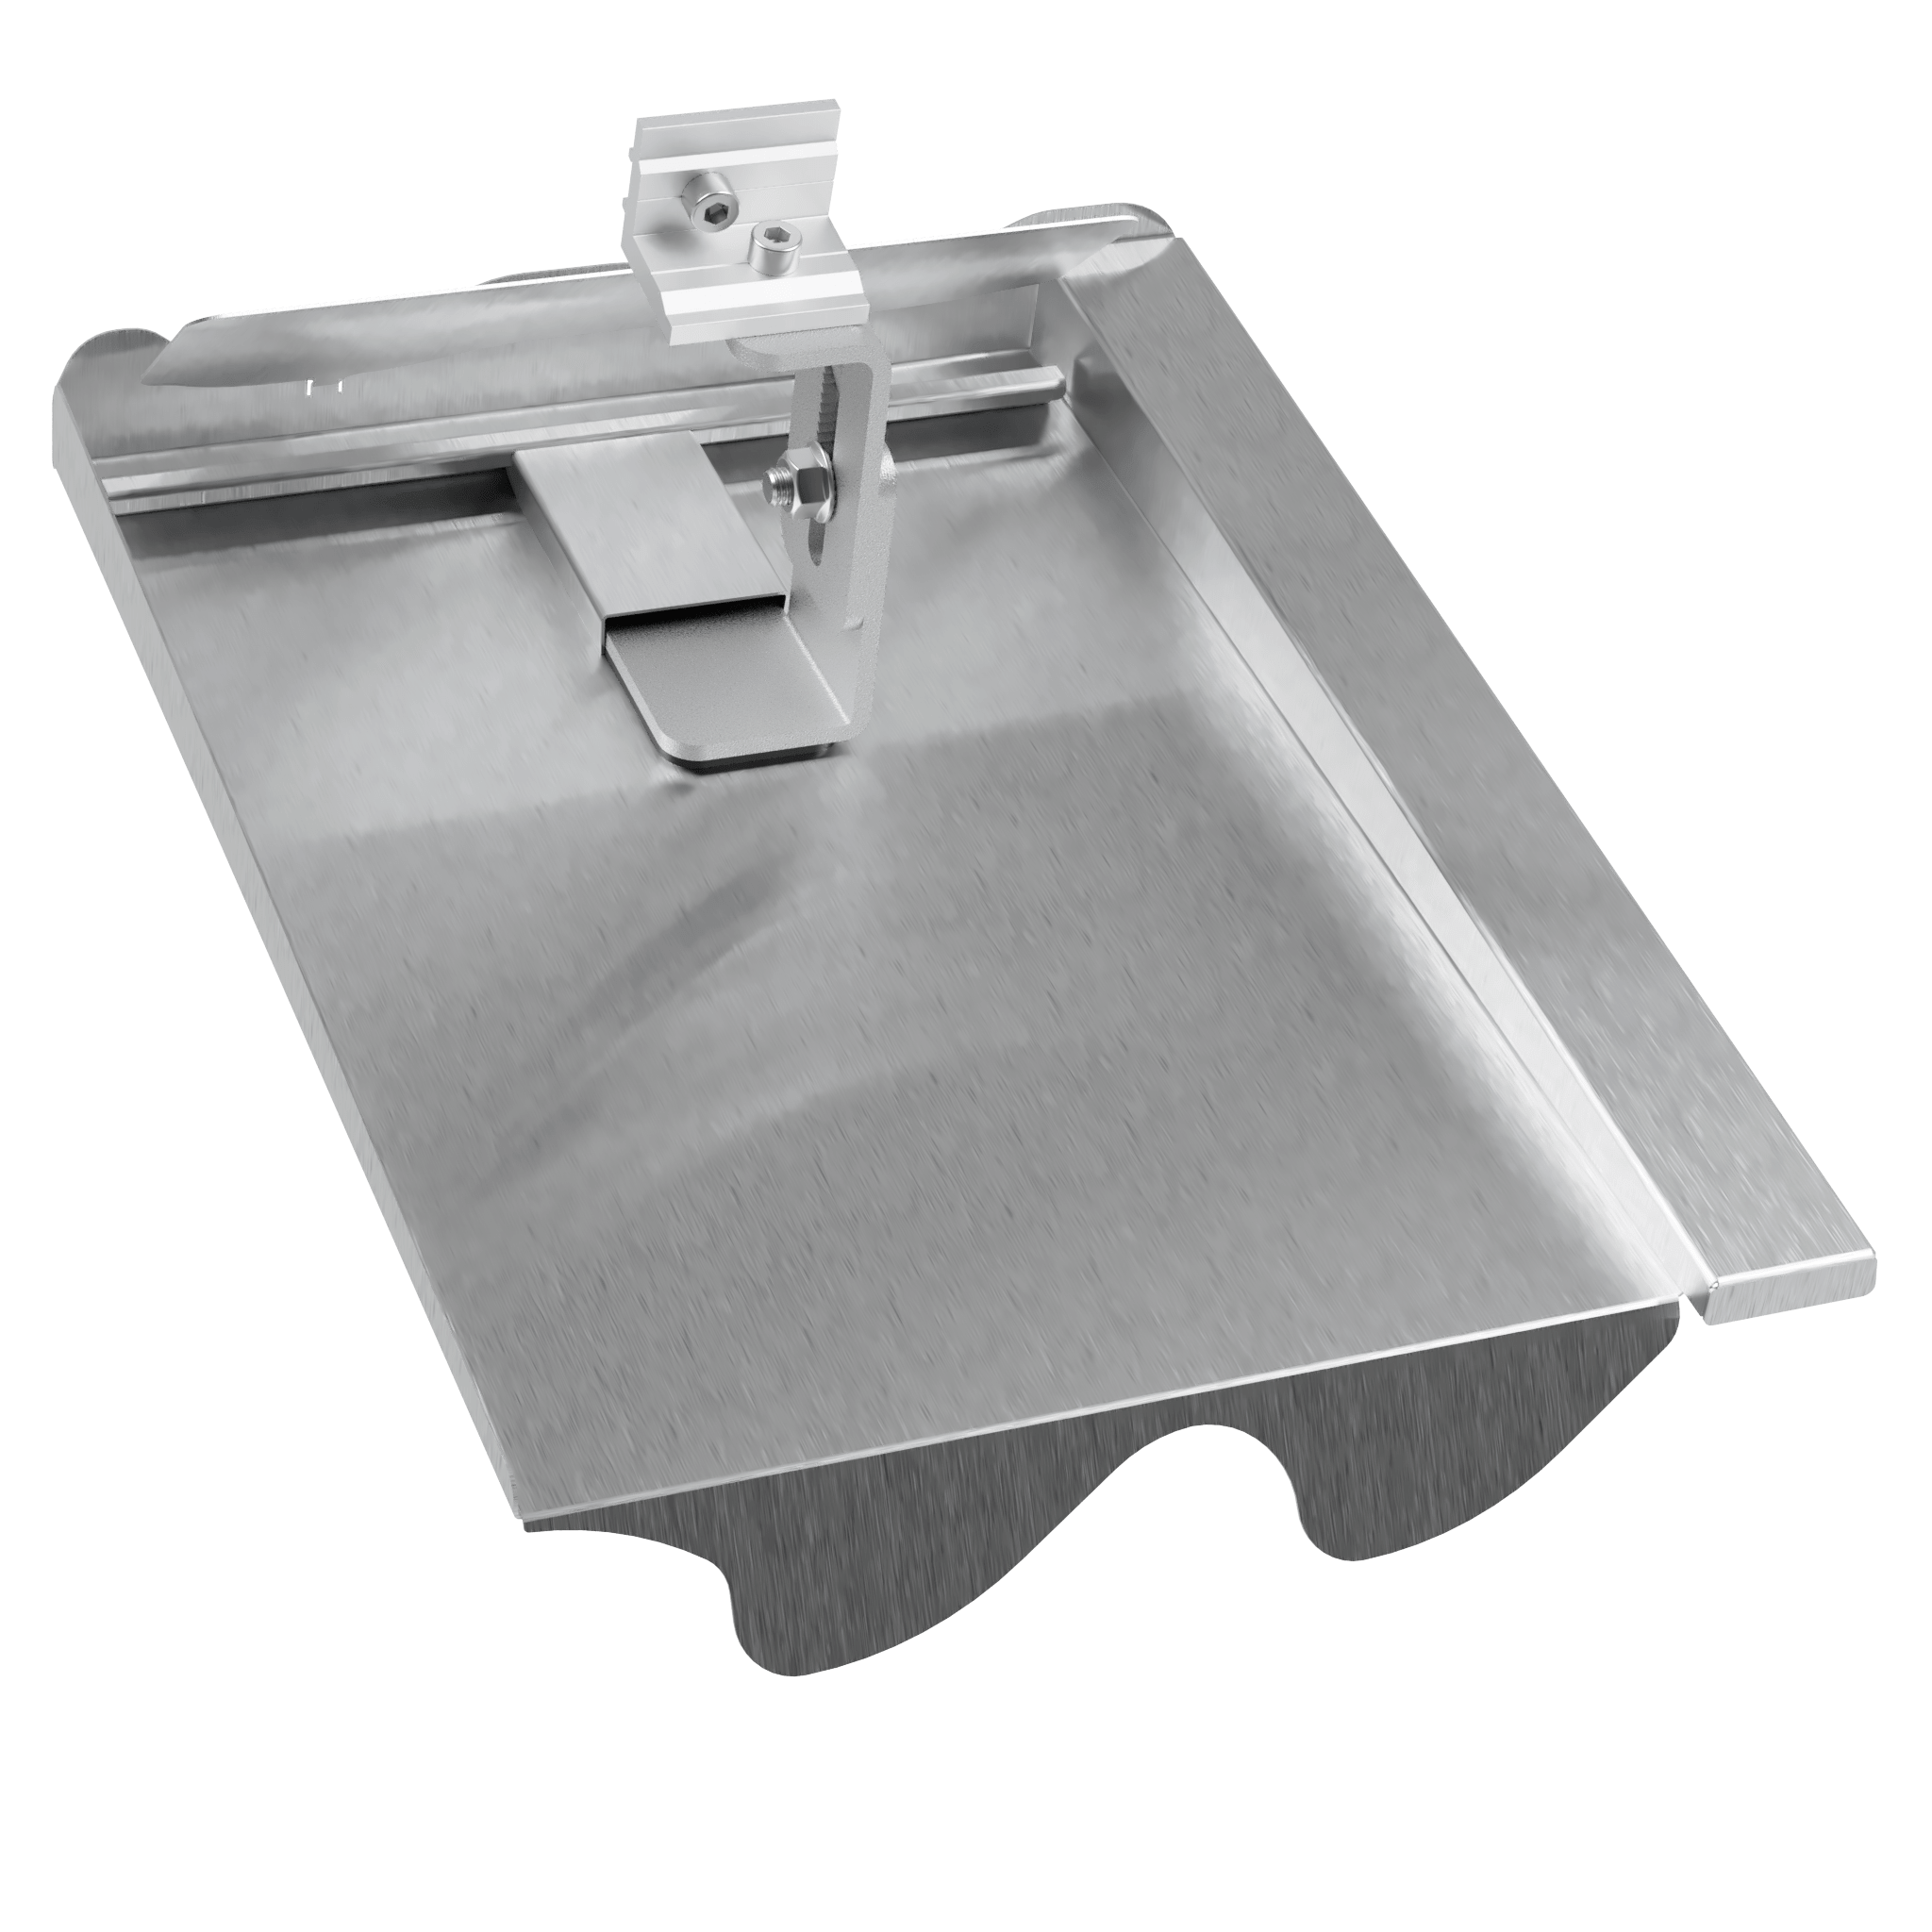
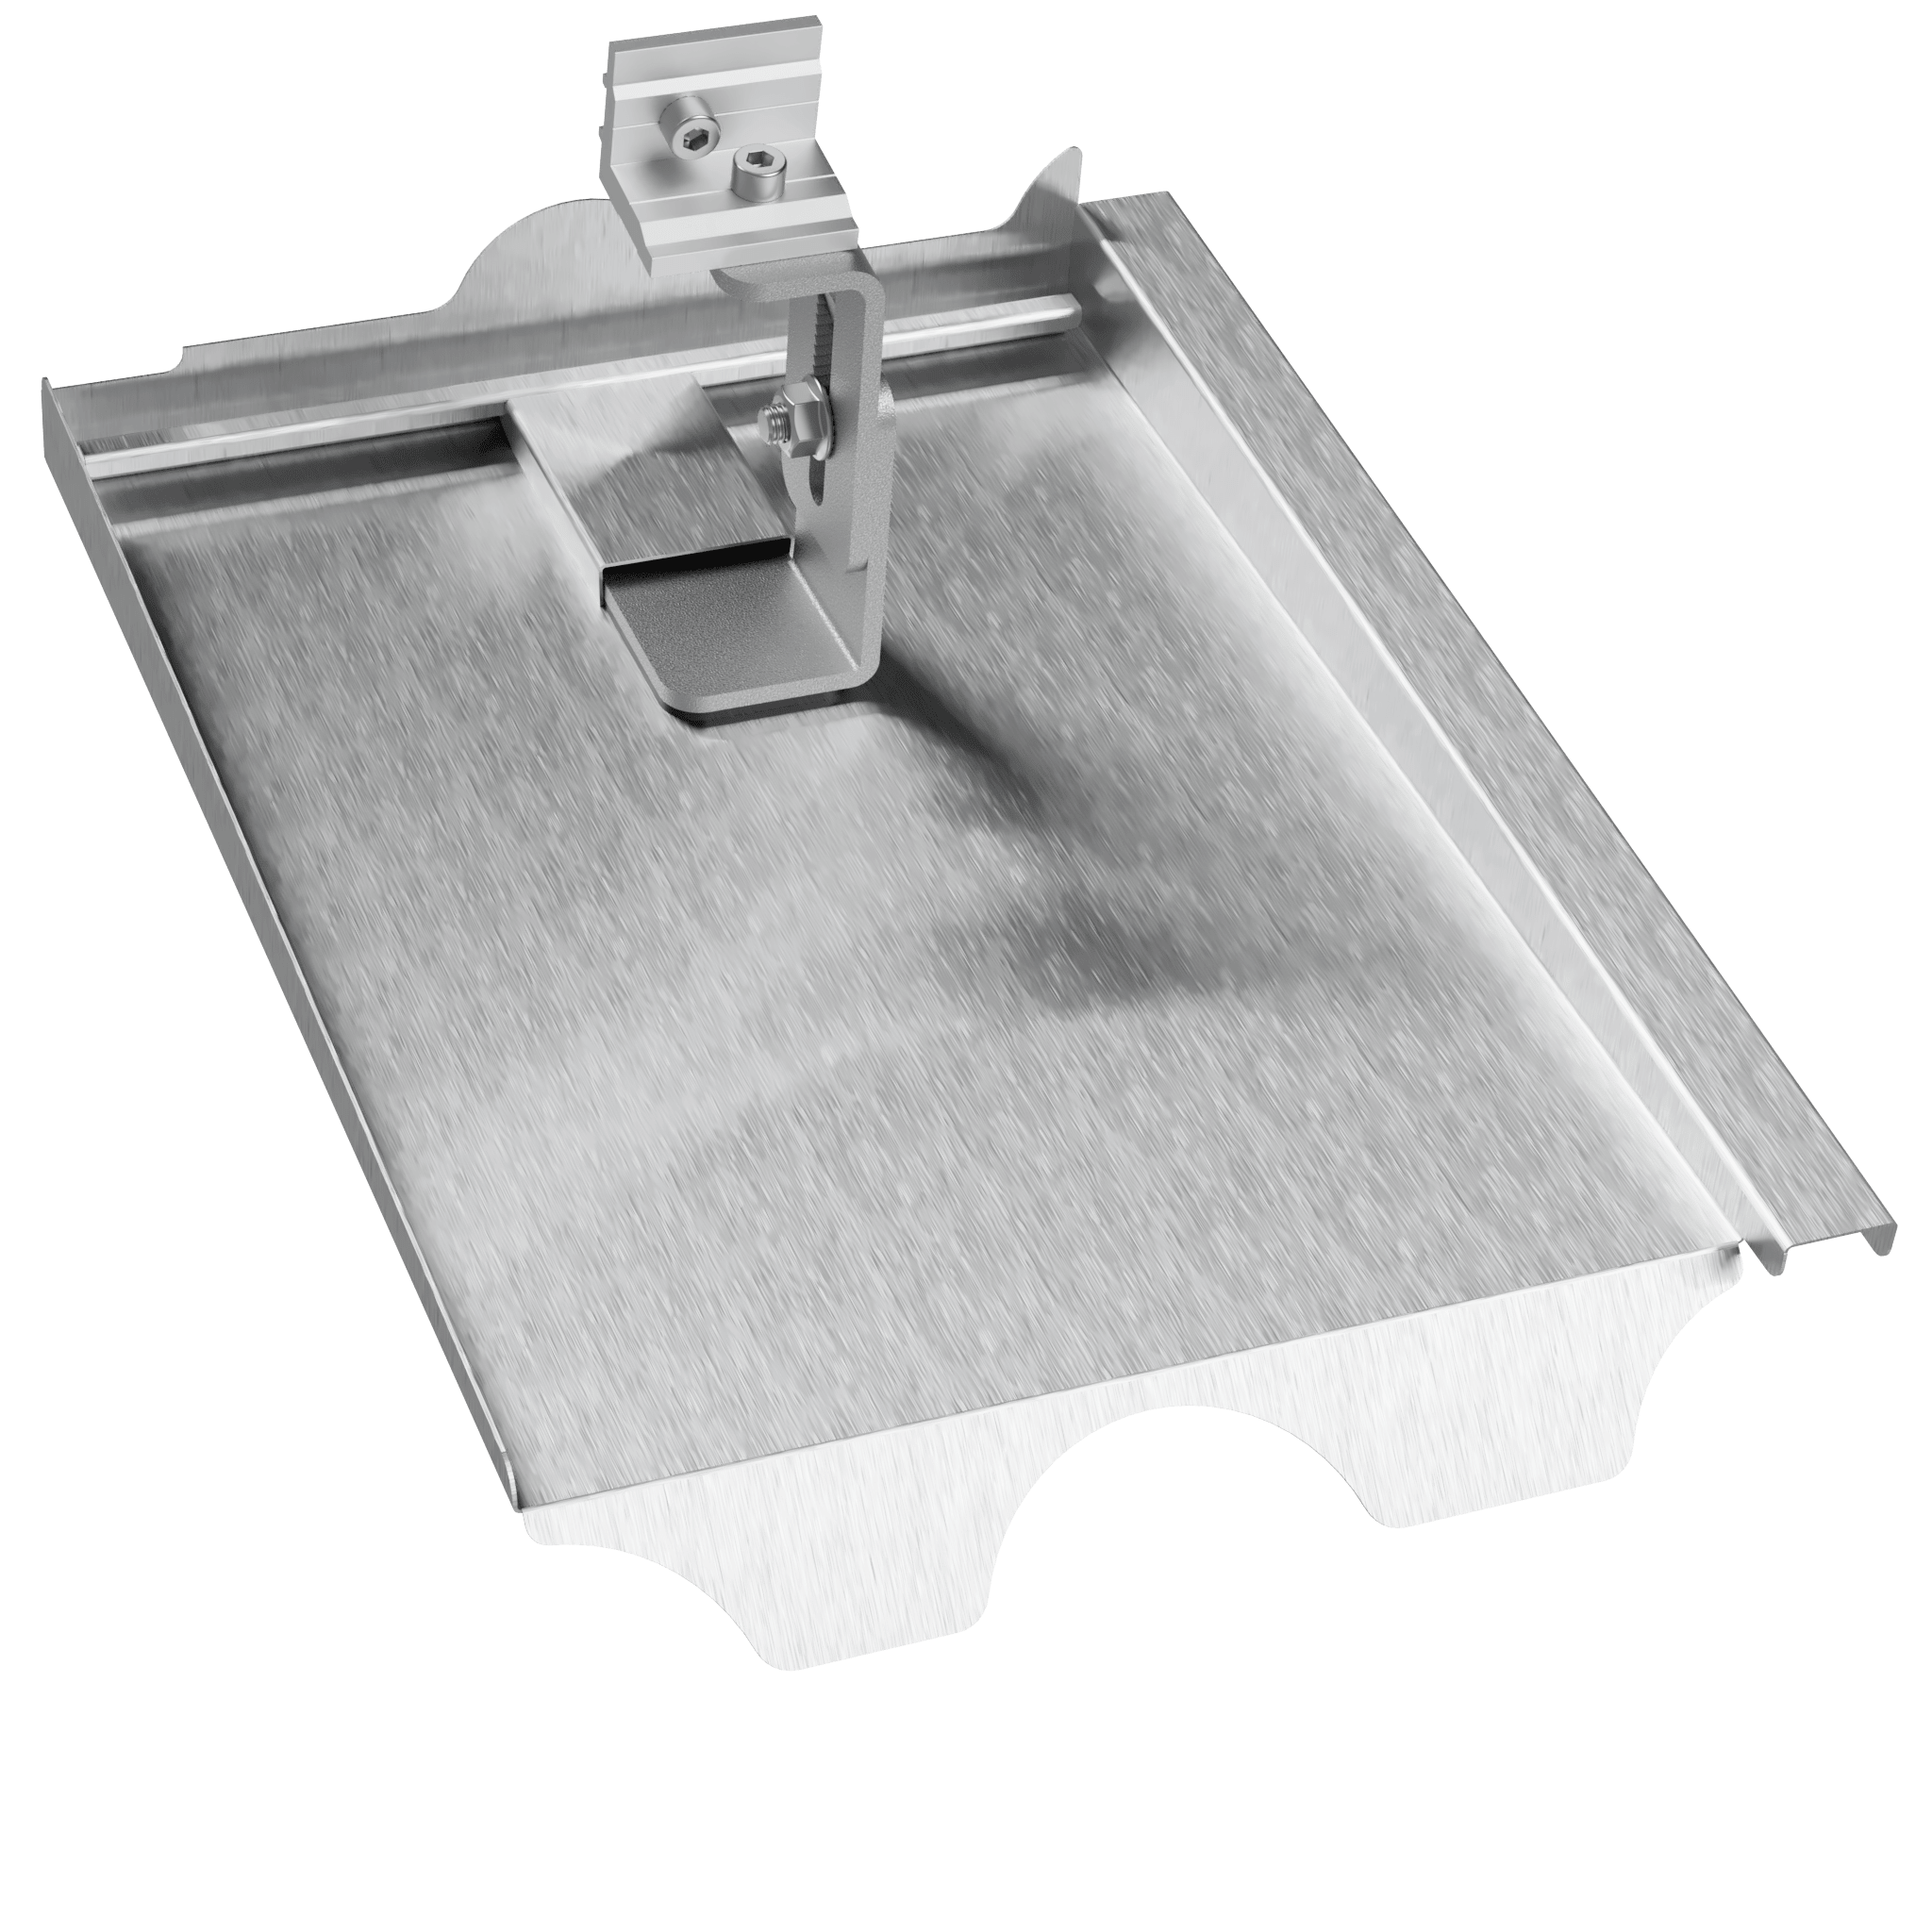
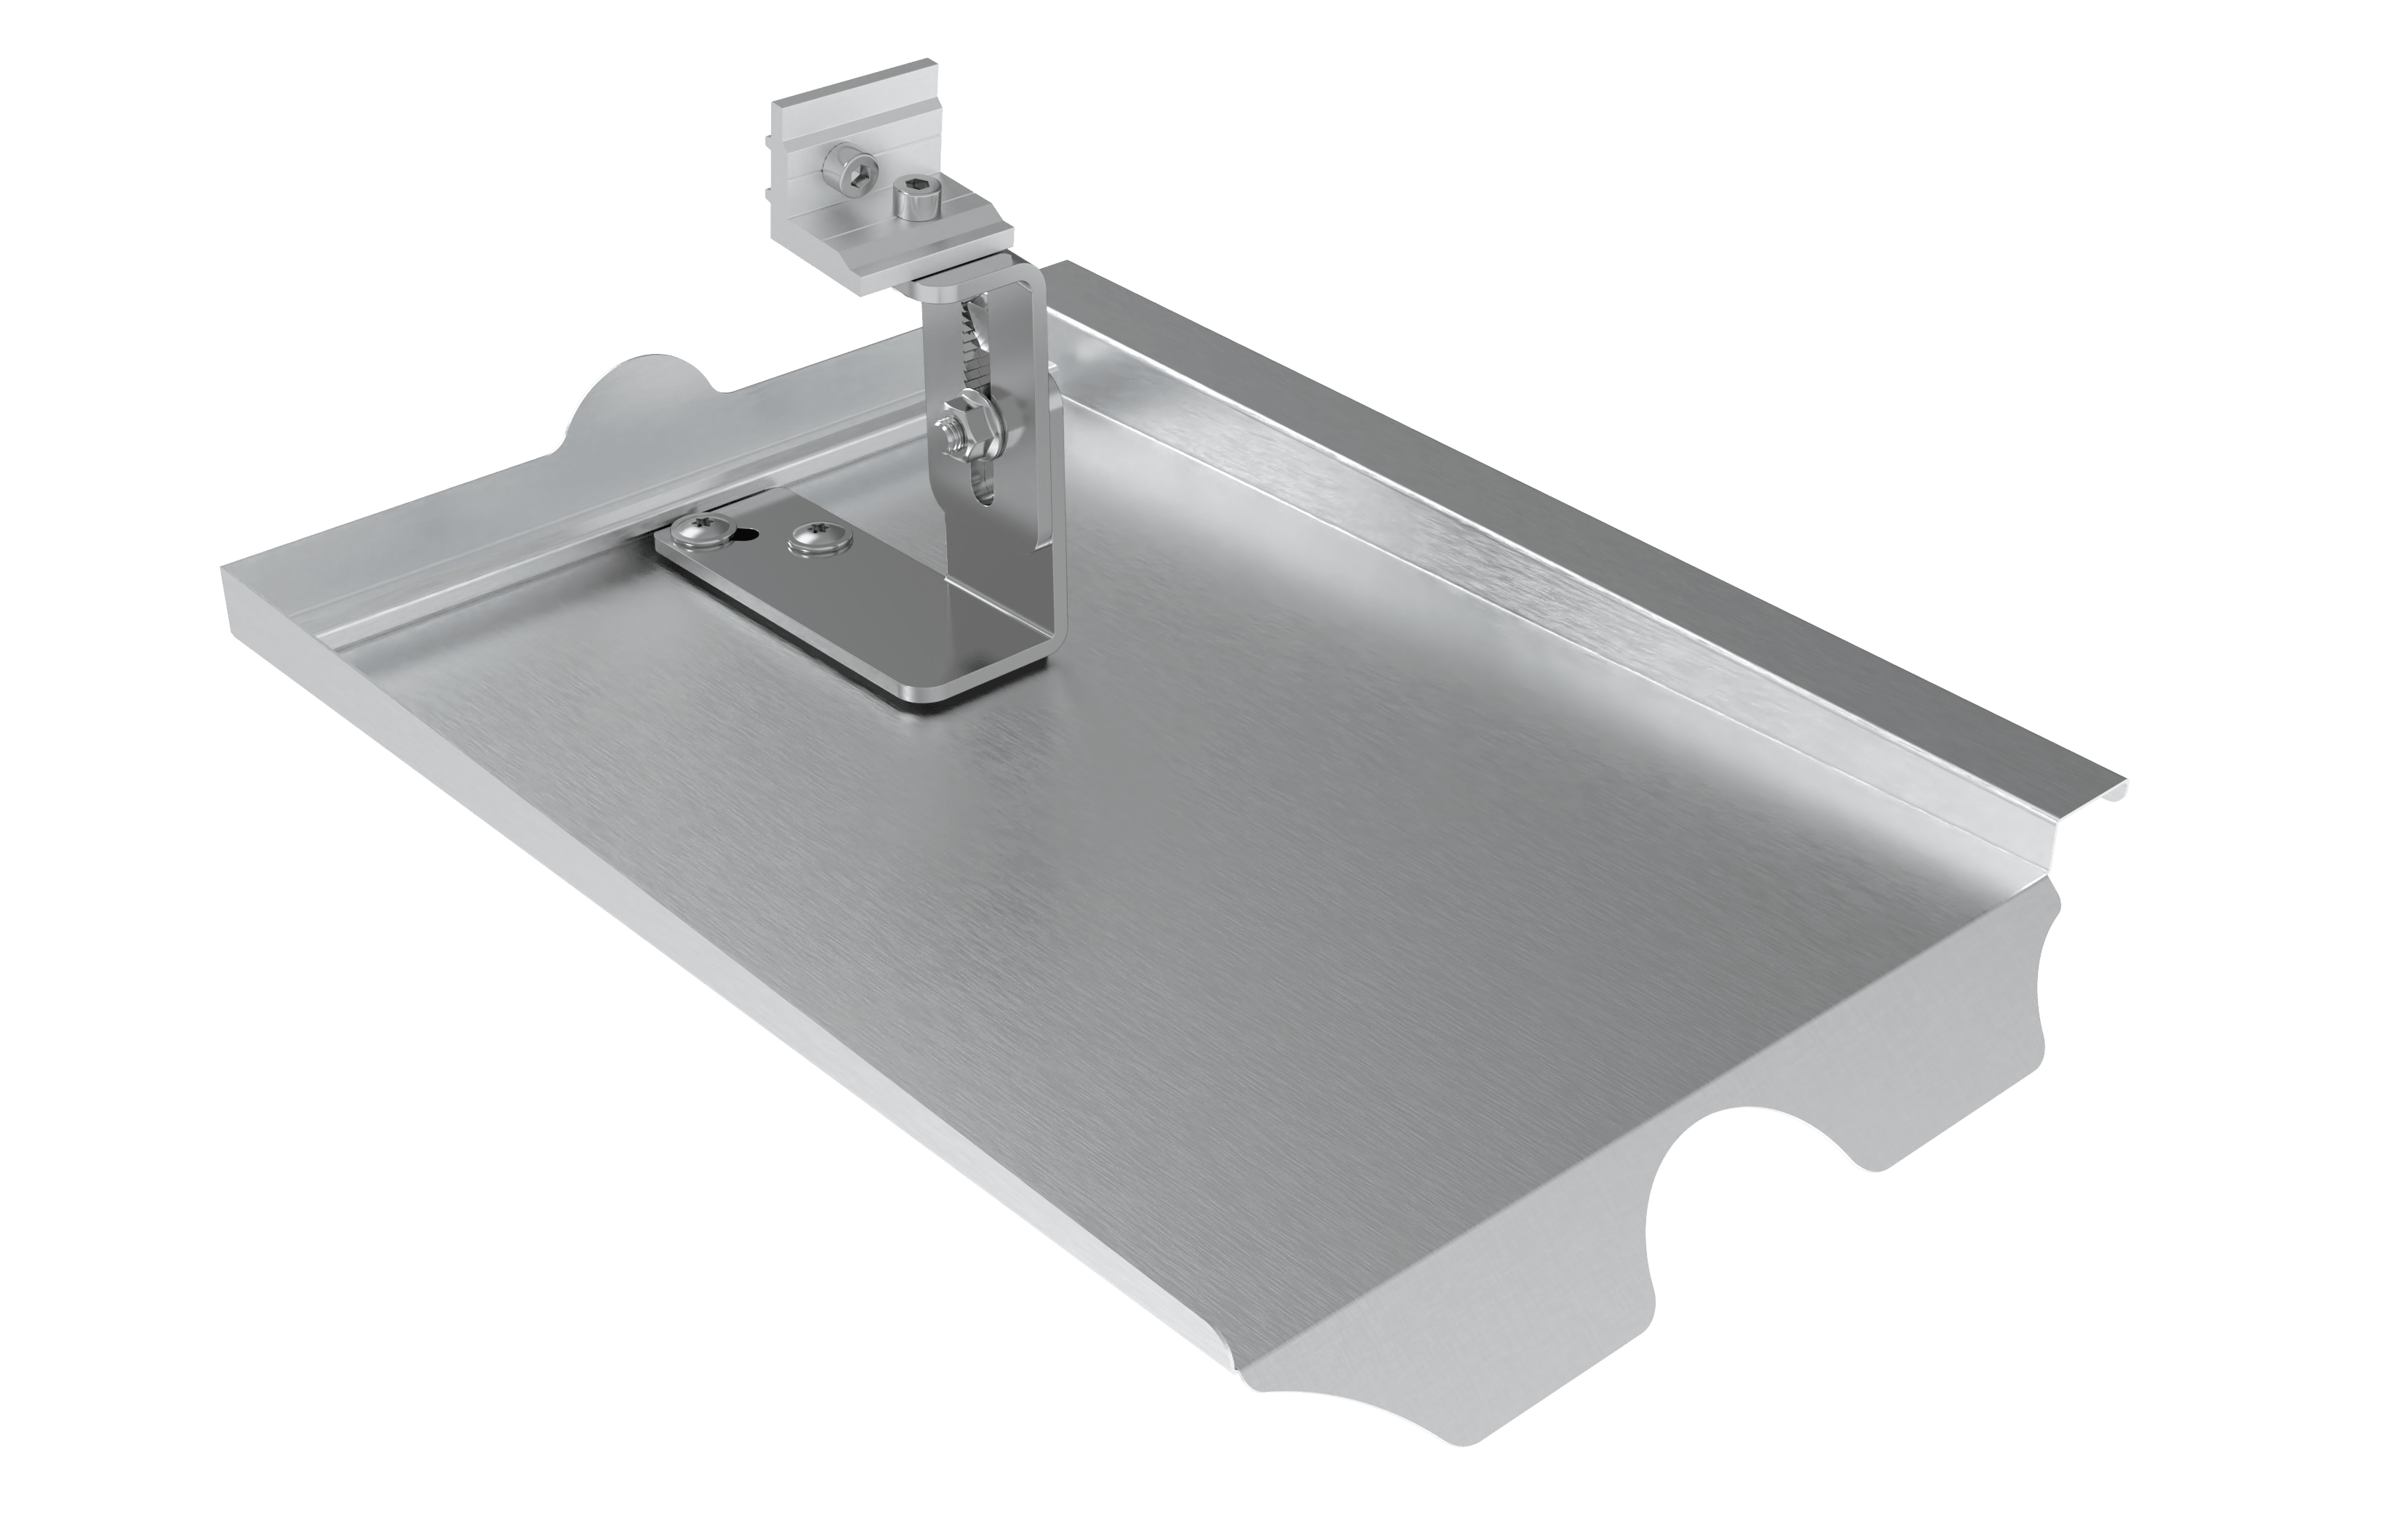
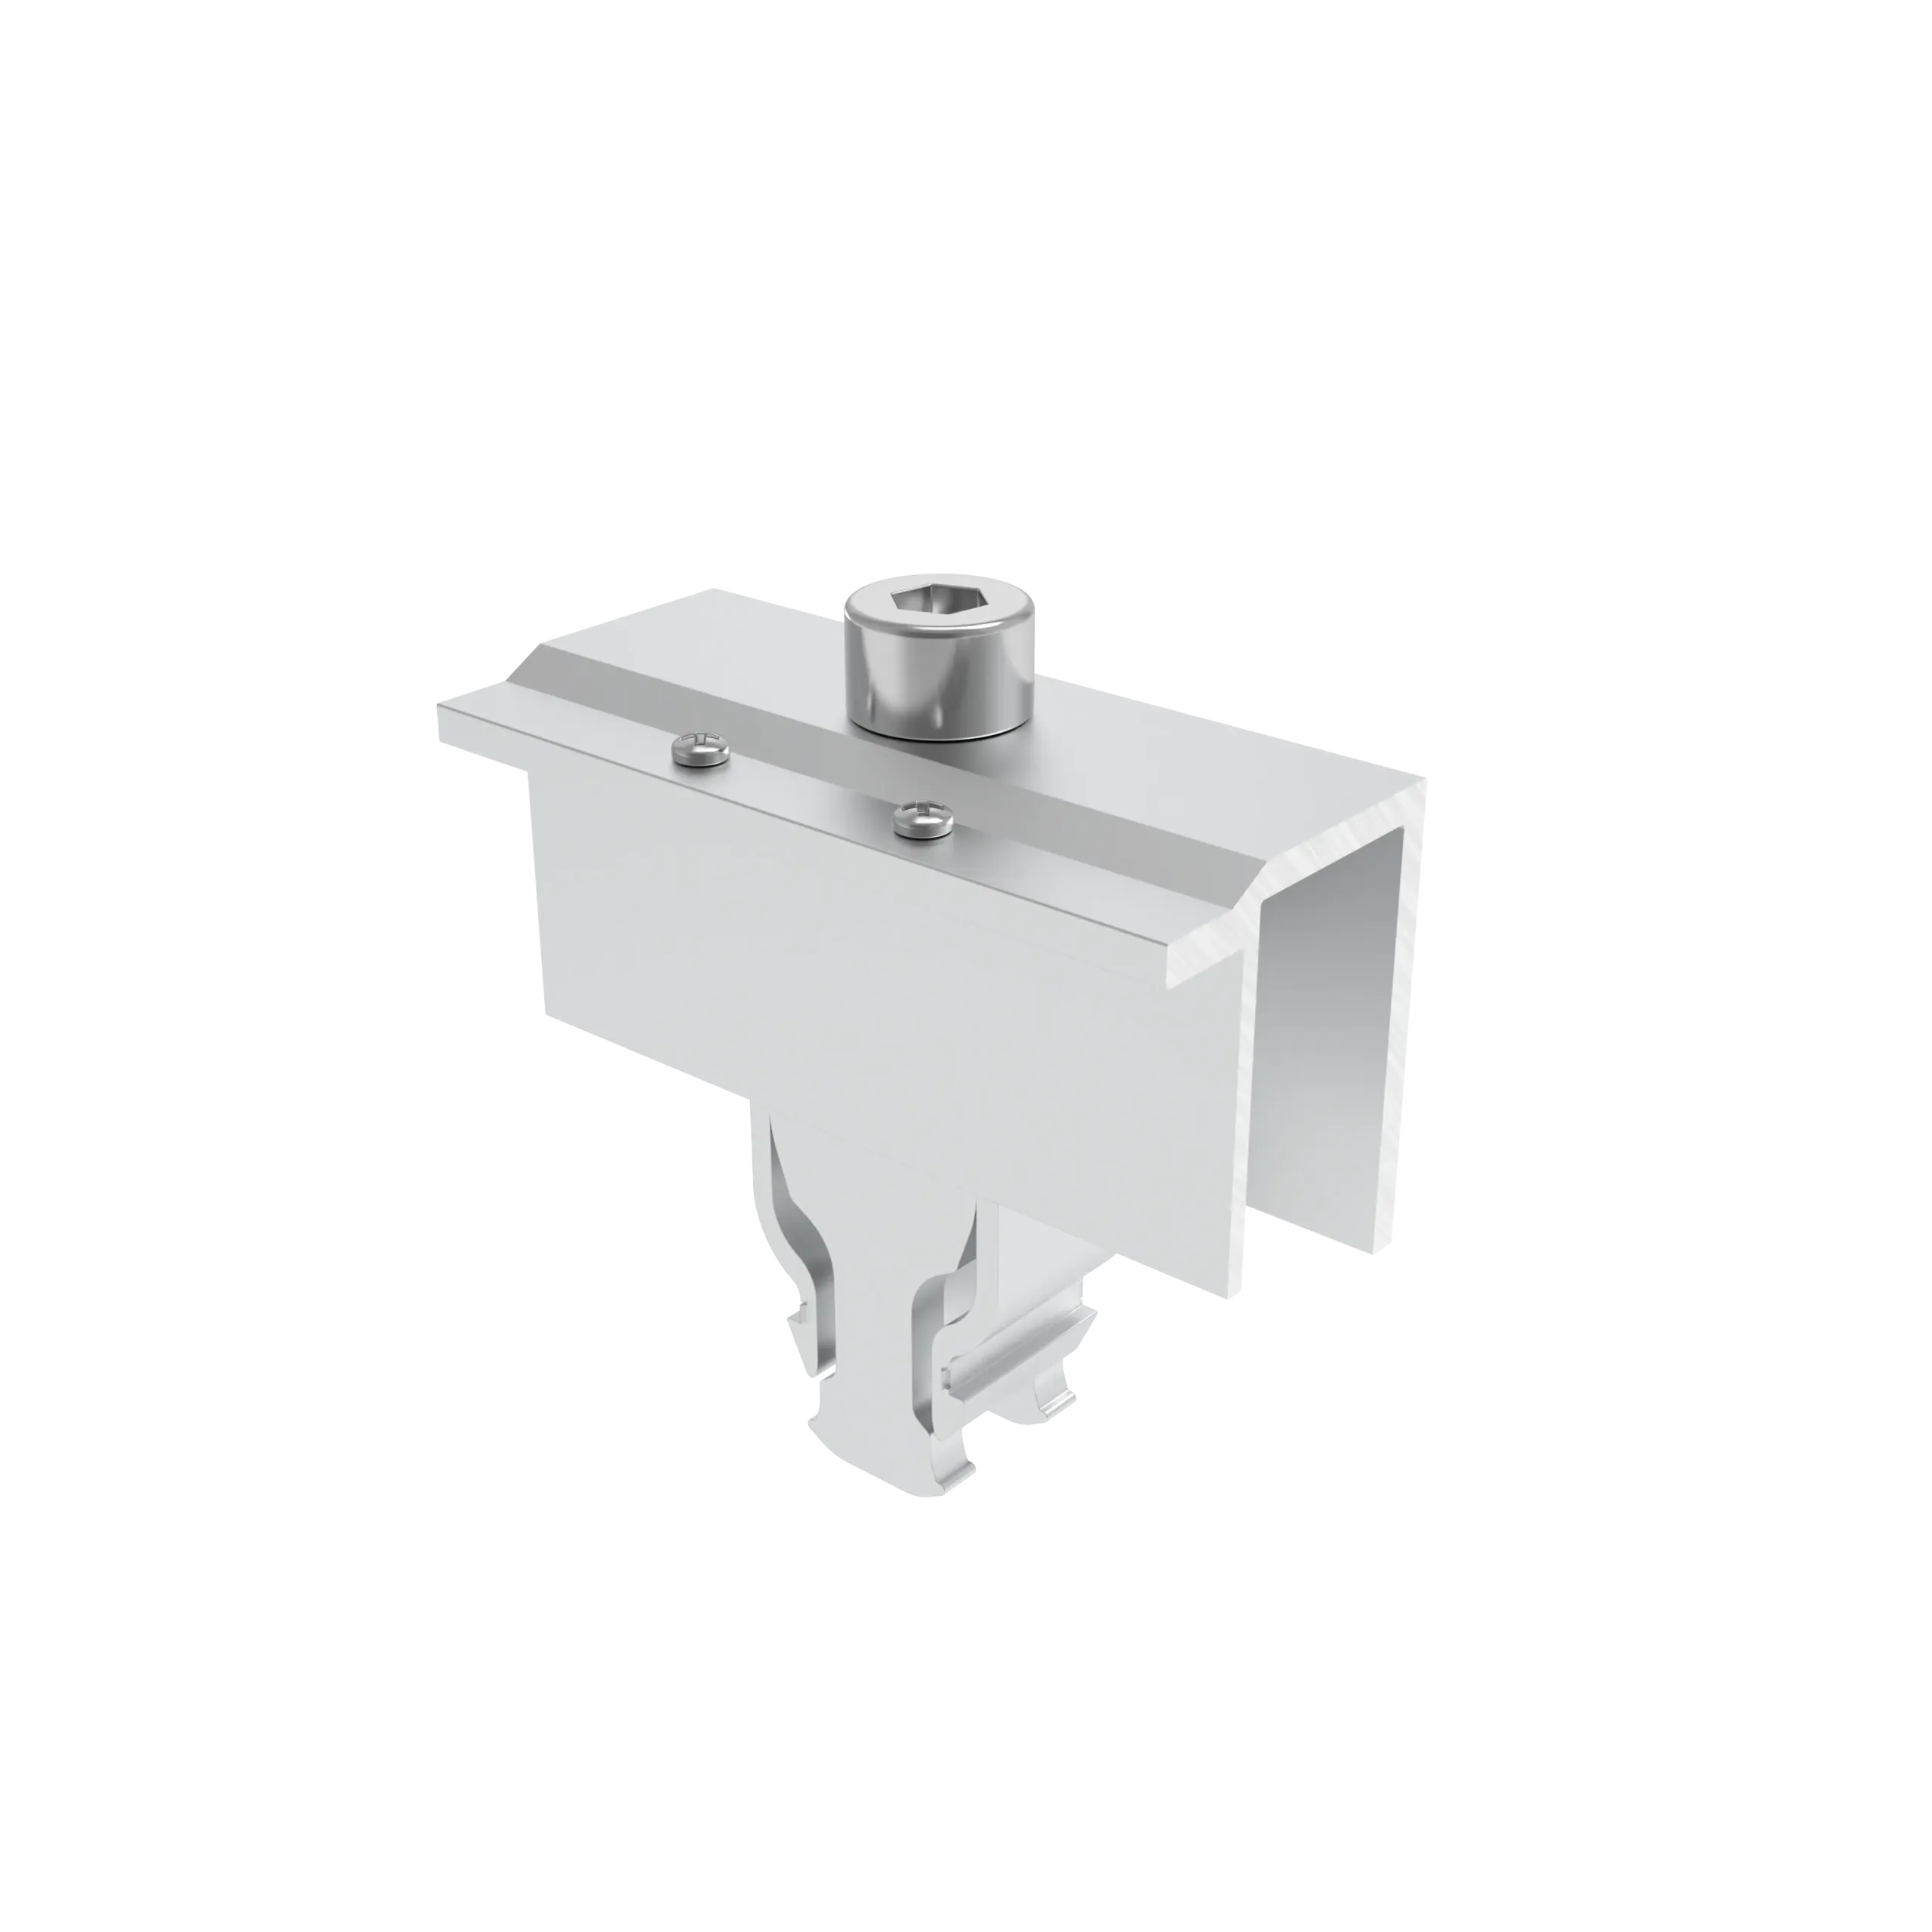
Precisely fitting replacement tiles with universal roof hook
The universal roof hook of the PTS-IR system is height-adjustable and is delivered pre-assembled.
The precisely fitting replacement plates are available for all common roof tiles such as the Frankfurter Pfanne, Donau, Harzer Pfanne, Alpendachstein, and many others.

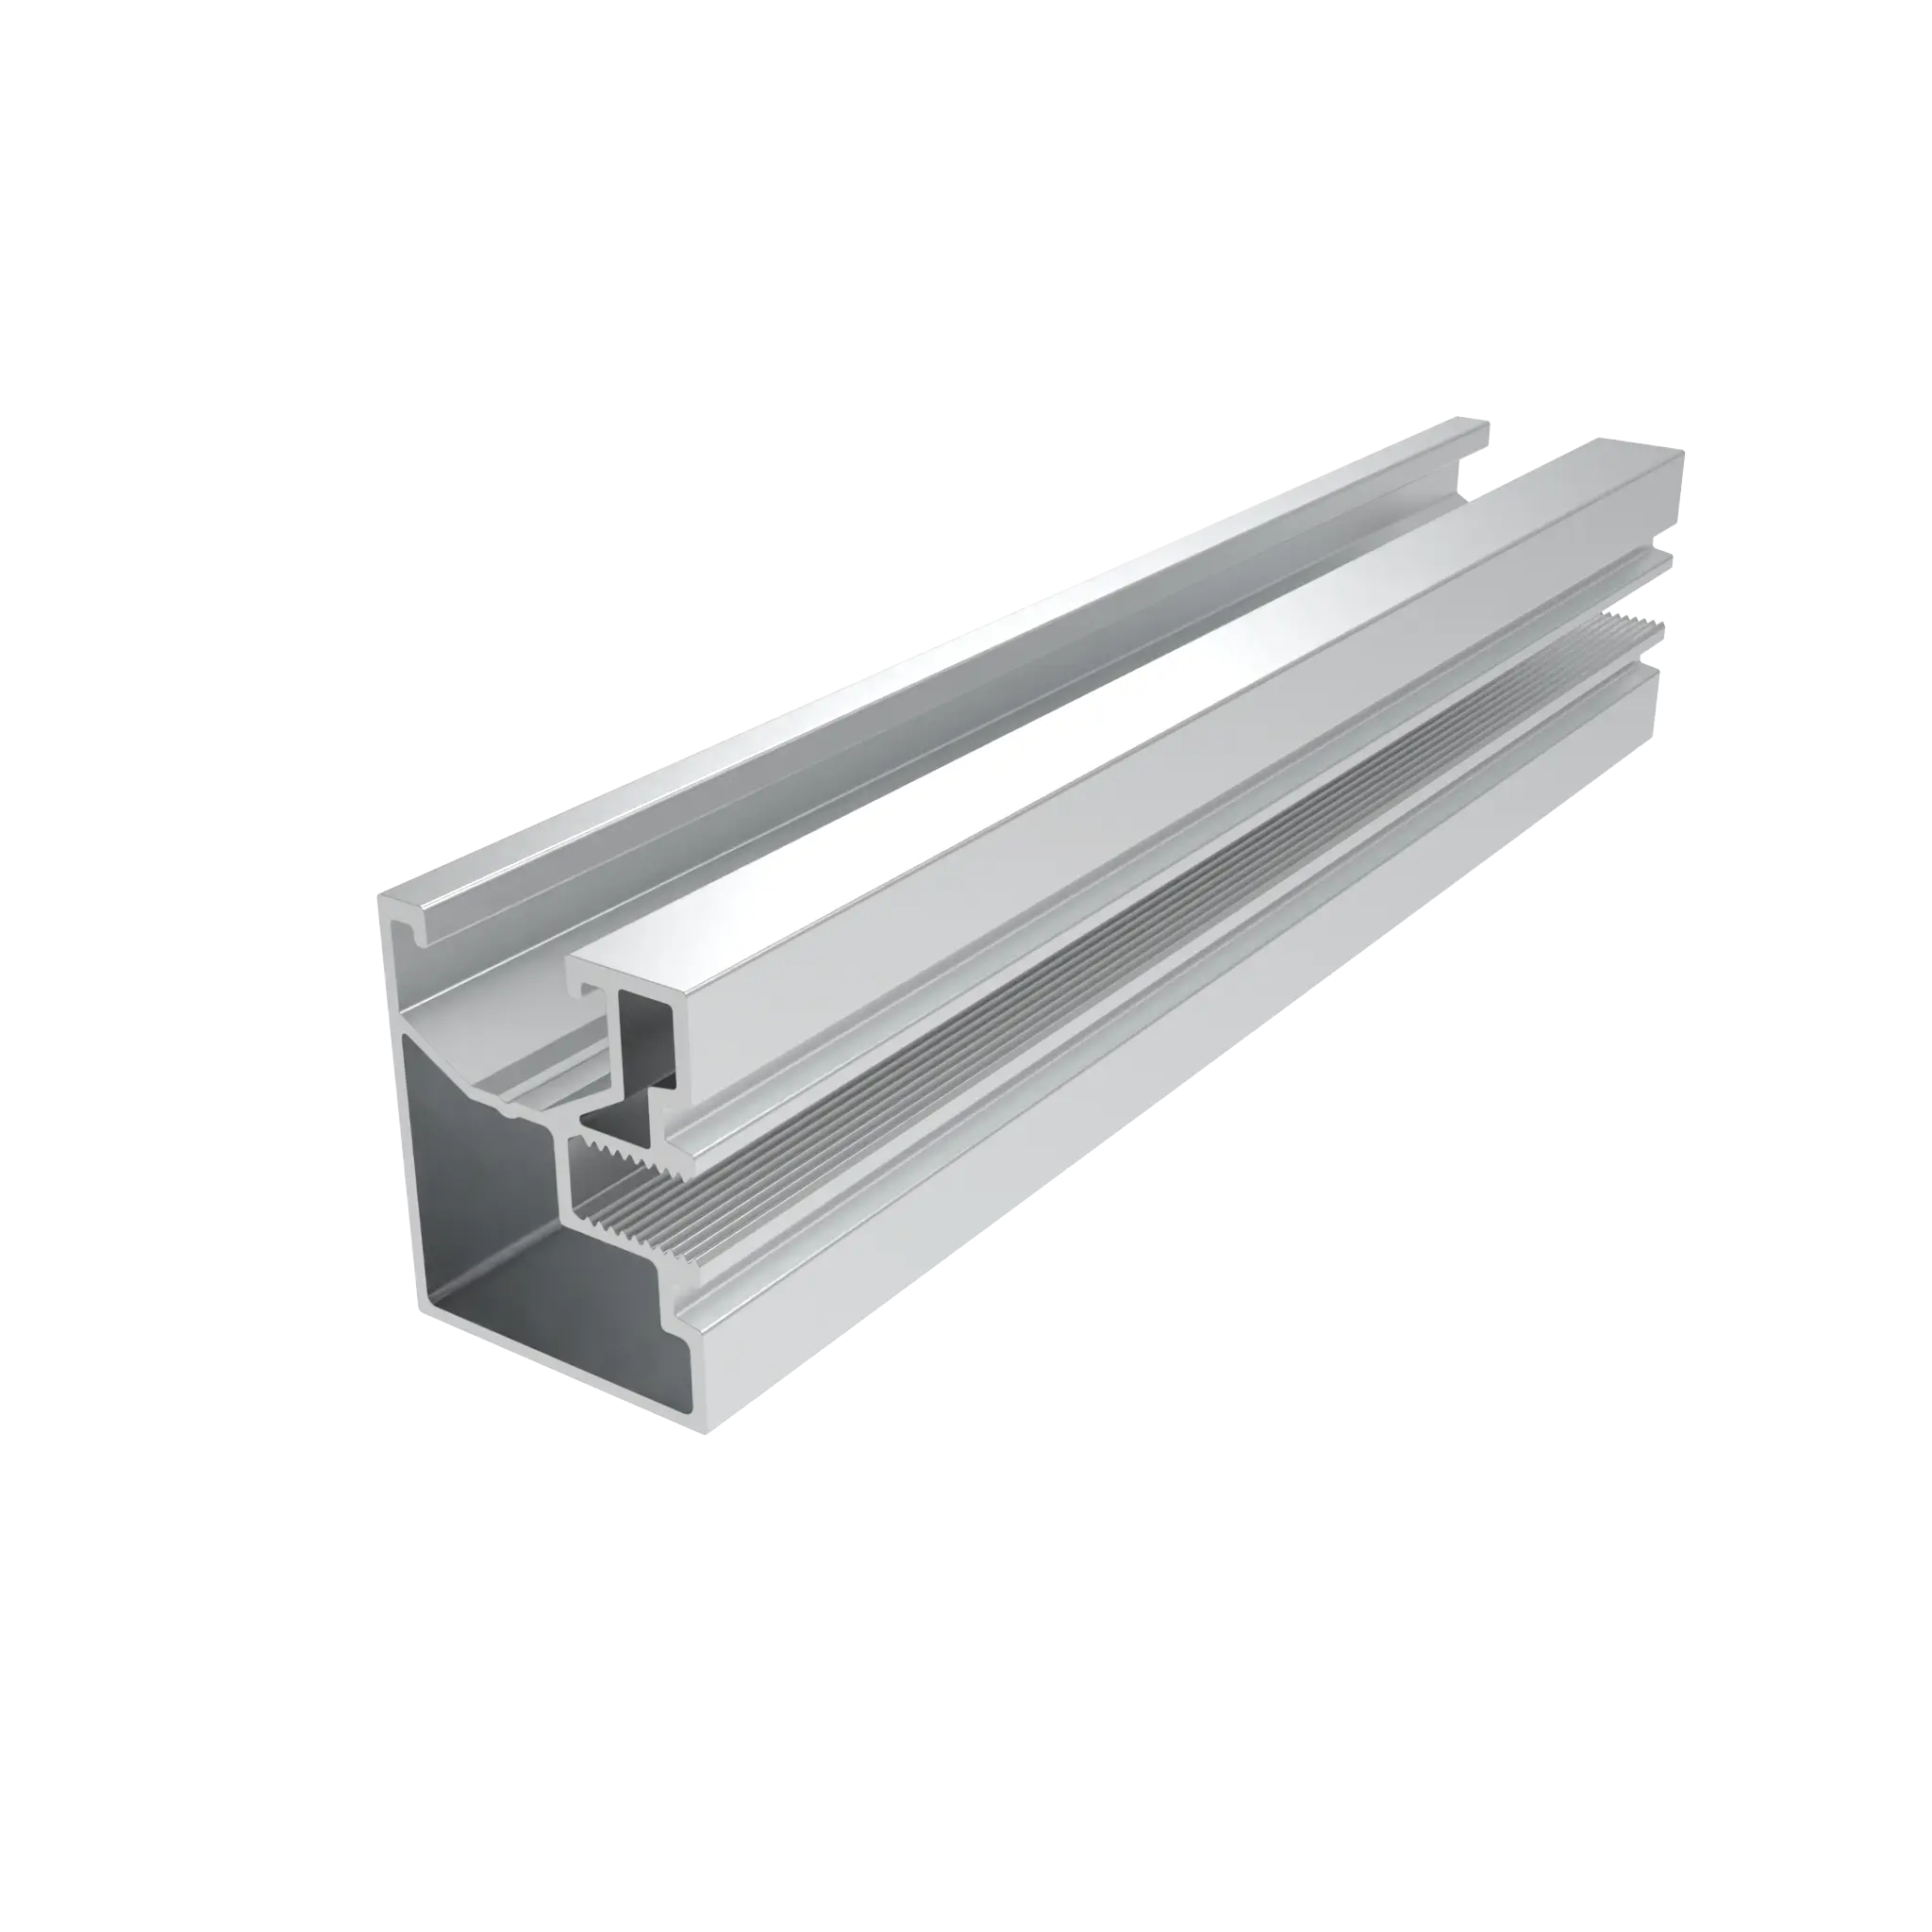
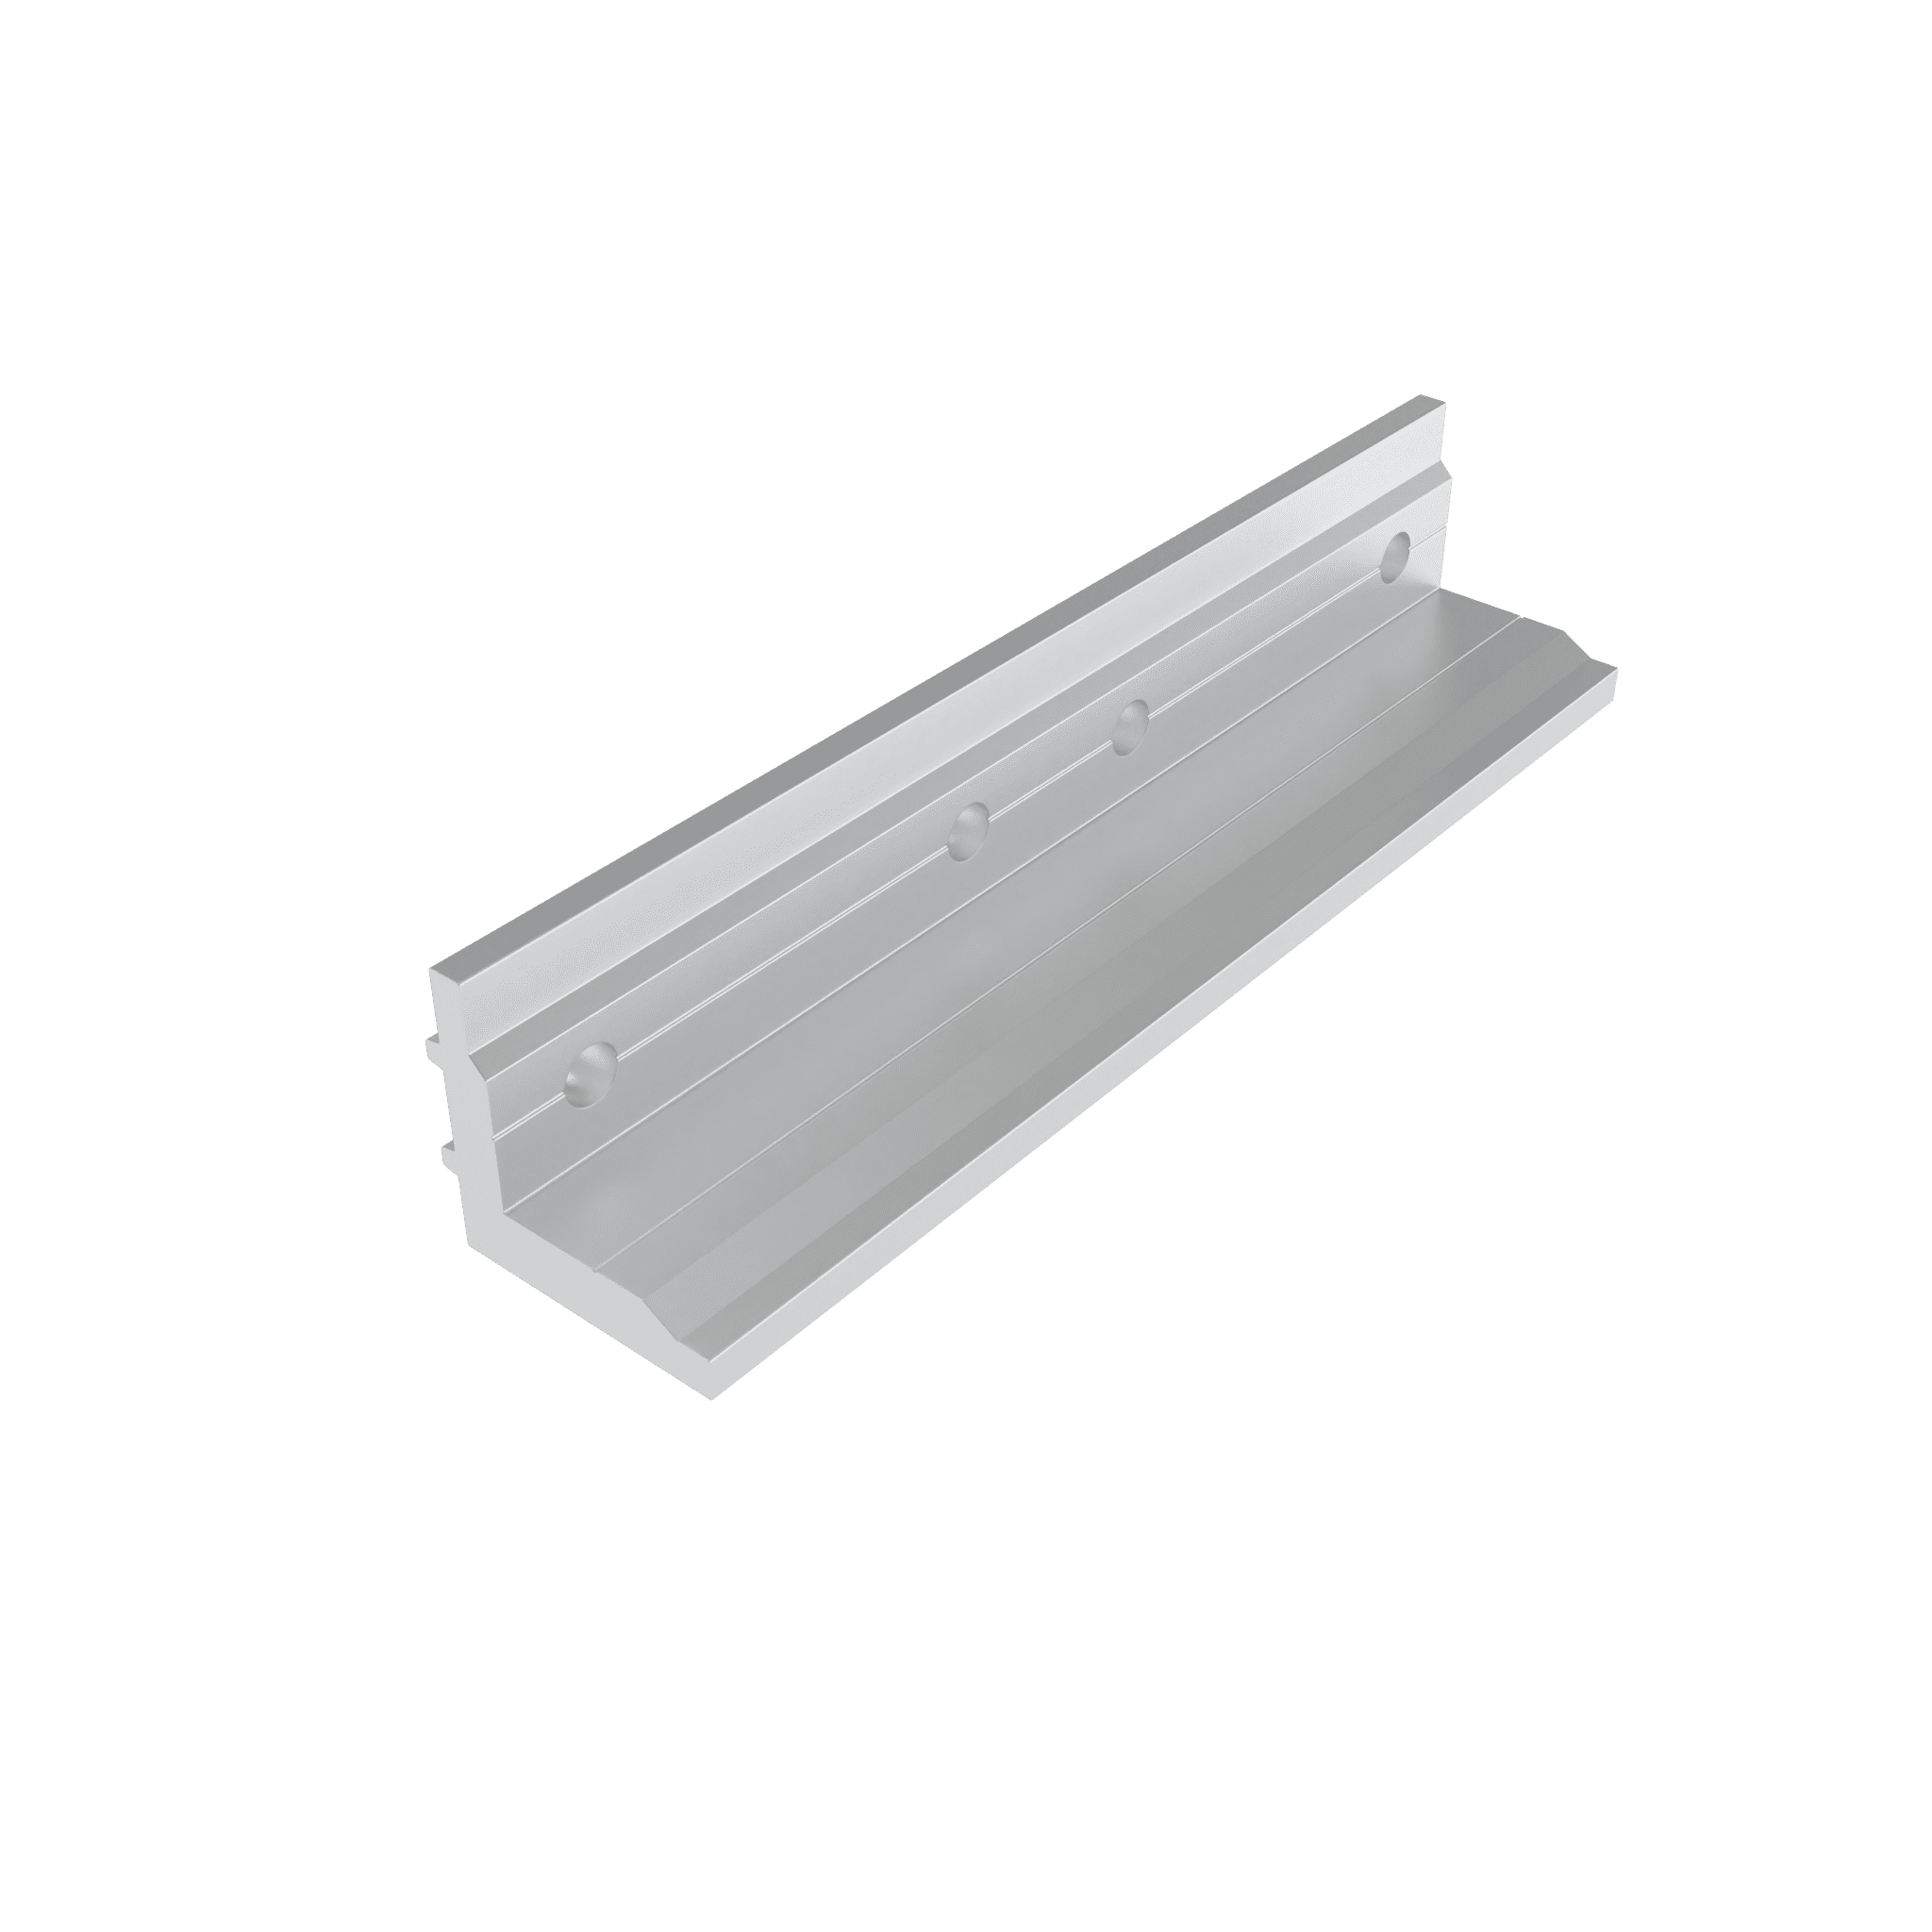
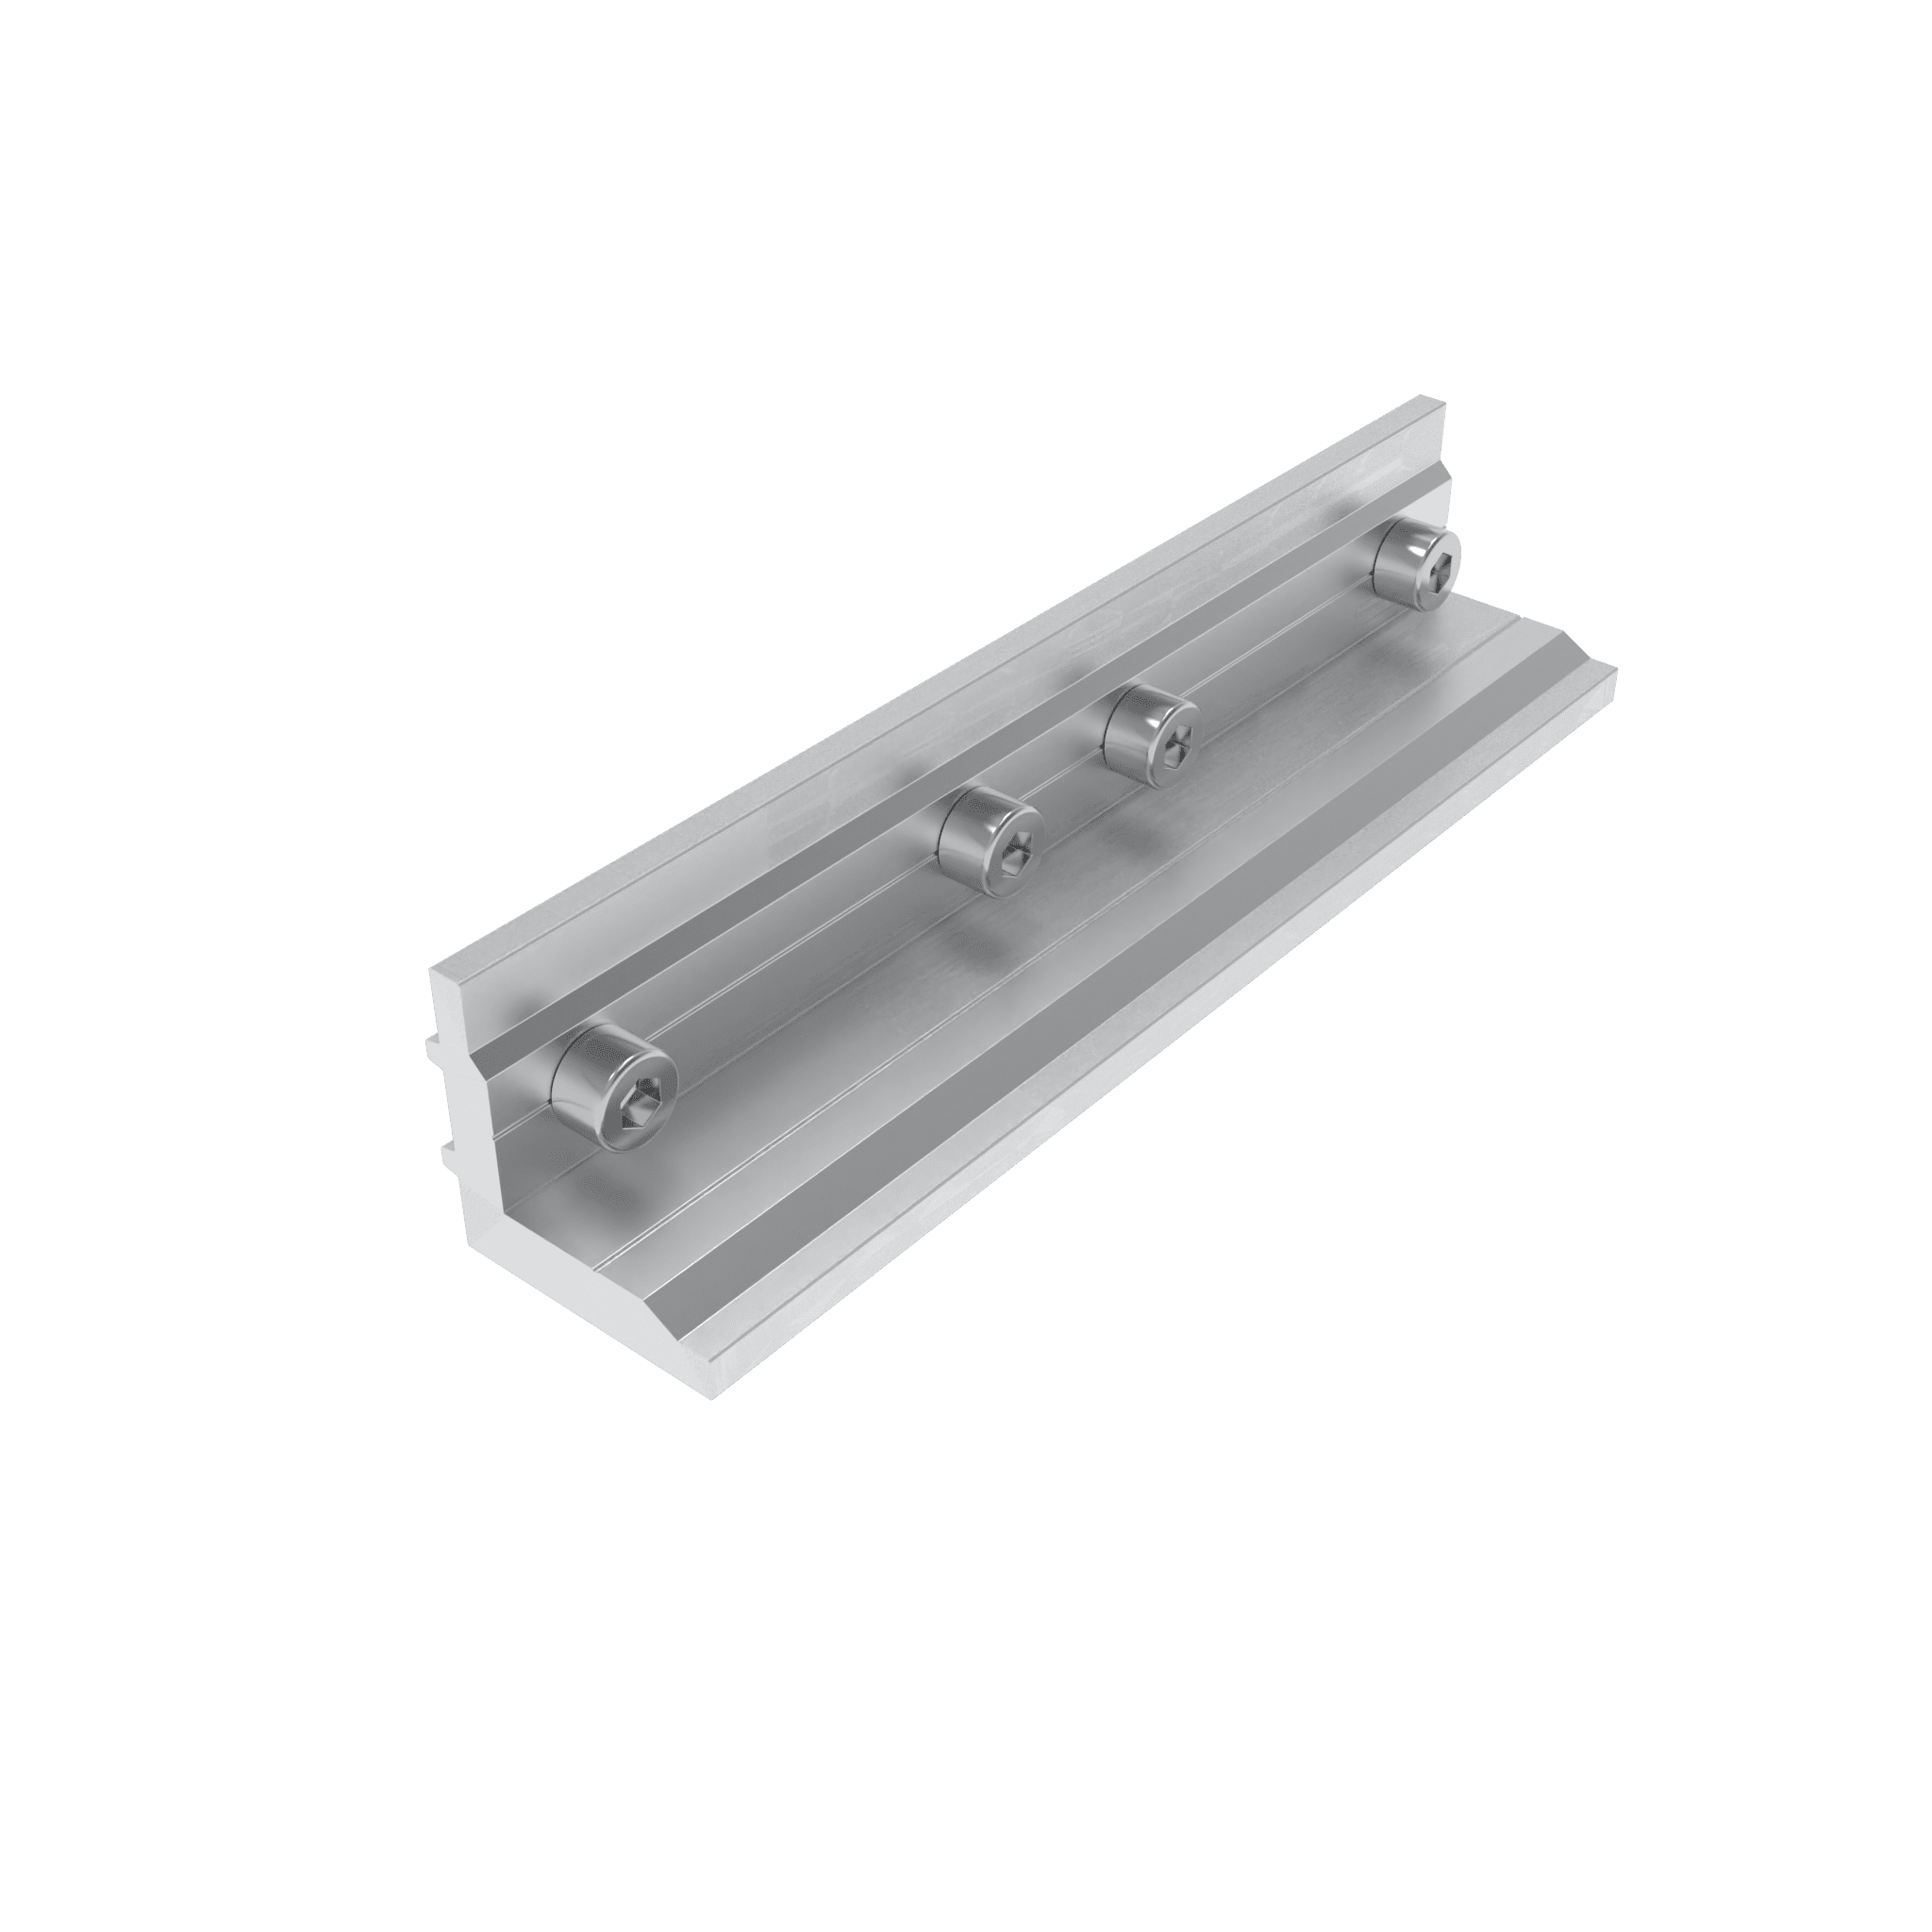
Mounting Rails
The PTS-IR system is compatible with the Mounting Rail Eco, Mounting Rail Medium, and Mounting Rail Large mounting rails.
For higher loads or wider rafter spacings, we recommend using the Mounting Rail Large.
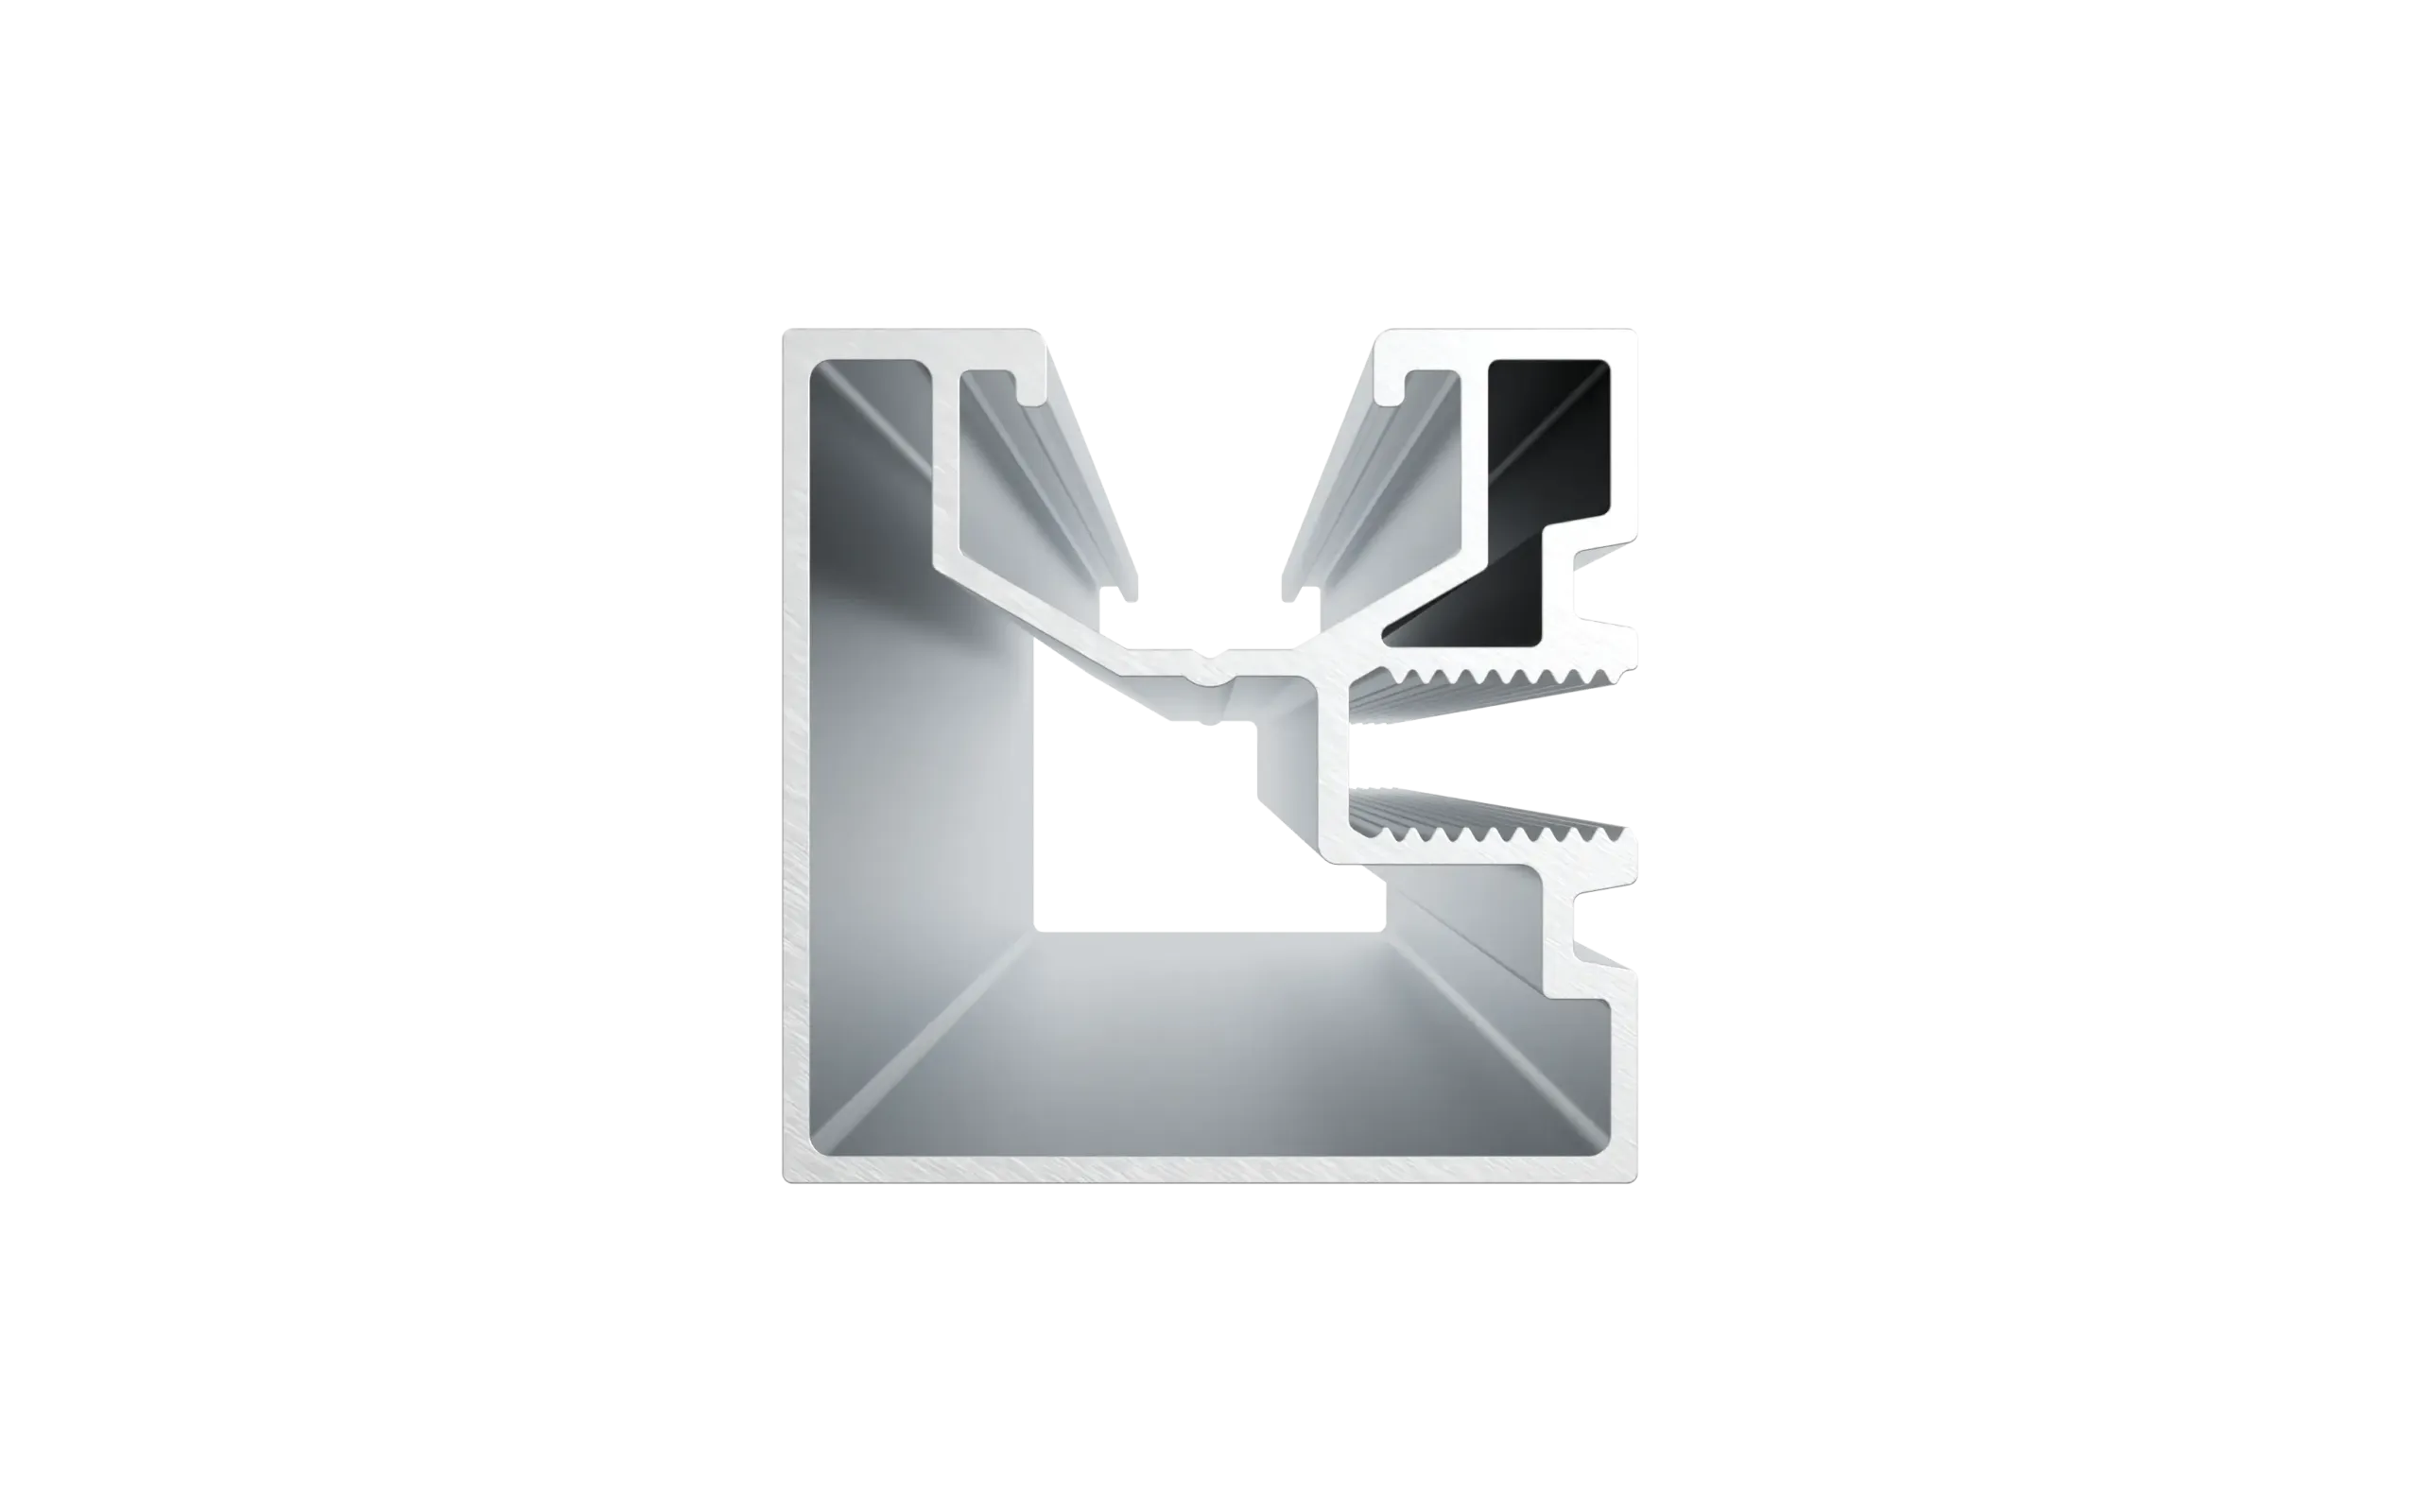
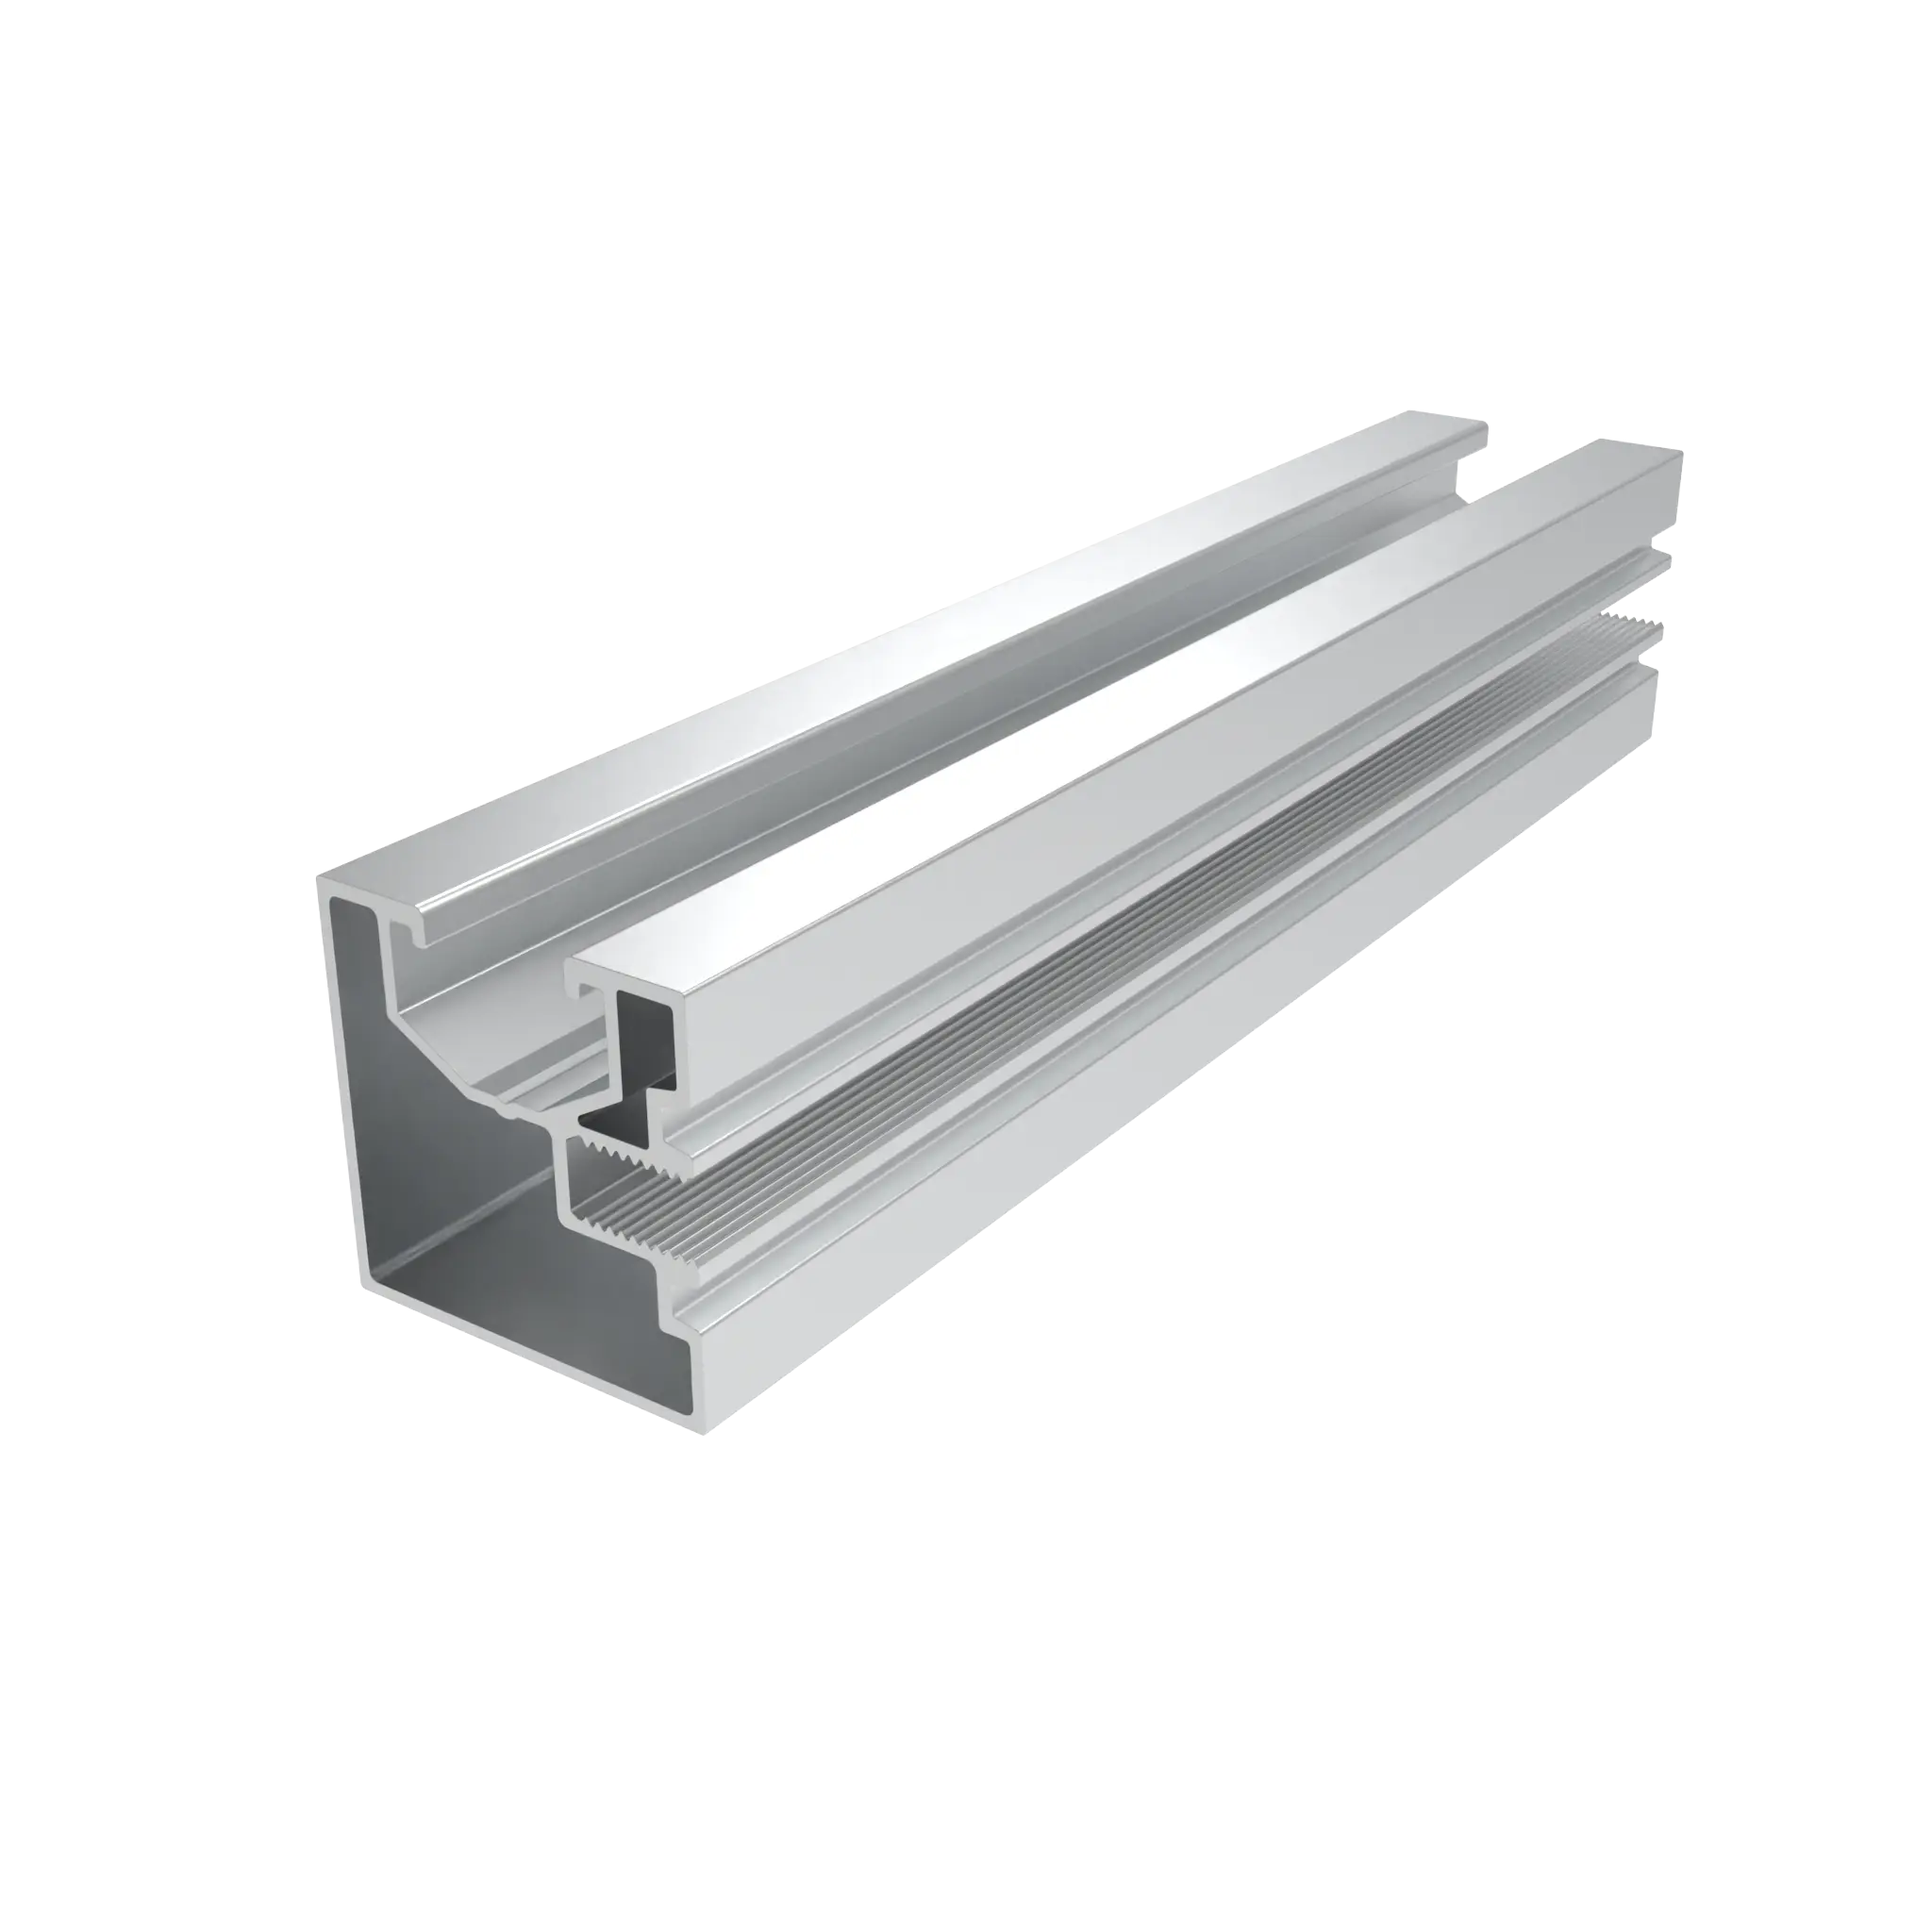
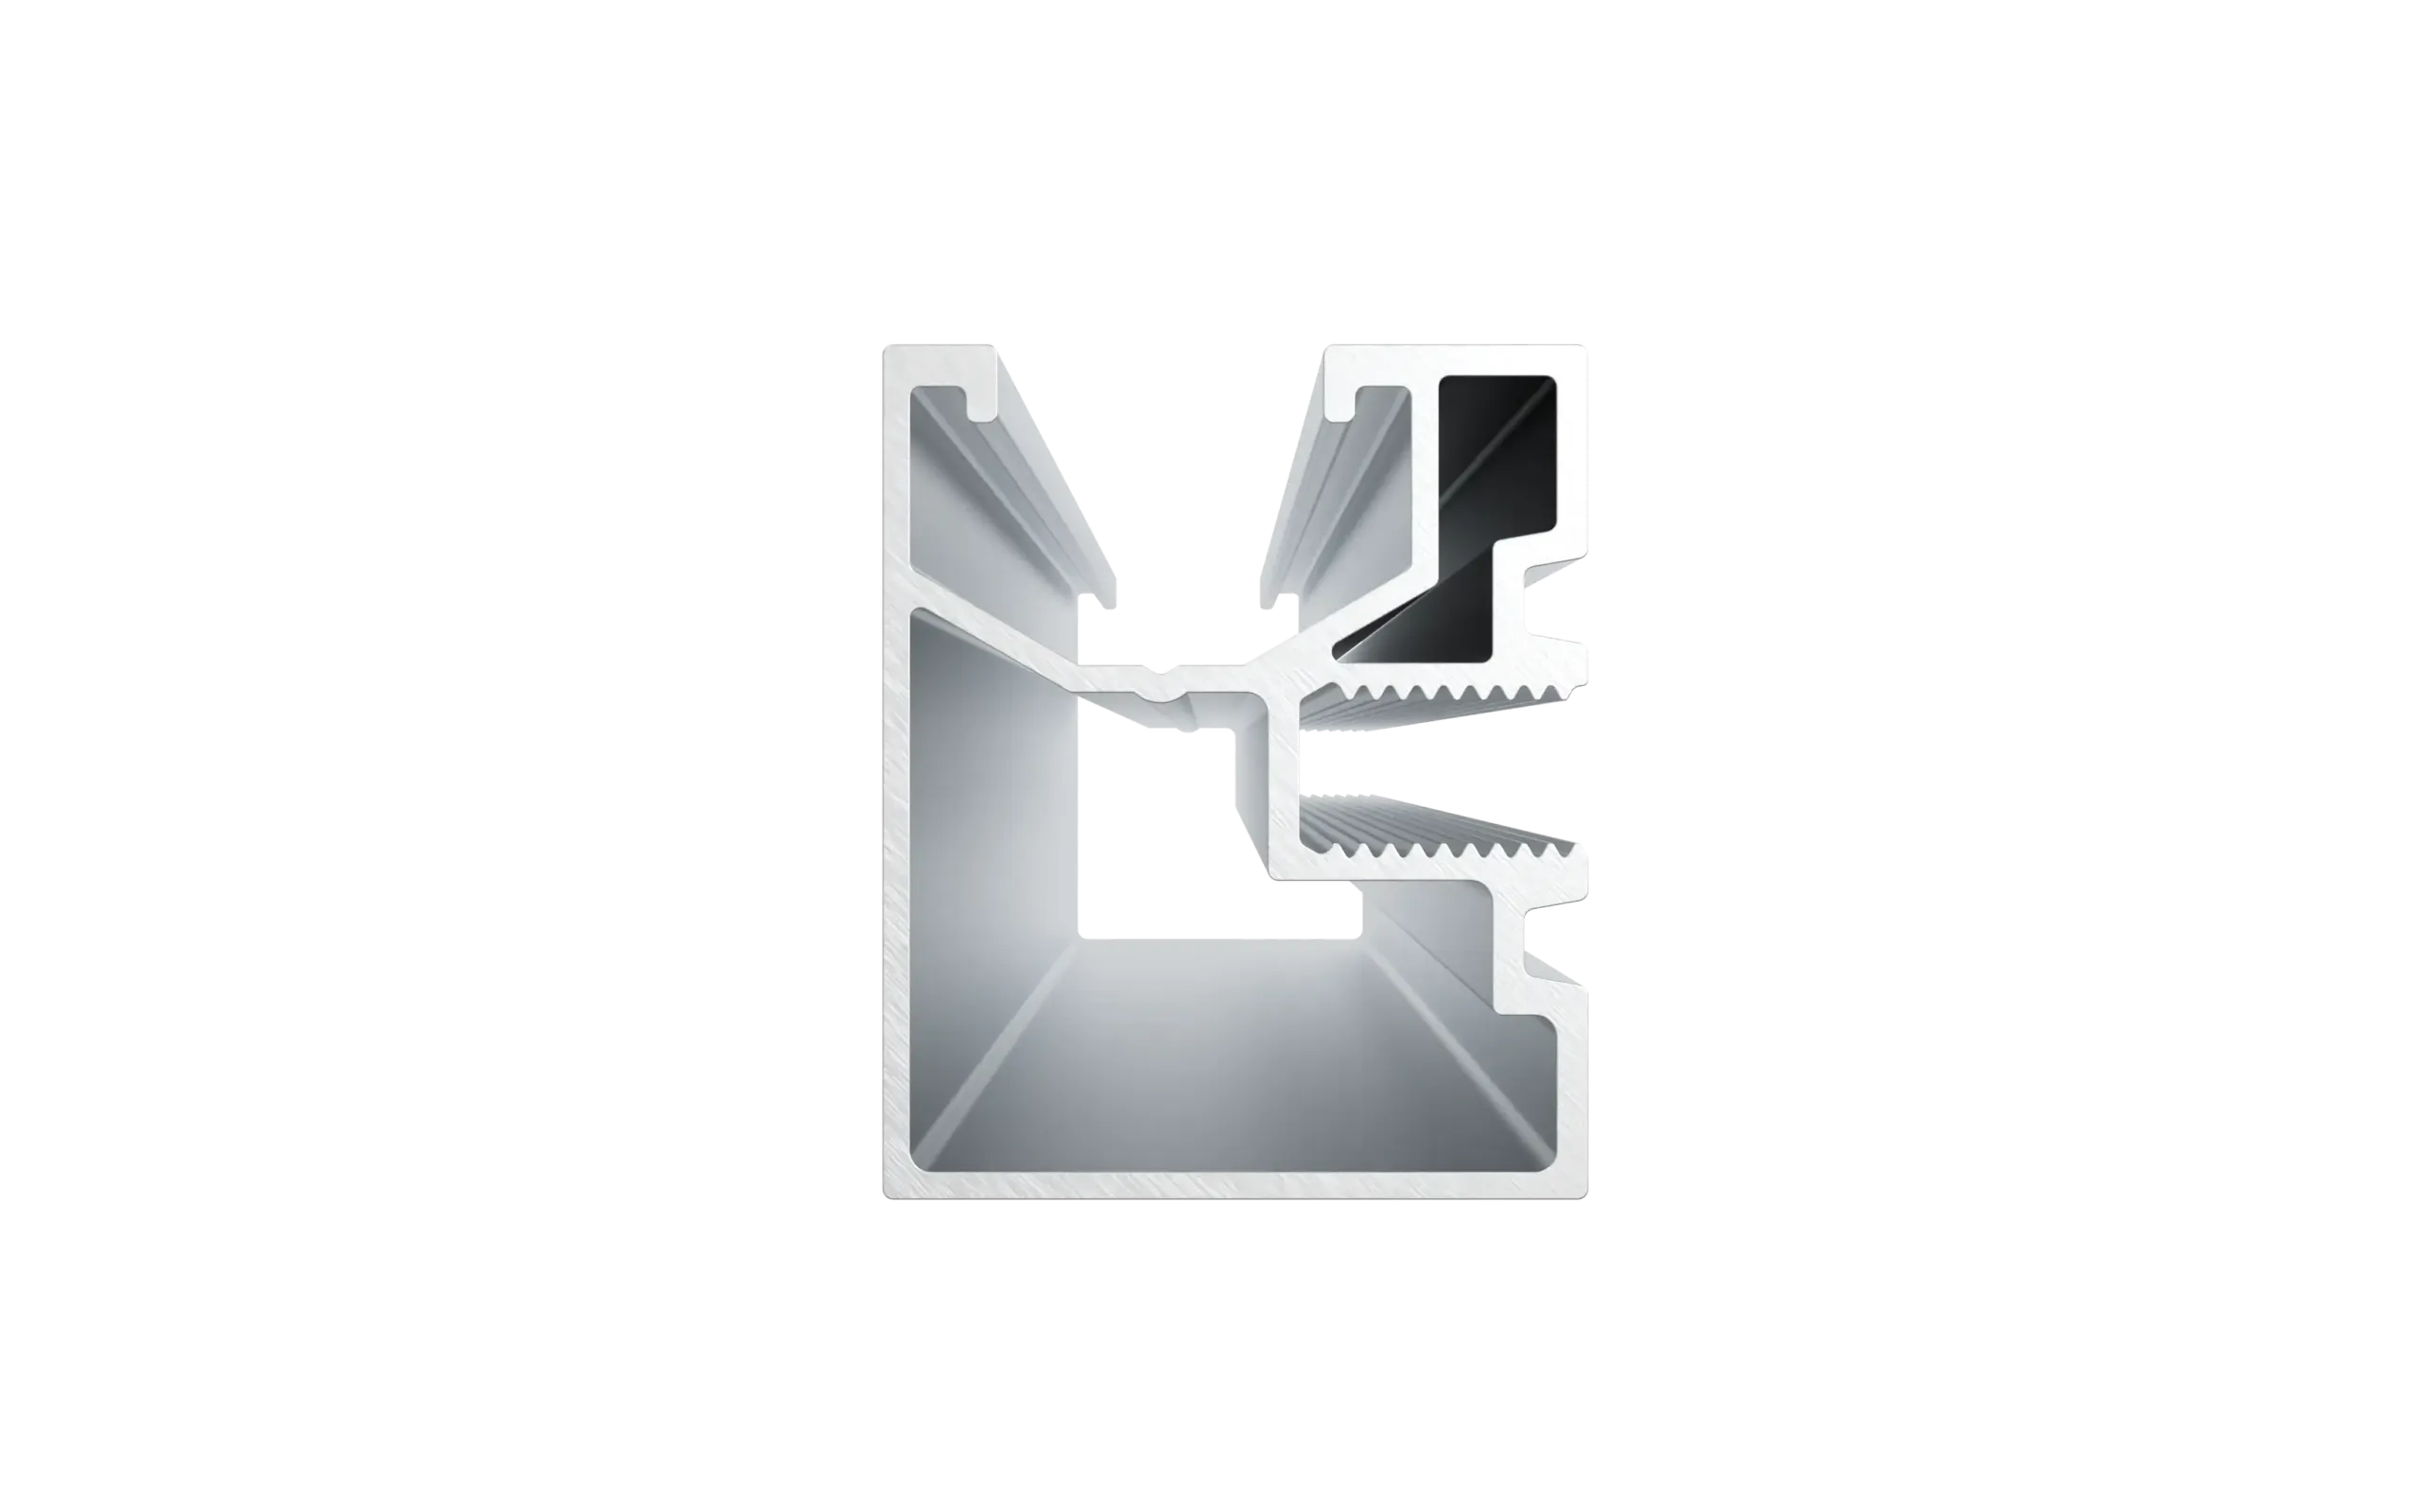


Cylinder head screw for screw channel
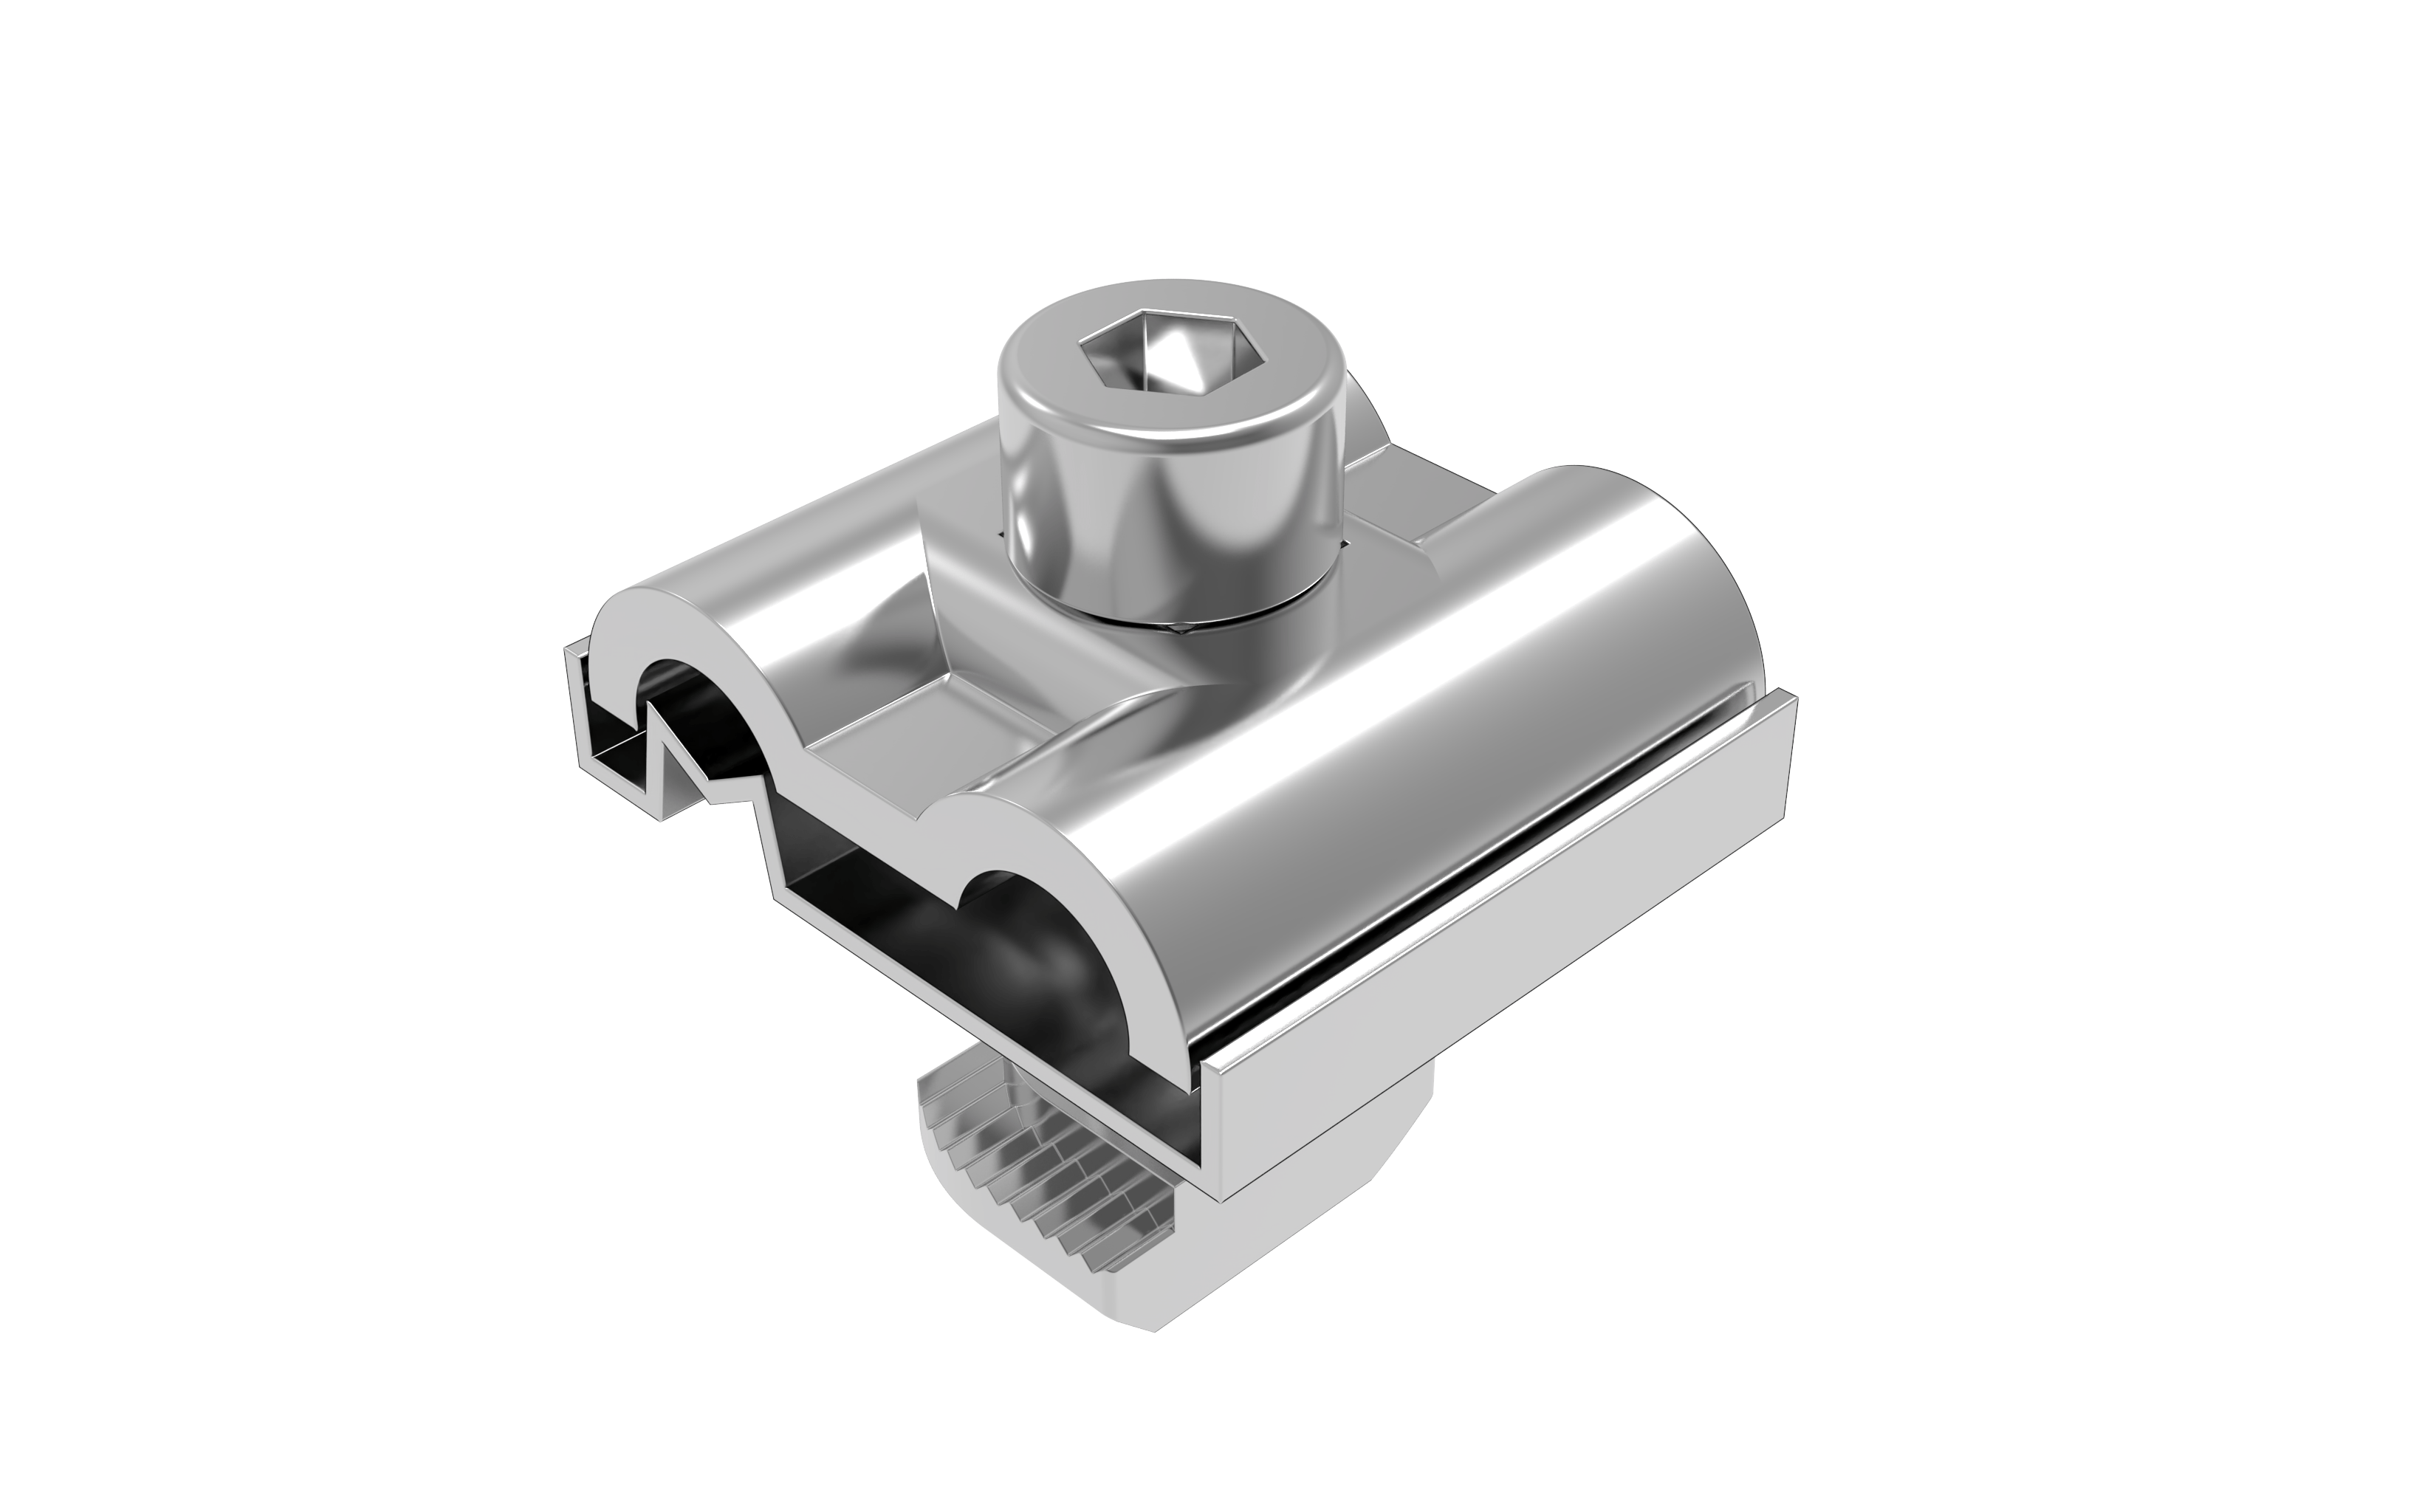
Module Clamps – Middle- and Endclamps
Our module clamps are material-filling when installed.
All module clamps are delivered pre-assembled and have integrated grounding pins.
Optional Components
Rail connectors, cross connectors, end caps, and earthing clamps complete the substructure.
Assembly Systematics
The assembly of the ATP Solar Mountings solar mounting system is always done in three simple steps!
We have placed value on a simple, fast, and convenient installation in the development of our solar mounting system. Therefore, the assembly methodology of the ATP Solar Mountings solar mounting system always follows the same simple logic.
Installing the roof attachments
Attaching the Mounting Rails
Installing the PV-Modules
Whenever possible, the components are pre-assembled.
Assembly Instructions
Please consider all important information and safety instructions when installing your PV substructure.